


Ever want to save what's on your iPad screen without snapping a photo? Just press the Top button and either the Home button or a Volume button, depending on your iPad model, and you’ll capture your screen in seconds.
It’s quick, simple, and already built into your device.
Once you know the basic shortcut, you might want to try other ways to take screenshots that suit you better. You can use gestures, turn on AssistiveTouch, or even check out third-party apps if you’re after extra features.
This guide breaks down each method step by step. You’ll also see where your screenshots go, how to edit them right away, and what to do if you want more control.
How to Take a Screenshot on iPad

Capturing your iPad screen only takes a second if you know the button combo. The steps depend on whether your iPad has a Home button.
Using Buttons on iPad With Home Button
If you see a circular Home button below your screen, that’s your clue. Press the Top button (Power button) and the Home button at the same time, then let go fast.
If you hold them too long, you might trigger Siri or start turning off your iPad. When you do it right, the screen flashes white and you may hear a camera sound if your volume’s up.
A small thumbnail pops up in the bottom-left corner. Tap it to edit, crop, or doodle on your screenshot right away.
If you ignore it, the screenshot saves automatically in the Photos app under Screenshots.
This trick works on older iPads, like the first iPad Air, iPad minis with Home buttons, and most standard iPads before Apple ditched the button.
Using Buttons on iPad Without Home Button
Newer iPads skip the Home button, so you’ll use the Top button and a Volume button instead.
Press the Top button and the Volume Up button together, then let go right away. You’ll see the screen flash, and a thumbnail appears in the corner.
If you press and hold too long, you might see the power-off menu. Just be quick with it.
After you take the screenshot, tap the thumbnail to edit, or let it save to the Photos app. Screenshots go in the Screenshots album for easy finding.
This works on iPad Pro, newer iPad Air, and the latest iPad mini. If your iPad doesn’t have a physical Home button, this is your go-to method.
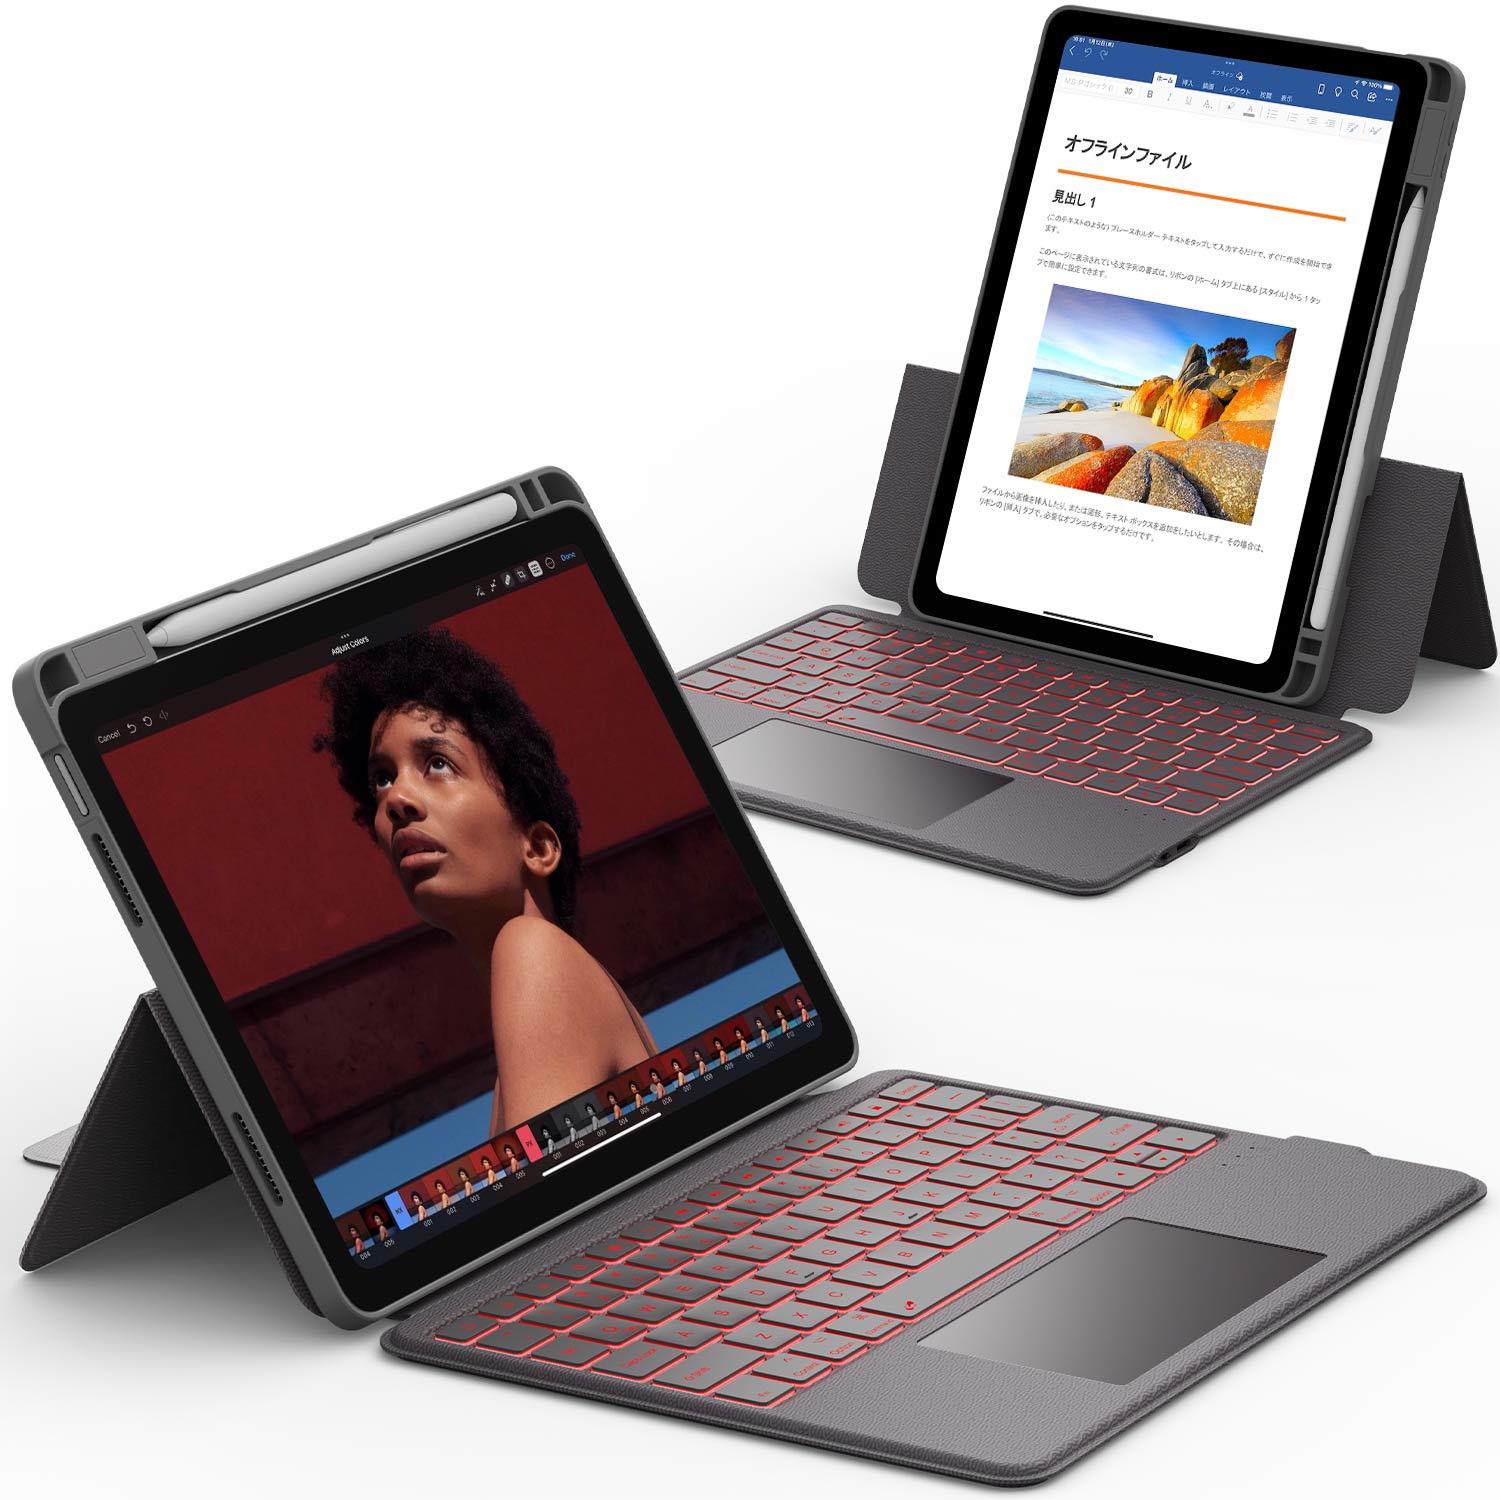
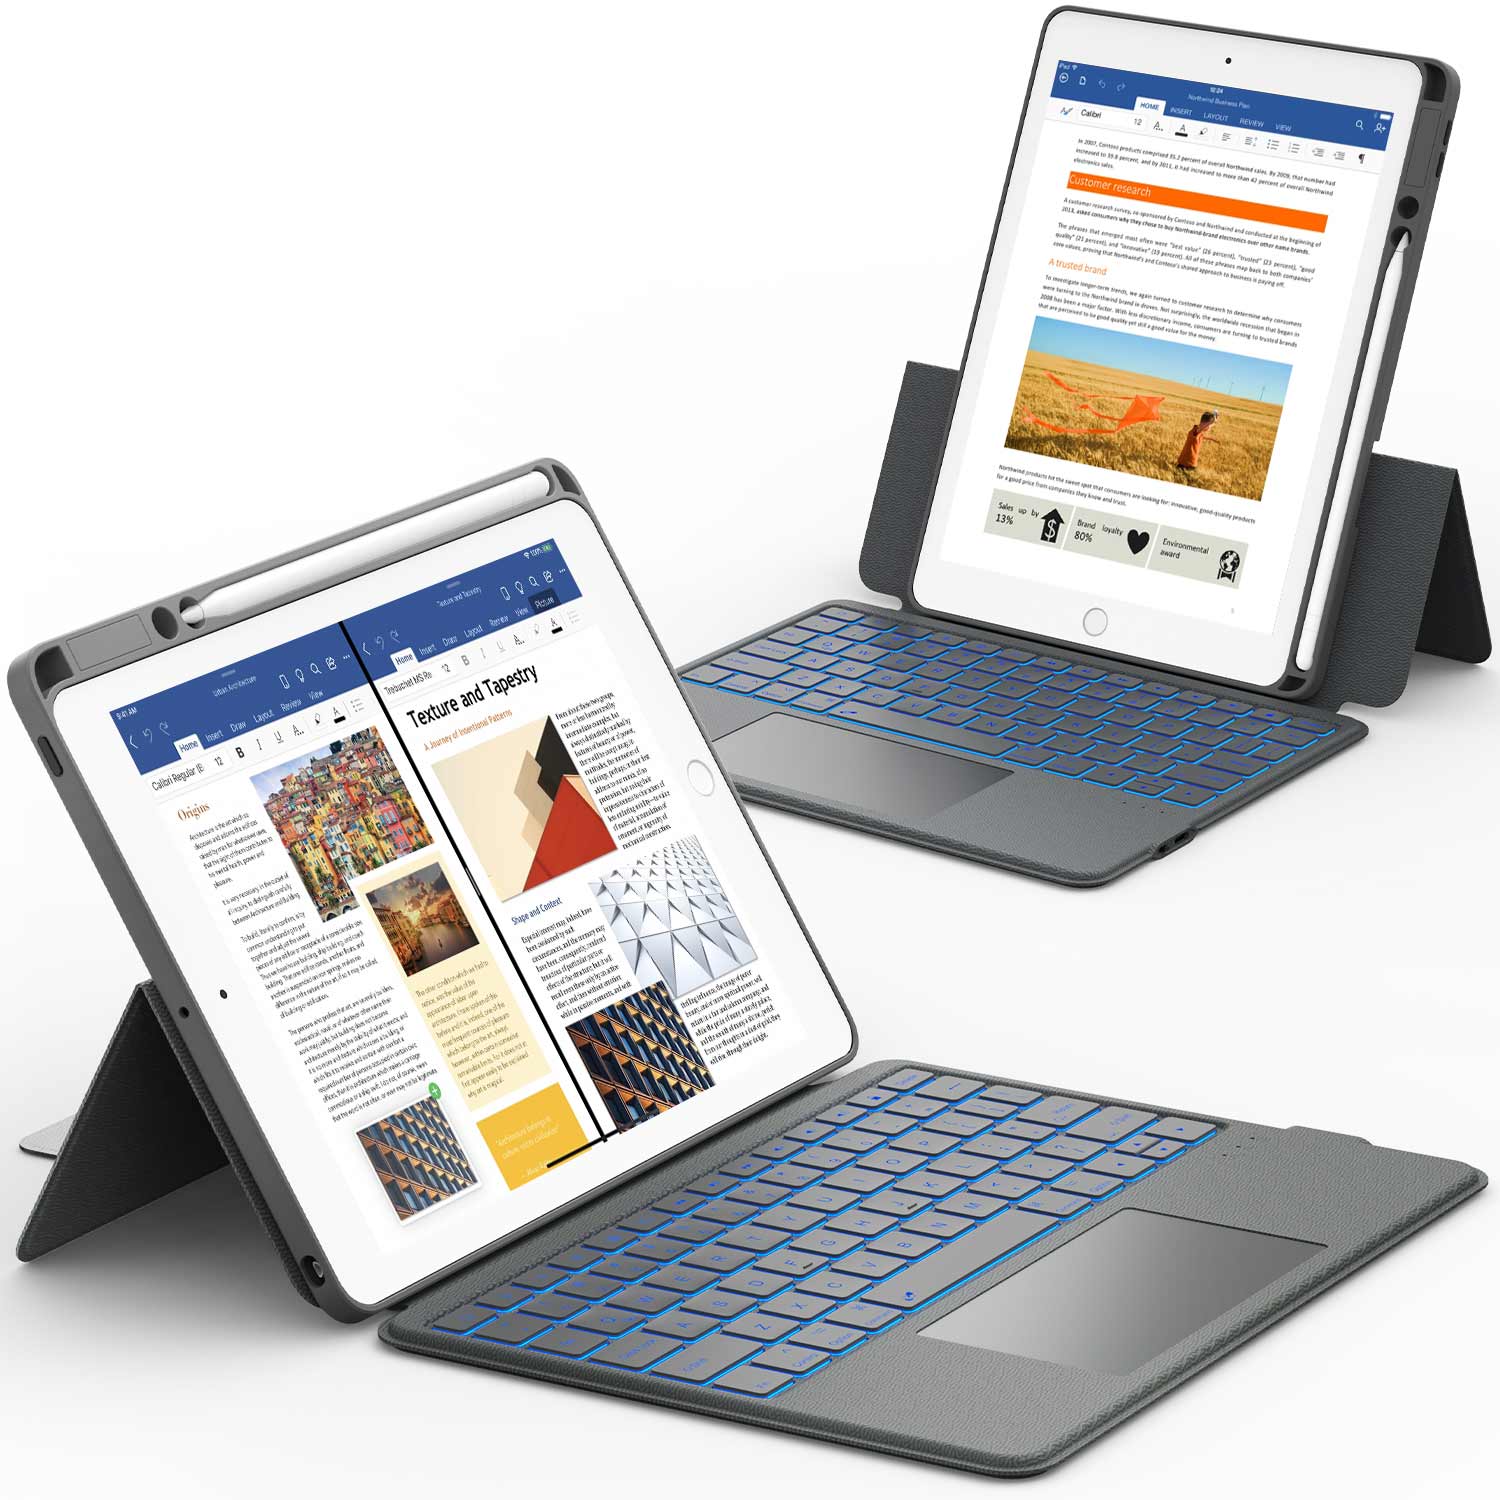
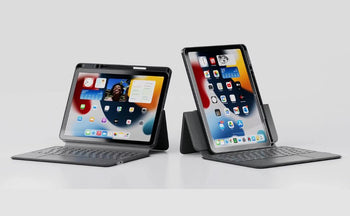
If you often watch videos, join video calls, or review screenshots hands-free, an iPad case with a built-in stand is a must-have. These cases let you prop up your iPad at multiple angles, making it easier to edit screenshots, read documents, or stream content without holding your device. A sturdy stand case also doubles as full-body protection, so your iPad stays safe while you stay productive.
Capturing Screenshots With AssistiveTouch

Don’t want to use buttons? You can use AssistiveTouch to snap a screenshot. It’s handy if your buttons are broken or just awkward to reach.
Activating AssistiveTouch
Open the Settings app. Go to Accessibility, then Touch, then AssistiveTouch.
Turn it On. Now you’ll see a little floating button on your screen.
You can drag this button wherever you like, so it’s not in your way. Most people tuck it near the screen’s edge for quick taps.
Want to make it faster? Tap Customize Top Level Menu and add the screenshot shortcut. That way, you’re just a tap or two away from snapping your screen.
If you use AssistiveTouch a lot, you can set up an Accessibility Shortcut to triple-click the Home or Top button to turn it on or off.
Taking a Screenshot Using AssistiveTouch
With AssistiveTouch on, tap the floating button to open the menu. Tap Device, then More, then Screenshot.
Your iPad grabs the current screen and saves it to the Photos app. If you’ve added the screenshot button to the top menu, it’s even faster—just tap and done.
The screenshot thumbnail pops up in the corner. Tap it to edit, crop, or mark up before saving. If you let it be, it saves automatically in your Recents and Screenshots albums.
This works on any iPad, Home button or not. It’s a solid way to capture your screen without fiddling with the hardware.
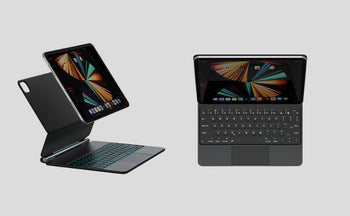
Want a laptop-like experience on your iPad? Chesona’s iPad keyboard cases with touchpad gives you the best of both worlds. You’ll get a responsive keyboard for typing and a built-in trackpad for precise control—perfect for editing screenshots, navigating apps, or multitasking with split screen. It’s a great upgrade if you use your iPad for work or school.
Where to Find and Edit Your Screenshots
Every screenshot you take goes somewhere you can find it later. You can make quick edits, crop out stuff you don’t want, or share it right away.
Locating Screenshots in Photos App
Screenshots save straight to the Photos app. They land in the Screenshots album, which Photos makes for you, so they don’t mix with your regular pics.
Open Photos, tap Albums, then Screenshots. If you don’t spot it, check Recents—new screenshots show up there too.
If you use iCloud Photos, your screenshots show up on all your Apple devices with the same Apple ID. That makes grabbing them from your iPhone, Mac, or even iCloud.com a breeze.
Editing and Sharing Screenshots
After snapping a screenshot, a preview pops up in the corner. Tap it to open the markup editor and crop, draw, highlight, or add text before saving.
If you swipe the preview away, your screenshot still saves to Photos, and you can edit it later. In Photos, you’ll see tools like crop, rotate, and adjust brightness. You can use markup again to add shapes or notes.
To share, just tap the share icon and pick Messages, Mail, AirDrop, or even WhatsApp. If you want, you can save it to the Files app to keep things organized.
Using Third-Party Apps for Screen Capture
If you want more than what Apple’s tools offer, third-party apps can help. They usually bring extra editing, better sharing, and more control over how your screenshots or recordings turn out.
Popular Screenshot and Screen Recording Apps
There are plenty of apps that give you more options than the built-in recorder. Loom lets you record your screen and webcam at the same time, which is great for tutorials or meetings.
Movavi and AnyMP4 offer both screen recording and editing, so you can trim or add notes right away. If you want something basic, Riverside focuses on high-quality video capture, often used for podcasts or interviews.
For teachers, Explain Everything lets you record while drawing or writing, which makes lessons a lot easier to follow.
Here’s a quick comparison:
|
App |
Key Feature |
Best For |
|
Loom |
Screen + webcam recording |
Tutorials, meetings |
|
Movavi |
Editing + recording tools |
Quick edits, sharing |
|
Riverside |
High-quality capture |
Podcasts, interviews |
|
Explain Everything |
Interactive recording |
Teaching, presentations |
Each app has its own strengths, so it really depends on what you want to do with your recordings.
Benefits and Limitations of Third-Party Tools
Third-party apps often give you more control over video quality, audio, and editing. Many offer cloud storage, so you can share recordings easily. Some even let you collaborate live, which is cool if you work with a team.
But there are downsides. Some require subscriptions or in-app purchases to unlock everything. Storage limits can be a pain, especially with free versions. And honestly, advanced features can drain your battery faster.
Privacy is another thing to watch. Some apps upload your stuff to their servers by default, so check the settings before sharing anything sensitive.
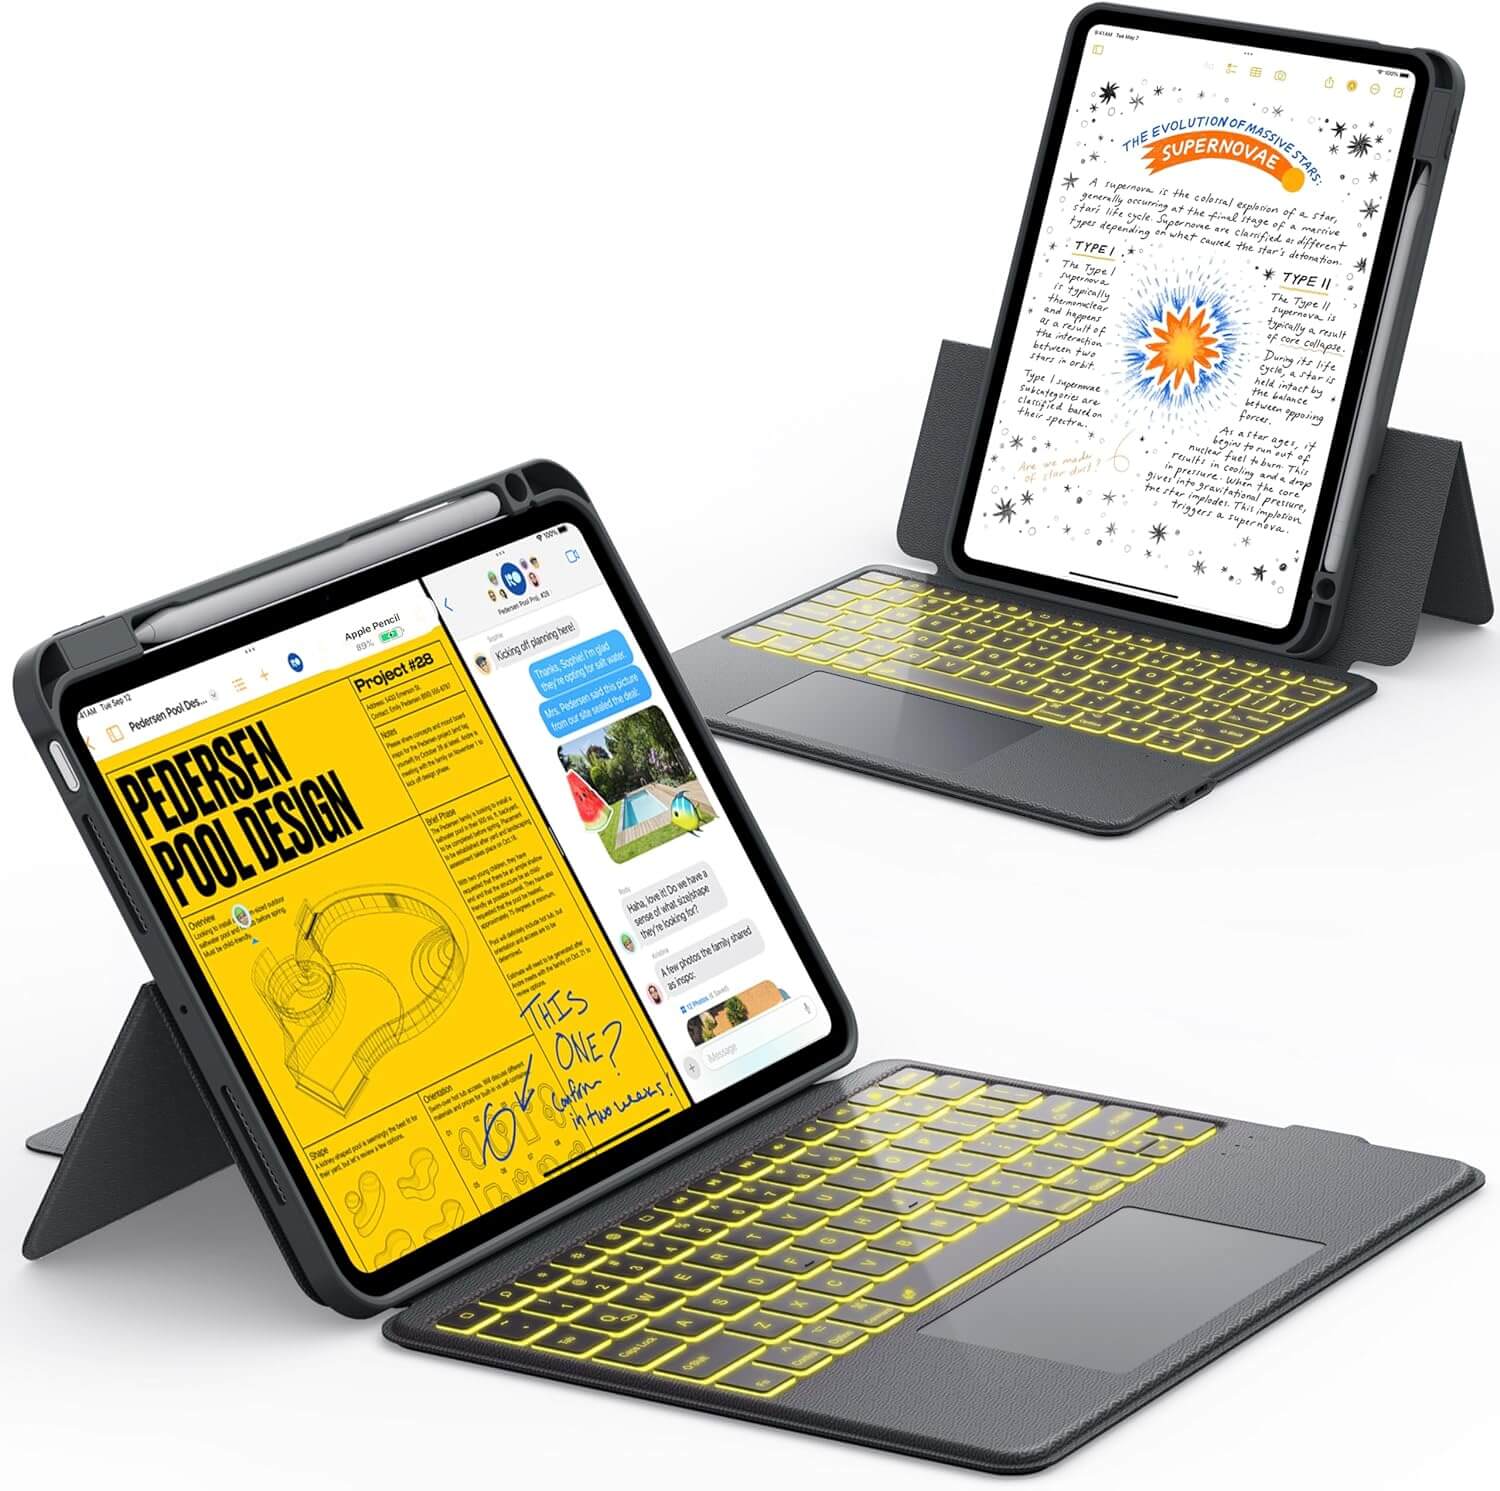
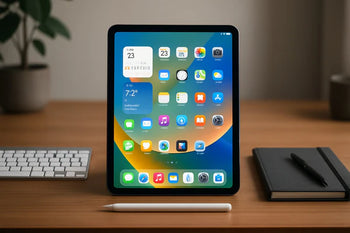
For a sleek, minimalist setup, a magnetic keyboard for iPad is a game-changer. These keyboards snap on securely with strong magnets, yet detach in seconds when you just want to use your iPad as a tablet. They’re lightweight, portable, and ideal for switching between typing, drawing, and capturing screenshots on the go.
Boost Your iPad Productivity With a Keyboard Case
If you’re taking lots of screenshots for work, school, or creative projects, having a solid keyboard case can make the process even smoother.
A keyboard case not only protects your iPad but also gives you a laptop-like setup for typing, editing, and managing your screenshots with ease.

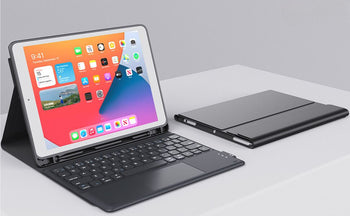
CHESONA Step Series Keyboard Case for iPad Pro 11" 4th/3rd/2nd/1st Gen/Air 10.9"
Chesona cases combine a detachable Bluetooth keyboard, full protection, and multiple viewing angles—perfect for multitasking while you capture and edit your screen. Some models even include a built-in trackpad, which makes navigating and cropping screenshots faster than ever.
Whether you’re using your iPad at home, in class, or on the go, a Chesona case helps you get more done while keeping your device safe.
Frequently Asked Questions
What's the easiest way to take a screenshot on my iPad?
The fastest way is pressing two buttons at once. If your iPad has a Home button, press the Top button and Home button together. If not, press the Top button and a Volume button.
Can you show me how to capture my iPad screen with buttons?
Yep. On older iPads, hold the Top button and Home button at the same time. On newer models without a Home button, press the Top button and Volume Up button together. The screen flashes, and you’ll see a preview pop up.
Is there a way to screen capture on an iPad without using the home button?
You can use your Apple Pencil by swiping up from the bottom corner. Or, turn on AssistiveTouch in Settings and use the on-screen menu. Both options let you capture your screen without pressing any buttons.
How can I edit my screenshot right after taking it on my iPad?
After you take a screenshot, a preview appears in the bottom-left corner. Tap it to open editing tools. You can crop, draw, add text, or highlight before saving or sharing.
What steps should I follow to take a full-page screenshot on my iPad?
Open the page in Safari and take a screenshot. Tap the preview and pick the Full Page option up top. This saves the whole webpage as a PDF, which you can keep in Files or share.
How do I find my screenshots after I've taken them on my iPad?
Screenshots go straight to the Photos app. You’ll spot them in the Recents album.
Apple also puts them in a Screenshots album for you. If you took a full-page screenshot, though, you’ll need to look in the Files app—those save as PDFs instead.


