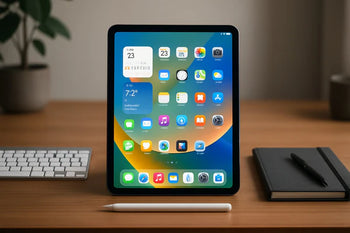
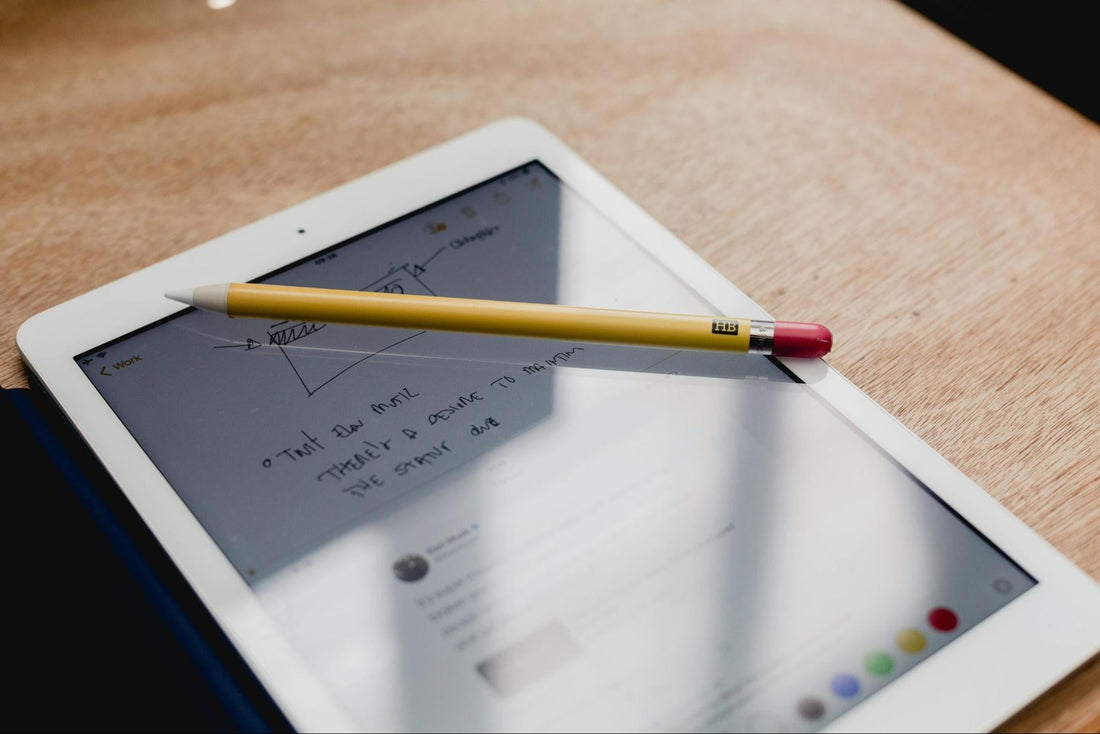
You can turn your iPad into a powerful tool for note-taking, drawing, and editing with Apple Pencil.
To use Apple Pencil on iPad, you connect it, charge it, and start writing, sketching, or marking up documents right away.
The setup is simple. Once paired, it works across apps without extra steps. Knowing which Apple Pencil works with your iPad really matters.
Compatibility depends on the model of both the iPad and the Pencil. Pairing methods vary between versions. Once you confirm the right match, you can set it up and keep it charged for daily use.
You can adjust settings to fit your workflow. Customizing shortcuts, using Scribble, Quick Note, and Markup are just some features to explore.
With the right tips, you’ll use Apple Pencil not just for writing and drawing but also for navigating your iPad more efficiently.
Apple Pencil and iPad Compatibility
Apple Pencil works only with certain iPad models. Each version of the Pencil connects differently.
Knowing which iPad you own and which Apple Pencil it supports helps you avoid setup issues.
Supported iPad Models
Not every iPad supports every Apple Pencil.
The 1st generation Apple Pencil works with older iPads and some budget models. The 2nd generation Apple Pencil pairs with newer iPad Pro, iPad Air, and iPad mini models that have magnetic connectors.
For example:
- Apple Pencil (1st gen): iPad (6th–10th gen), iPad mini (5th gen), iPad Air (3rd gen), and iPad A16.
- Apple Pencil (2nd gen): iPad Pro 11‑inch (1st–4th gen, M4), iPad Pro 12.9‑inch (3rd–6th gen), iPad Air (4th–5th gen, M2/M3 models), iPad mini (6th gen).
- Apple Pencil Pro: iPad Pro 11‑inch (M4) and iPad Pro 13‑inch (M4).
If you aren’t sure which iPad you have, go to Settings > General > About and check the model name. This helps you confirm which Apple Pencil is compatible.
Apple Pencil Generations Overview
The 1st generation Apple Pencil connects through a Lightning connector or with a USB-C adapter on newer iPads. It doesn’t attach magnetically and doesn’t have advanced gestures.
The 2nd generation Apple Pencil attaches magnetically to the side of the iPad. This connection charges the Pencil and pairs it automatically.
It also supports double-tap gestures to switch tools in supported apps.
Here’s a quick comparison:
|
Feature |
Apple Pencil (1st gen) |
Apple Pencil (2nd gen) |
|
Charging |
Lightning/USB-C adapter |
Magnetic charging |
|
Gestures |
None |
Double-tap |
|
Storage |
No magnetic storage |
Magnetic attachment |
If you want convenience and faster pairing, the 2nd generation feels smoother to use.
Apple Pencil Pro Features
Apple Pencil Pro is the newest version and only works with the M4 iPad Pro models.
It builds on the 2nd generation design with extra tools for precision and control.
It includes squeeze gestures, letting you bring up tool palettes without touching the screen. It also supports barrel roll, which changes the angle of brushes as you rotate the Pencil.
Like the 2nd generation, it attaches magnetically for charging and pairing. It also works with Find My, so you can locate it if you misplace it.
If you use professional drawing or design apps, Apple Pencil Pro gives you more advanced control than earlier generations.
The Apple Pencil makes note‑taking and drawing effortless. By reading our guide How To Use an iPad Keyboard Like a Pro, you’ll discover even more tools to boost productivity.
Pairing and Charging Your Apple Pencil
You need to connect Apple Pencil correctly to your iPad before you can use it. Charging methods vary depending on the model. Simple steps can fix most pairing problems.
How to Pair Apple Pencil with iPad
The way you pair Apple Pencil depends on the model.
- Apple Pencil (1st generation): Plug it into the Lightning connector on your iPad. If you use the 10th‑generation iPad, you must use a USB‑C to Apple Pencil adapter with a USB‑C cable.
- Apple Pencil (2nd generation): Attach it to the magnetic connector on the side of your iPad.
- Apple Pencil (USB‑C): Connect it with a USB‑C charging cable to your iPad’s USB‑C port, then tap Connect when prompted.
Once paired, your Apple Pencil stays connected until you restart your iPad, turn off Bluetooth, or pair with another device.
You only need to repeat the pairing process when it disconnects.
Charging Methods for Different Models
Each Apple Pencil model charges in a different way.
- 1st generation: Plug it into the Lightning port on your iPad or use the USB‑C to Lightning adapter with a charging cable.
- 2nd generation: Place it on the magnetic connector on the right side of your iPad. It charges wirelessly while attached.
- USB‑C model: Use a USB‑C charge cable connected to your iPad or a USB‑C power adapter.
You can check the Apple Pencil battery level in the iPad’s Batteries widget. If the charge is low, the widget shows a percentage so you know when to recharge.
Keeping the Pencil charged means it’s ready for drawing or writing at any time.
Troubleshooting Pairing Issues
If Apple Pencil doesn’t pair, first confirm your iPad supports your model. Not all iPads work with every version.
Make sure Bluetooth is on in Settings > Bluetooth. Restart your iPad if the Pencil still doesn’t connect.
For the 1st generation model, check that the adapter and cable are firmly connected.
For the 2nd generation model, make sure the magnetic connector is clean and free of dust.
If pairing fails after these steps, unpair the Pencil in Bluetooth settings and try again.
Charging the Pencil for a few minutes before pairing can also help if the battery is drained.
Unlock the full potential of your Apple Pencil today. Read our article Is the Magic Keyboard a Case? Here's What It Really Covers to see how accessories can enhance your iPad setup.
Customizing Apple Pencil Settings
You can change how your Apple Pencil works by adjusting its settings on your iPad. These options let you control how gestures respond, set up shortcuts, and check the battery.
Accessing Apple Pencil Settings
To find the Apple Pencil settings, open the Settings app on your iPad. Scroll down and tap Apple Pencil. This menu shows your Pencil’s connection status, battery level, and all available customization options.
If you use an Apple Pencil Pro, you’ll also see extra features like squeeze actions, barrel roll, and gesture settings. You can turn features on or off, test them, and adjust them to match your workflow.
For quick access, you can swipe down on the home screen, type “Apple Pencil” into the search bar, and tap the result.
This takes you straight to the settings without scrolling through menus.
Adjusting Gestures and Shortcuts
Gestures let you switch tools or bring up menus without touching the screen.
In Settings > Apple Pencil, you can decide what happens when you double tap the pencil, squeeze the barrel (Pro models), or use diagonal swipes from the screen corners.
Common options include:
- Switch between current tool and eraser
- Switch between last two tools used
- Show color palette
- Take a screenshot
You can assign the actions that make the most sense for your workflow.
If you draw a lot, set double tap to switch between a brush and eraser. If you take notes, you might want it to trigger the color palette instead.
These shortcuts save time and reduce the need to open menus while working.
Test different setups until you find the one that feels natural.
Managing Battery and Notifications
The Apple Pencil battery can drain quickly if you use it often, but charging is simple.
Just attach the Pencil magnetically to the side of your iPad. A small pop-up shows the battery percentage.
You can also check it in Settings > Apple Pencil, where the charge level appears at the top.
Charging usually takes only 15–20 minutes for a full battery.
If you forget where your Apple Pencil Pro is, you can find it with the Find My app once it’s paired.
Keep notifications enabled so you get alerts when the battery runs low.
No one wants to get stuck with a dead Pencil in the middle of writing or drawing.
Essential Ways to Use Apple Pencil
You can use Apple Pencil for more than just tapping the screen. It helps you write naturally, create detailed sketches, and make quick changes to documents with accuracy.
Writing and Note-Taking
With Apple Pencil, you can take handwritten notes that feel close to writing on paper.
The Notes app is built in and lets you jot ideas, create checklists, or draw quick diagrams.
If you want more features, apps like Notability and GoodNotes give you tools such as searchable handwriting, audio recording alongside notes, and custom page templates.
These apps make it easier to organize your work for school, meetings, or personal projects.
The Scribble feature in iPadOS lets you write in any text field with Apple Pencil.
Your handwriting automatically converts into typed text. You can fill out forms, search the web, or write emails without switching to the keyboard.
For better results, practice writing daily.
You’ll notice smoother strokes and improved accuracy as you get used to the Pencil’s pressure and tilt sensitivity.
Drawing and Sketching
Apple Pencil gives you precise control for drawing and design.
Apps like Procreate and Adobe Fresco support advanced tools such as pressure-sensitive brushes, tilt shading, and customizable layers.
These features make it possible to create detailed artwork directly on your iPad.
You can adjust brush size, opacity, and color with simple gestures.
In Procreate, for example, you can use two fingers to undo strokes instantly. Adobe Fresco offers live brushes that mimic real watercolor and oil paint effects.
If you’re learning, start with basic sketching in the Notes app before moving to professional tools.
This helps you get comfortable with the Pencil’s responsiveness. Using a matte screen protector can also create a paper-like feel, making long drawing sessions more natural.
Marking Up Documents
Apple Pencil is useful for reviewing and editing files. You can open a PDF in the Files app or a third-party app, then use the Pencil to highlight text, underline key points, or add handwritten comments.
Signing documents is simple. Just tap the markup icon in Mail or Files, then write your signature directly on the screen. This saves time compared to printing and scanning.
Markup tools help you stay organized for work or study. You can circle important sections in textbooks, write margin notes, or highlight changes in reports.
Many apps also let you export marked-up files as PDFs, so you can share them without losing your notes.
Ready to elevate your workflow? Check out How To Multitask On iPad Like A Pro In Seconds for tips that pair perfectly with Apple Pencil use.
Exploring Advanced Features
CHESONA Cloud Series Keyboard Case for iPad Pro 13'' (M4) 2024
With Apple Pencil, you can do more than just draw or take notes.
Features like Scribble, Hover, Squeeze, Barrel Roll, and haptic feedback make writing and creating on iPad more natural and efficient.
Scribble for Handwriting to Text
Scribble lets you turn handwriting into typed text without switching tools. When you write in any text field, your iPad quickly converts your strokes into digital text.
This works in apps like Notes, Safari, and Messages.
You can also edit with simple gestures. For example:
- Draw a line through a word to delete it
- Circle text to select it
- Insert words by writing between existing text
Scribble supports multiple languages. You can mix typed and handwritten input in the same document.
If you like writing by hand but want searchable, editable text, this feature feels pretty handy. It saves time since you don't have to switch between the keyboard and the Pencil all the time.
Hover and Squeeze Actions
Hover lets your iPad sense the tip of Apple Pencil up to about 12 mm above the screen. You’ll see a preview of where your stroke will land, which makes drawing, shading, or picking tools a bit easier.
This works on newer iPads like the M2 iPad Pro and later.
Squeeze only works with the Apple Pencil Pro. When you gently press the sides of the Pencil, you can trigger quick actions.
For example, in Apple Notes, a Squeeze opens the tool palette. Other apps let you set it to switch tools or turn on the eraser.
You can adjust how sensitive the Squeeze gesture feels in Settings > Apple Pencil. It’s nice to tweak this so you don’t trigger it by accident, but it still feels fast when you need it.
Barrel Roll and Haptic Feedback
Barrel Roll is another Apple Pencil Pro feature. When you rotate the Pencil as you draw, you change the angle of certain brushes or pens.
This copies how real pens and pencils act when you twist them in your hand. Apps like Procreate, Notes, and Zinnia already use this feature.
This tool helps a lot for calligraphy, shading, or brushes that aren’t round. When you use Hover, you can see the brush angle update in real time, so it makes controlling your strokes easier.
Haptic feedback adds a light vibration when you Squeeze or use certain tools. It doesn’t change how you draw, but it gives you a little buzz to confirm that you did something. It honestly makes the Pencil feel more real, and you know right away when your gesture worked.
Apple Pencil Tips and Maintenance
You can get more out of your Apple Pencil by learning shortcuts, knowing when to replace the tip, and keeping it safe when not in use.
Small habits like checking settings, storing it properly, and using the right accessories can extend its life and keep it working well.
Apple Pencil Tips and Tricks
Speed up your work by using built-in gestures and settings. On the 2nd generation and Pro models, double-tap the flat side to switch tools or show the color palette.
The Pro also supports squeeze and barrel roll gestures for quick actions and brush control.
If you write a lot, turn on Scribble in iPad settings. This lets you turn handwriting into typed text in apps like Notes or Safari search bars.
For drawing, apps like Procreate and Adobe Fresco respond to pressure and tilt, so you get precise shading and line control.
Navigation gets easier with the Pencil, too. You can scroll, tap, and move through apps, or turn on Only Draw with Apple Pencil if you want to use your fingers for navigation.
A matte screen protector can add some paper-like resistance, making writing and sketching feel more natural.
Replacing the Pencil Tip
The tip of your Apple Pencil wears down over time, especially if you draw or write daily. A worn tip can feel rough, skip strokes, or lose accuracy.
To replace the tip, unscrew it counterclockwise and twist on a new one until it feels snug. Apple sells replacement tips, and some third-party ones work, too.
If you notice scratches on the screen or uneven pressure, it’s probably time to change the tip. Keeping a few spare tips around means you won’t get stuck if one wears out.
Protecting and Storing Your Apple Pencil
Store your Pencil properly to avoid damage and keep it ready. The 2nd generation and Pro models attach magnetically to the iPad for charging and storage, but don’t just toss them loose in a bag.
For extra protection, use a carrying case, silicone sleeve, or clip. These help prevent scratches or drops.
Try not to press too hard on the screen, since that wears out the tip faster. Keep the Pencil away from heat or moisture, because both can mess up the battery and insides.
Cases That Support Creativity and Productivity
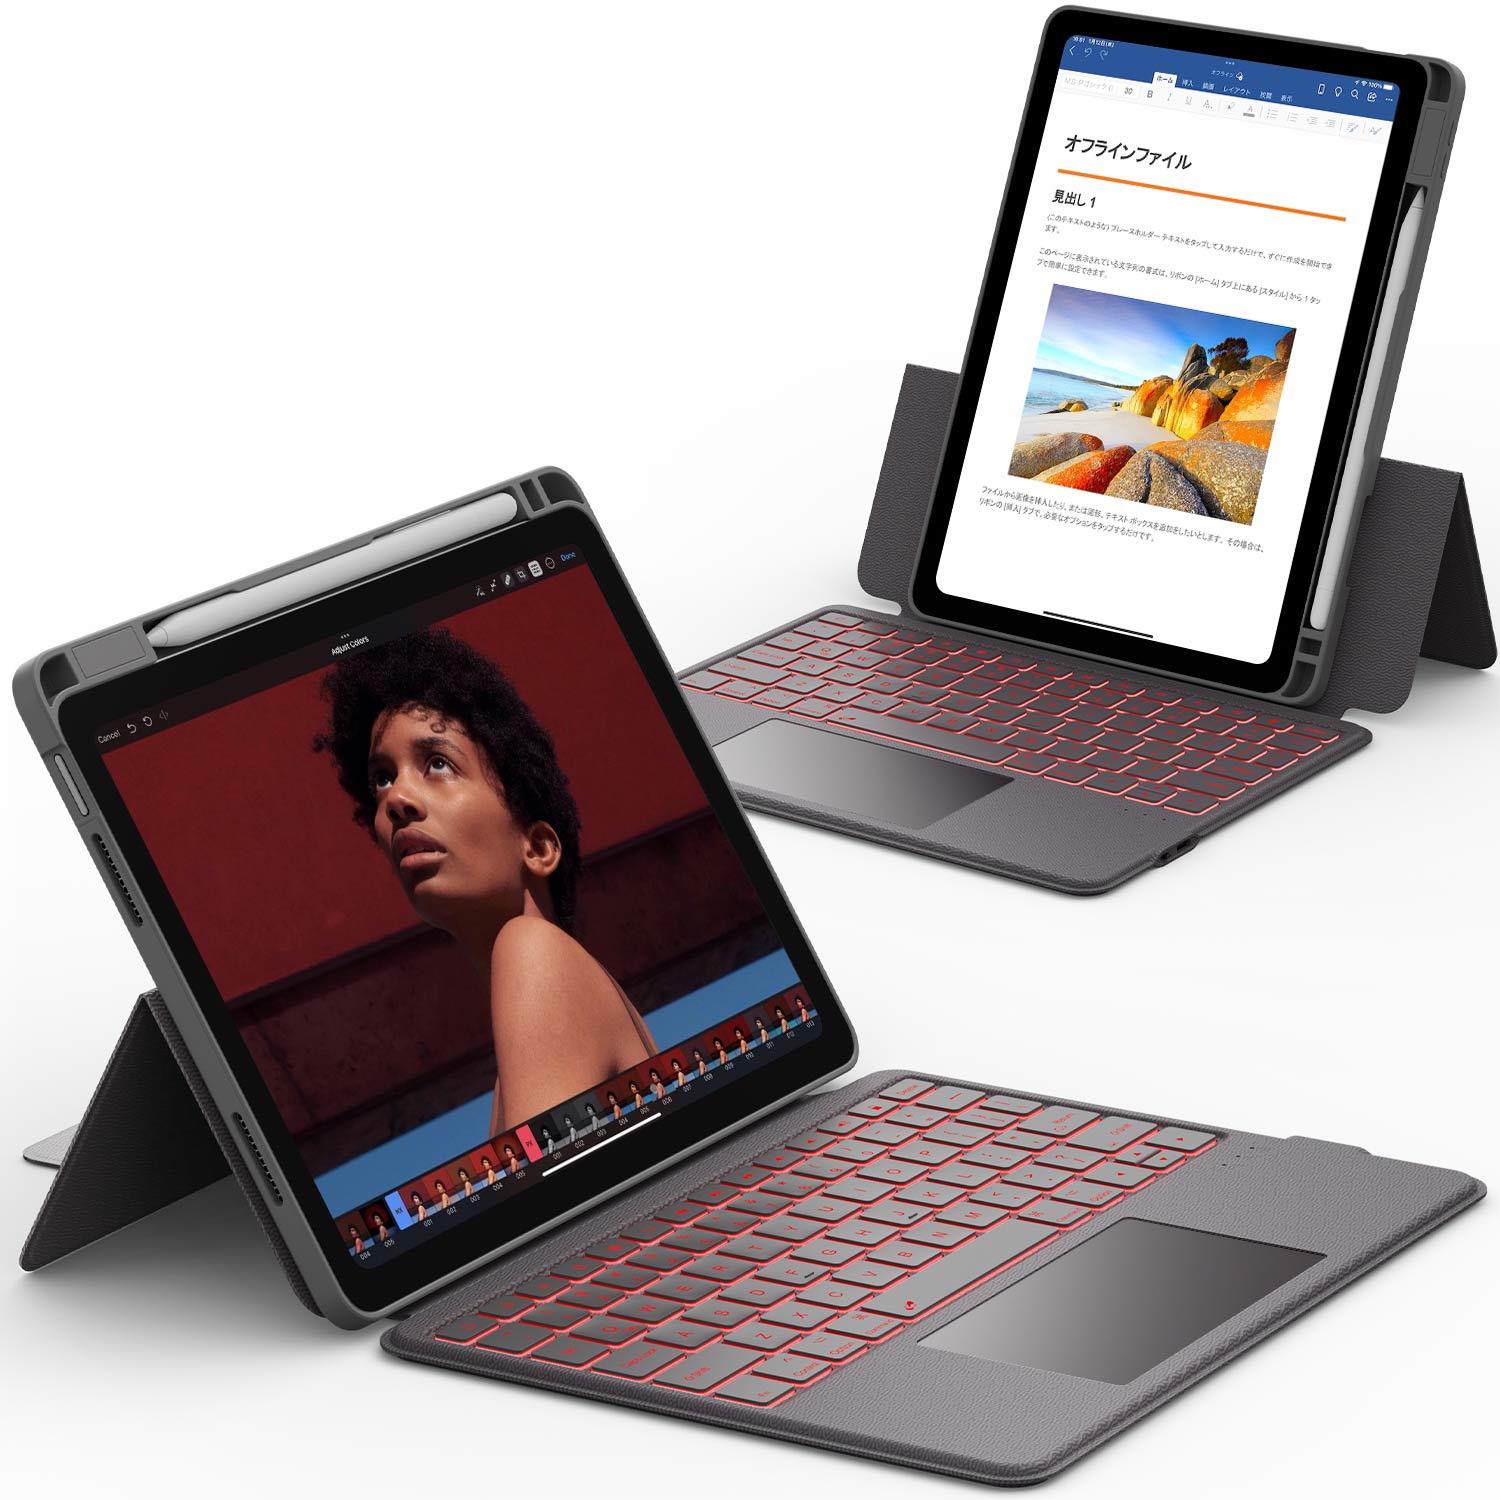
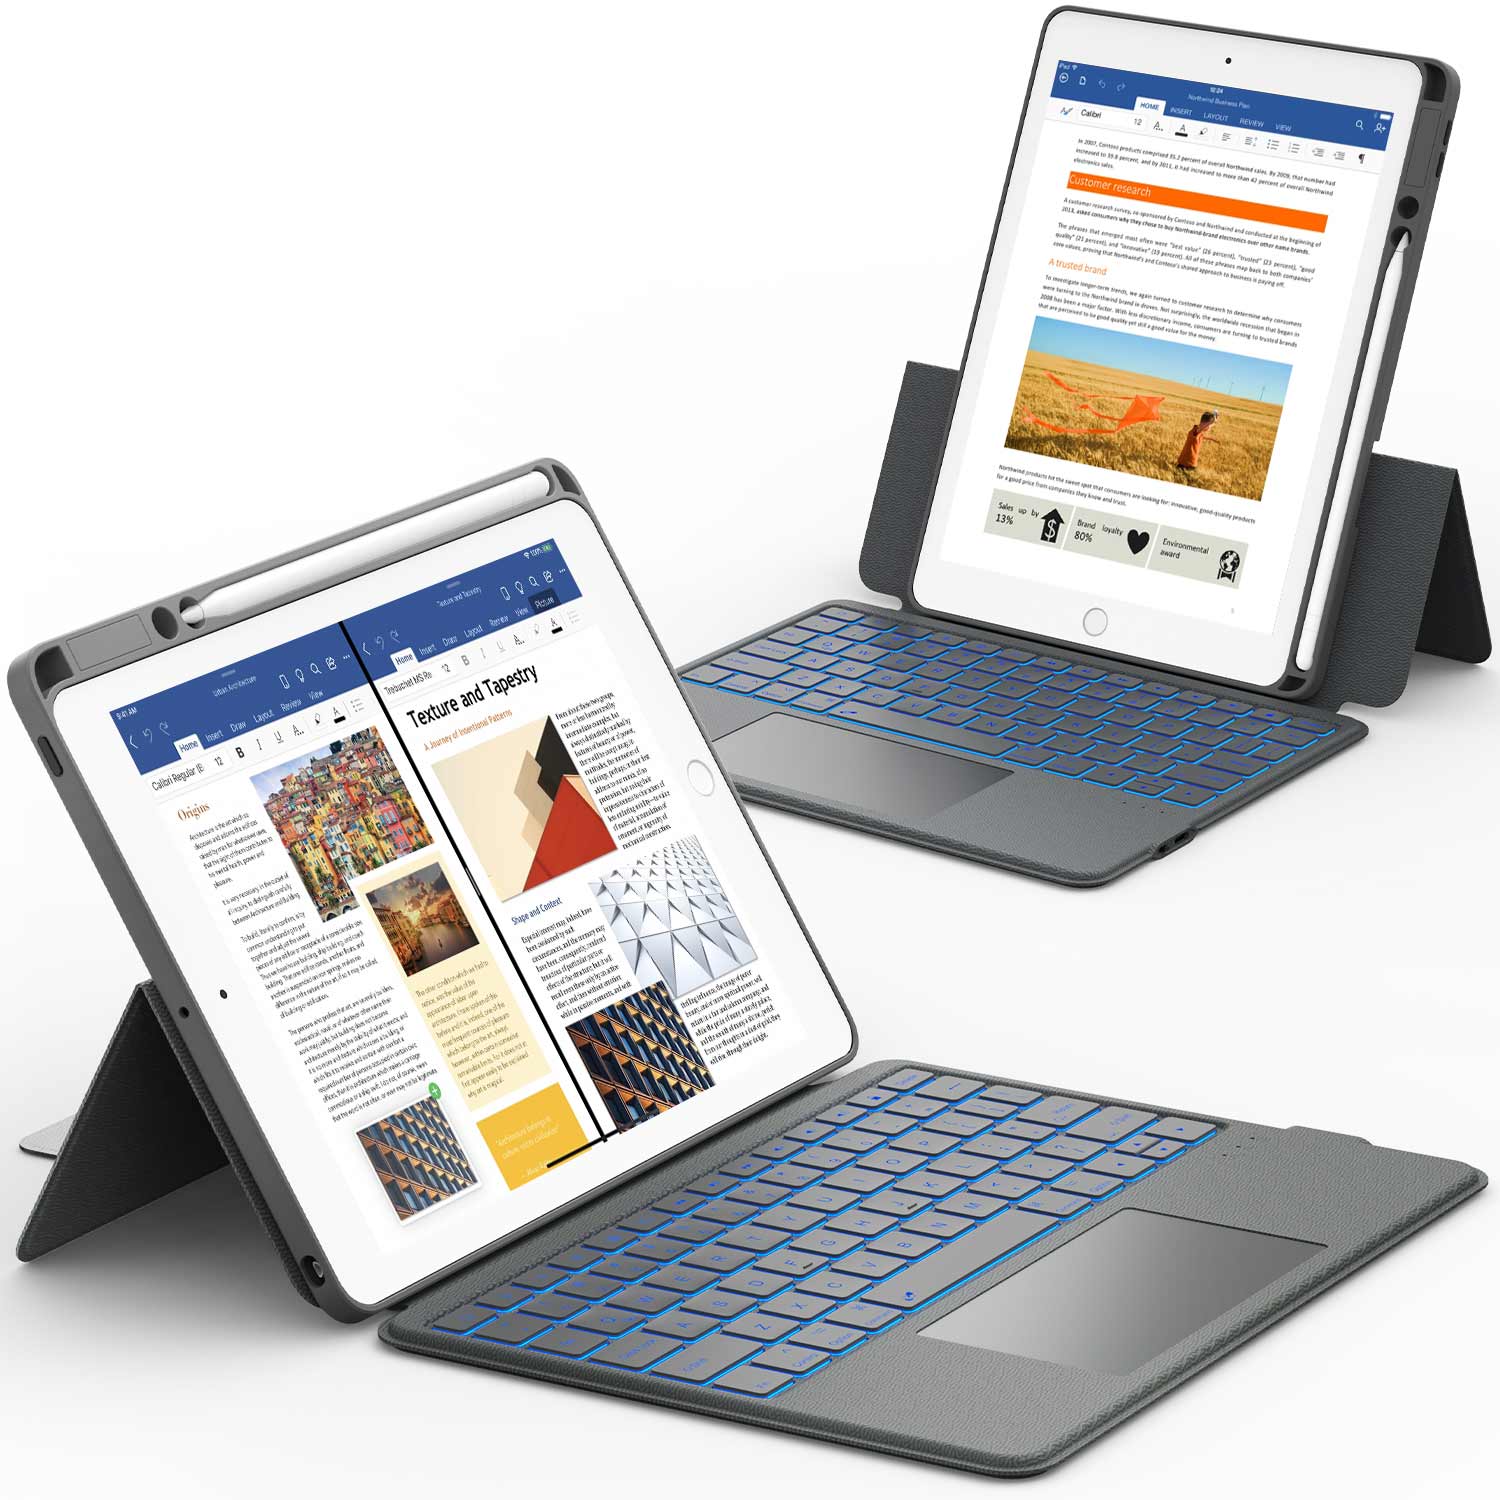
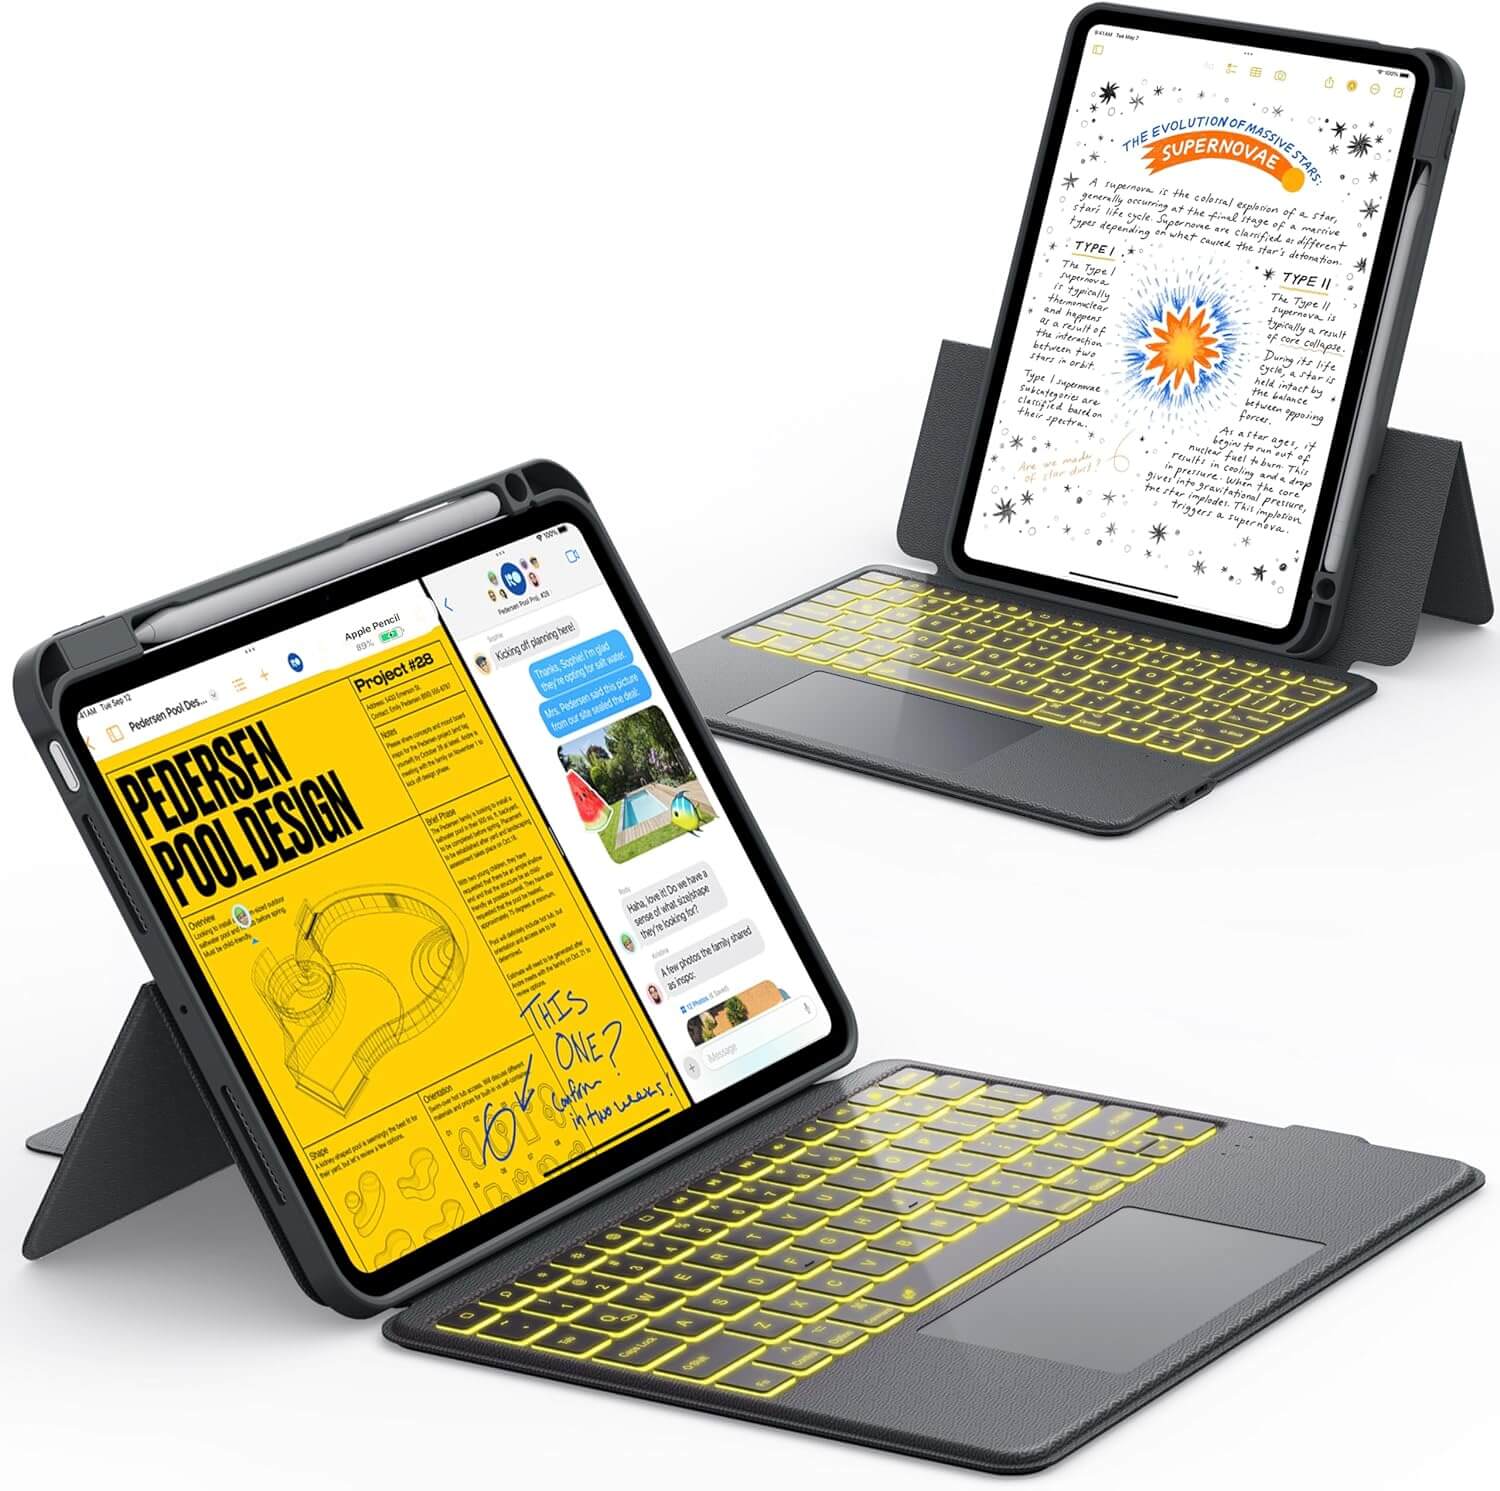
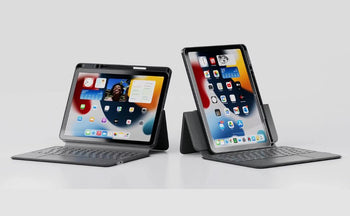
The Apple Pencil makes your iPad a powerful creative tool. Pairing it with the right case ensures your device stays secure and ready for drawing, writing, or multitasking.
- Browse the iPad Keyboard With Trackpad collection for a laptop‑like experience.
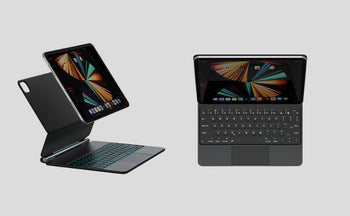
- The Magnetic Keyboards for iPad collection keeps your setup flexible and portable.
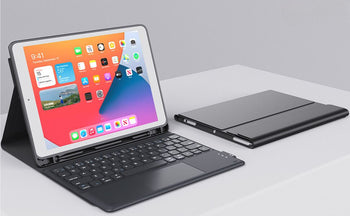
- For artists and students, the iPad Pro 11 Inch Case With Keyboard collection is a perfect fit.
⭐ Recommended products:
- CHESONA Step Series Keyboard Case for iPad Air 11 inch/ Air 5th 4th Gen 10.9 inch — lightweight and perfect for switching between drawing and typing.
- CHESONA Rugged Series Keyboard Case for iPad 10/11th Gen 10.9'' — tough protection with a detachable keyboard for flexible use.
Frequently Asked Questions
What are the steps for pairing an Apple Pencil with an iPad?
For Apple Pencil (1st generation), remove the cap and plug it into your iPad’s Lightning port. When prompted, tap Pair.
For Apple Pencil (2nd generation), attach it to the magnetic connector on the side of your iPad. A pairing message will pop up.
Can you charge an Apple Pencil with an iPad, and if so, how?
You can charge the 1st generation Apple Pencil by plugging it into the iPad’s Lightning port or using a Lightning adapter.
The 2nd generation Apple Pencil charges wirelessly when you stick it to the magnetic connector on the side of compatible iPads.
What apps are compatible with Apple Pencil on the iPad?
You can use Apple Pencil with Apple’s Notes app, Pages, and Keynote.
It also works with third-party apps like Procreate, Notability, GoodNotes, Adobe Fresco, and Microsoft OneNote.
How do you change the tip of an Apple Pencil, and when should it be replaced?
Unscrew the old tip by turning it counterclockwise, then screw on a new one until it feels secure.
Replace the tip if it feels rough, skips strokes, or just doesn’t move as smoothly as before.
Is it possible to customize the pressure sensitivity of the Apple Pencil?
You can’t directly adjust pressure sensitivity in iPadOS settings.
Some drawing and note-taking apps, like Procreate or Adobe Fresco, let you fine-tune how strokes react to pressure.
How can you troubleshoot connectivity issues between an Apple Pencil and an iPad?
First, check if Bluetooth is on. Make sure your Apple Pencil has enough charge. If it won't connect, try unpairing it in Bluetooth settings. Then pair it again.
You can also restart your iPad. Sometimes updating iPadOS helps too.
