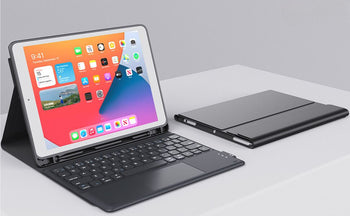
If you’ve ever wondered how to take off an iPad cases without the stress of cracking it or scratching your device, you’re not alone. iPad cases are designed to be snug, which is great for protection but not always fun when it’s time to remove them.
To remove an iPad case, begin at one corner and gently lift the edge away from the device, steering clear of the buttons. Slowly work around the sides, using your fingers or a slim tool if necessary, until the case loosens. Take your time and avoid pulling too hard to prevent any damage to both your iPad and the case.
Stick around, because once you know the trick, it’s way easier than it looks. Ready to free your iPad? Read on for the step-by-step guide!
Key Takeaways
- Learn the safe way to remove your iPad case step by step
- Understand how different case types come off
- Keep your iPad protected after removal
Explore our heavy duty iPad case case collection now and give your iPad the protection it deserves.
Preparation Before Removing Your iPad Case
Before you take off your iPad case, figure out what kind of case you have. Check if you’ll need any tools or if anything’s attached that could get in the way.
Taking a few minutes to prepare will make the process smoother. It’ll help you avoid scratches or damage.
Identify Your iPad Case Type
iPad cases come in all sorts of styles, and how you remove them depends on the type. A slim protective case usually snaps on, while a folio or book-style case often uses magnets or a folding cover.
Check if your case has a hard shell or a soft silicone frame. Hard shells often need gentle prying at the corners, while silicone or rubber cases stretch off more easily.
Some keyboard cases connect through the Smart Connector. You’ll have to detach that before pulling the case away.
Look for any built-in stand, strap, or holder. These features change how the case grips your iPad. Knowing the design helps you avoid forcing it and risking damage.
Gather Necessary Tools
Most iPad cases come off by hand, but some fit tight enough that tools help. A plastic opening tool (like those for phone repairs) can slide between the case and device without scratching.
A soft microfiber cloth is handy to protect the screen when you set the iPad down.
Avoid sharp tools like knives or metal screwdrivers. They can scratch or even crack the iPad’s edges.
If you don’t have a proper tool, a plastic card (like an old gift card) works well for prying open corners.
Keep your workspace flat and clean. A table with a soft pad or towel keeps your iPad from sliding around.
Check for Accessories and Attachments
Before removing the case, check for anything connected to your iPad. If you use AirPods cases with a strap or clip attached, unhook them first.
Some protective cases have pencil holders, kickstands, or mounts that latch onto the frame.
Detach any charging cables, keyboards, or stands. Leaving them connected can make the case harder to remove and might bend the ports.
If your case has a cover that folds back and magnetically sticks, make sure it isn’t holding onto the iPad while you pull.
If you use add-ons like screen protectors or lens covers, be careful not to lift them off by accident. Clearing these items makes the removal process faster and safer.
Read our guide: 7 Most Common Apple iPad Problems and How to Fix Them Fast and stay ahead of issues.
Step-by-Step Guide on How To Take Off an iPad Case Safely

Taking off an iPad case takes patience. You don’t want to scratch the screen or bend the frame.
The goal is to release each part of the case in the right order while keeping steady pressure on the iPad.
Remove Magnetic Latch and Folio Cover
Check if your case has a magnetic latch or folio cover. Many folio-style cases close with a flap that sticks to the iPad’s side.
Open the flap fully so it doesn’t snap back while you work. Lay your iPad on a flat surface with the screen facing up.
Keep one hand on the device to stop it from sliding. If the folio cover folds into a stand, flatten it out so it doesn’t get in the way.
Some covers use strong magnets to stay shut. Pull slowly on the flap instead of yanking, since a quick pull can shift the iPad.
Once open, fold the cover all the way back to expose the corners and edges of the case.
Free the Corners Without Damaging Buttons
Focus on the corners next. Cases with extreme protection often grip the iPad tightly at each corner.
Start with the top-right corner since it usually avoids the main buttons. Use your thumb to gently push the corner of the case away from the iPad’s edge.
Slide your other hand under the freed corner to support the iPad. Avoid pressing down on the power or volume buttons—too much force can jam them.
Work one corner at a time. Move to the opposite corner and repeat.
Don’t bend the iPad frame or twist the case sharply. Slow, even pressure keeps the device safe.
Carefully Detach the Backplate
If your case has a fibreglass backplate or rigid plastic shell, this part might feel stiff. Turn the iPad so the back faces you.
Place your fingers along the edge where the case meets the iPad. Gently pull the backplate outward while pushing the iPad slightly forward with your thumbs.
This creates space between the device and the case. Avoid bending the backplate too far—fibreglass can crack under stress.
Some rugged cases use two layers: a soft inner sleeve and a hard outer shell. Peel off the outer shell first before sliding the iPad out of the inner layer.
Lift Off the iPad
Once the corners and backplate are free, lift the iPad out slowly. Support it with two hands, holding both the screen side and the back.
Don’t let the iPad drop against the case as you remove it. If the case has a folio cover still attached, fold it back and slide the iPad upward.
Keep the device level to avoid scraping the edges. After removal, wipe the iPad with a soft cloth to clear away any dust or marks left by the case.
Store the case flat so it doesn’t warp before you use it again.
Check out our article, Best Tablet for Work 2025: A Complete Buying Guide and choose teh perfect device that fits your needs.
Special Instructions for Different iPad Case Models

Different iPad cases come off in different ways. Some need extra care because of strong clips or seals, while others just slide off with a gentle push.
Paying attention to the design helps you avoid bending the case or scratching your device.
Lifeproof and Rugged Cases
Lifeproof and other rugged cases have multi-layer protection. They often include a front frame, rubber outer shell, and hard inner layer.
You’ll usually need to separate these parts before you can take the iPad out. Start by checking for a small latch or seam along the edge.
Use a plastic opening tool or even your fingernail to lift the edge carefully. Avoid metal tools—they can scratch the case or iPad.
Once the outer rubber layer is off, pry open the inner hard shell. Many Lifeproof cases use a snap-lock system.
Release each clip one at a time instead of forcing them all at once. This prevents cracking the frame.
Slimline and Minimalist Cases
Slimline cases are light and flexible, so they usually come off easier than rugged or Mous cases. These cases often rely on a snug fit rather than clips.
To remove one, push gently on the back of the iPad near a corner while pulling the case edge away. The soft material bends enough to slide the device out.
If the case has a tri-fold cover with magnets, fold it back first so you can grip the shell better.
Some slimline cases have cutouts for the Apple Pencil. Watch out not to catch the pencil holder when sliding the iPad free.
Read our article: How Do I Find Out What Generation My iPad Is? Guide for Apple Users to identify your device in minutes.
Upgrade to Chesona Cases for Style & Easy Removal
If you’re thinking about switching cases, Chesona iPad cases are a smart choice. They’re designed to offer strong protection, sleek style, and—best of all—easy removal when you need it.
No more wrestling with stiff cases or worrying about scratching your iPad. Chesona makes it simple to snap on and off while keeping your device safe.
Recommended Chesona Cases
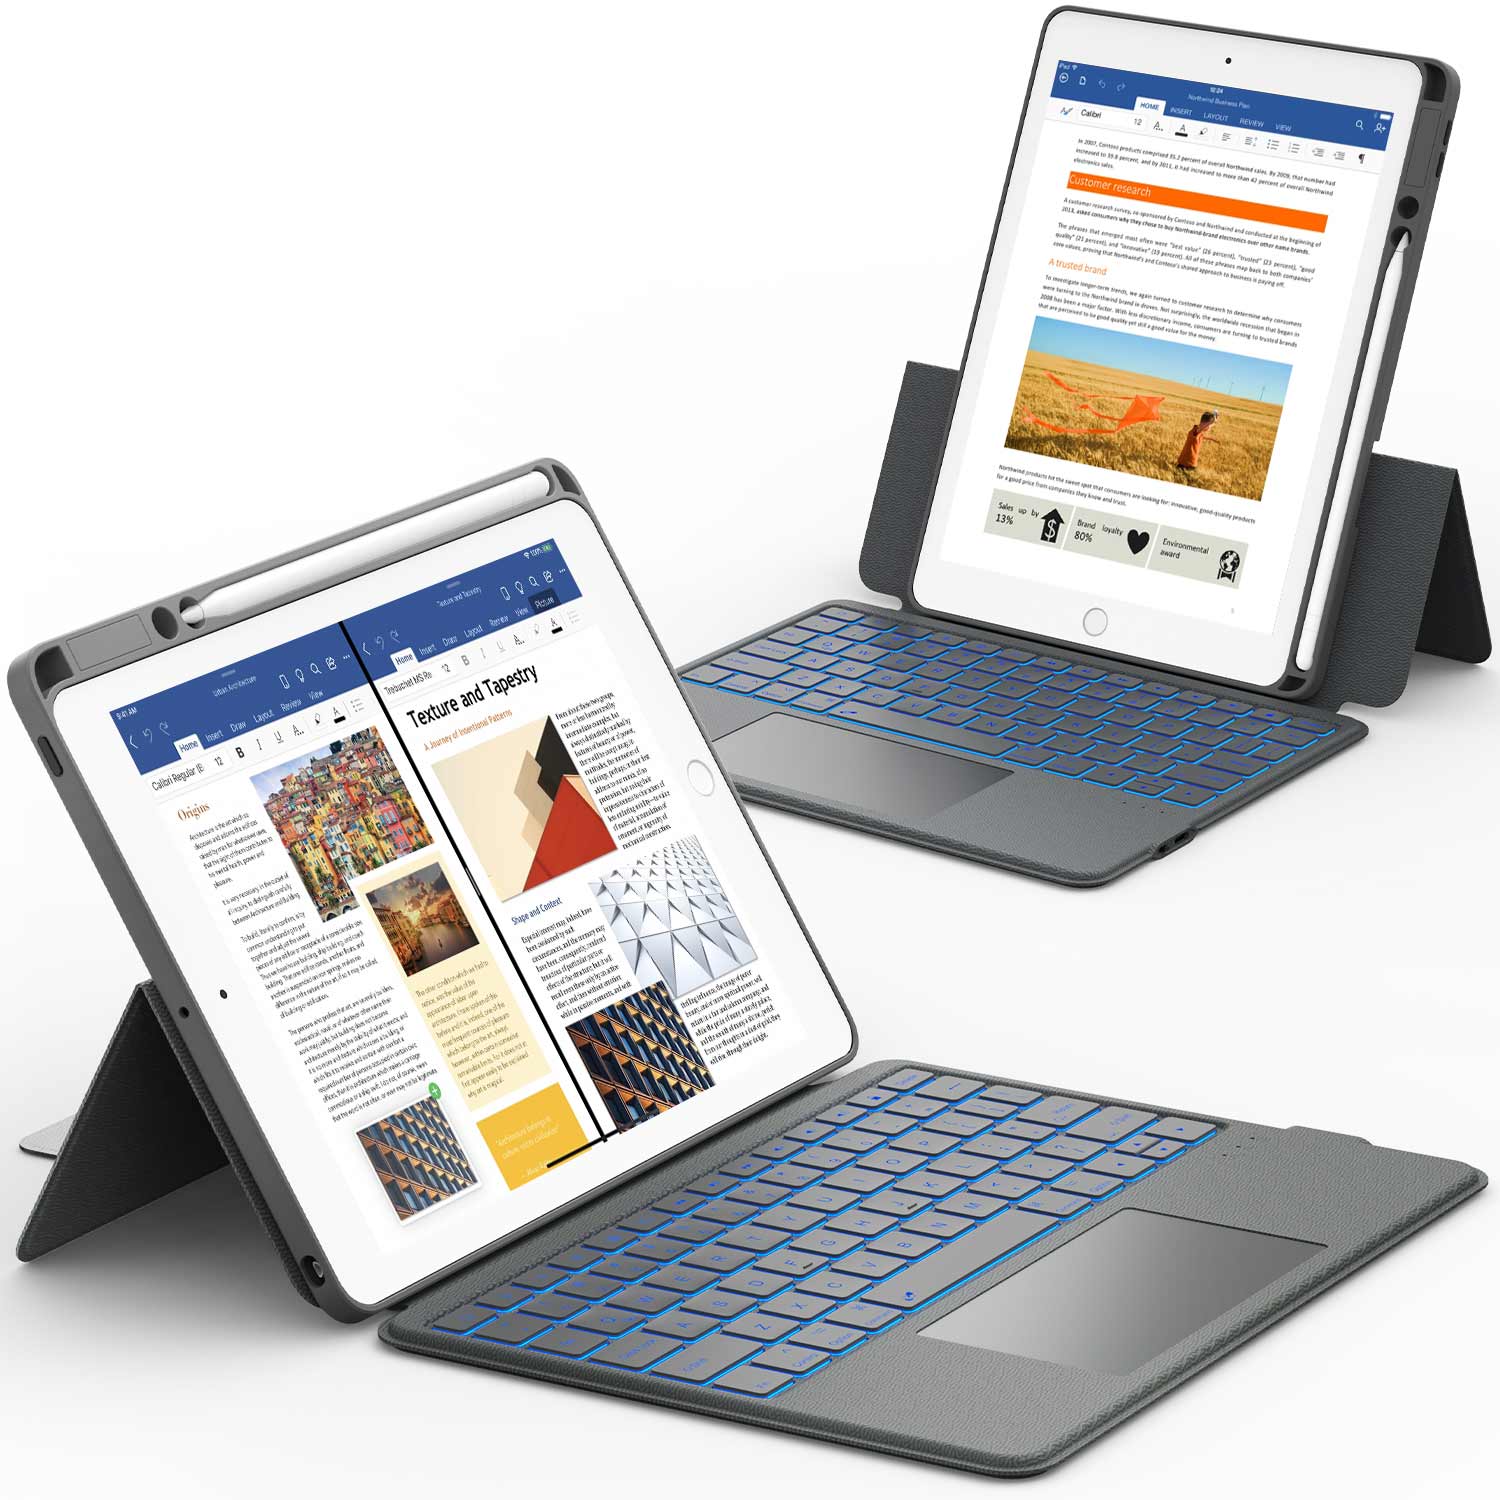
CHESONA ArmorDock Series Keyboard Case for iPad Pro 12.9" (6/5/4/3rd Gen) – A powerhouse with a built-in docking station, HDMI port, SSD support, and backlit keyboard.
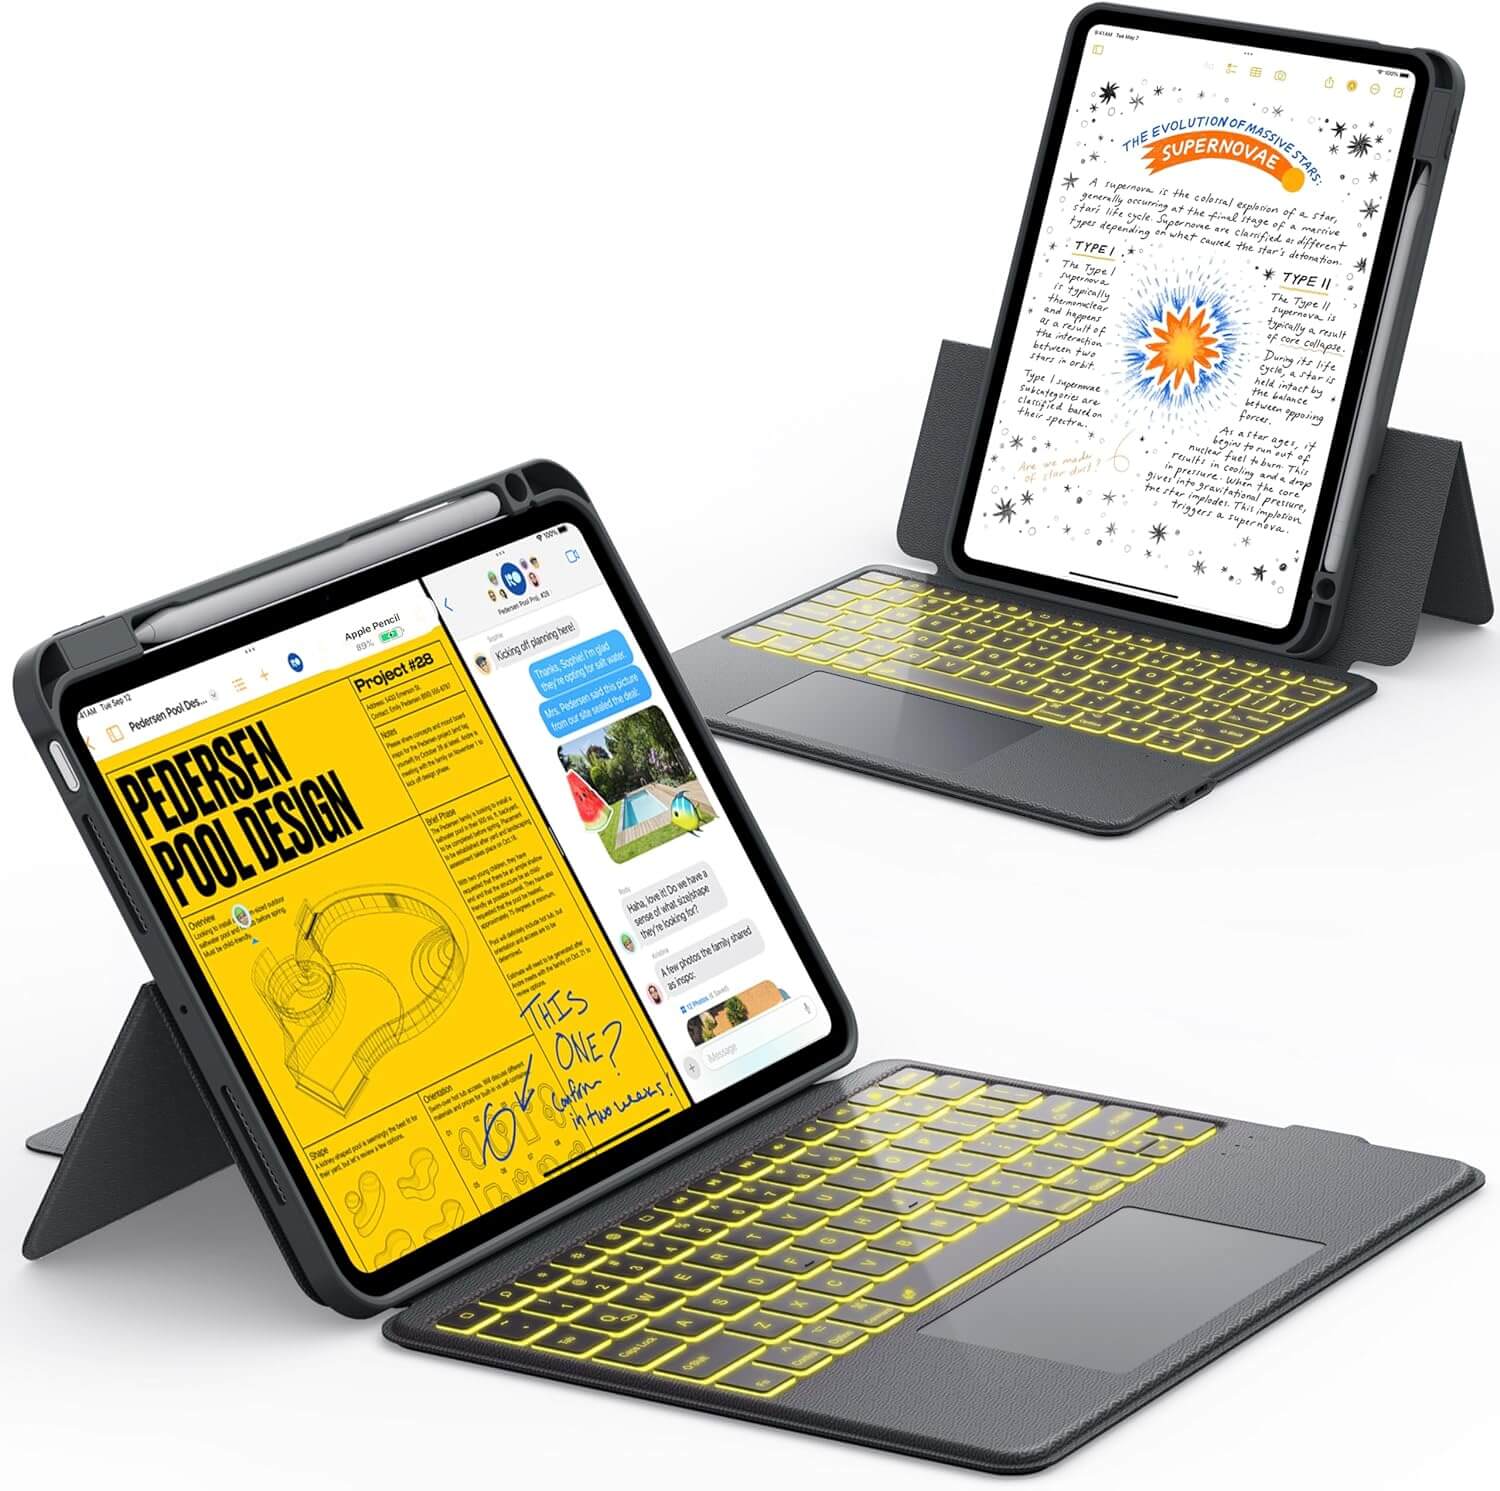
CHESONA Cloud Series Keyboard Case for iPad Pro 13" (M4) 2024 – Ultra-slim, lightweight, and designed for the newest iPad Pro with a smooth typing and trackpad experience.
CHESONA Step Series Keyboard Case for iPad 6/5th Gen, iPad Air 2 & iPad Pro 9.7" – A versatile option with a detachable keyboard, perfect for work, study, or travel.
With Chesona, you get the perfect balance of function, durability, and convenience—making it easier than ever to protect and enjoy your iPad.
Aftercare: Protecting Your iPad Post-Removal

Once you take the case off, your iPad is more exposed to scratches, smudges, and drops. A few simple steps help keep it clean, safe, and ready for whatever you throw at it next.
Cleaning Your iPad Screen
Your screen collects fingerprints, dust, and oils fast. Use a soft microfiber cloth to wipe it down.
Paper towels or tissues can leave scratches, so skip those. For deeper cleaning, lightly dampen the cloth with water or a screen-safe spray.
Never spray liquid directly on the screen. Hold the iPad steady while wiping so you don’t press too hard.
Check small areas like the edges of the display and the camera lens. Keeping those spots clean helps FaceTime calls and photos stay sharp. Clean your screen once or twice a week for best results.
Applying iPad Screen Protectors
A screen protector adds a thin shield against scratches and small drops. You can pick between tempered glass and plastic film.
Glass feels smoother and protects better, while film is lighter and cheaper. Before applying, clean the screen fully to avoid bubbles.
Peel the backing off slowly and line up the protector with the home button or camera cutout. Use a flat card to push out air pockets.
Some protectors reduce glare or block blue light. Others are thin enough to work with Qi wireless chargers and magnetic phone mounts without slipping.
Replace the protector if it cracks or peels at the corners. It’s just one more way to keep your iPad looking fresh.
Storing Your Accessories
Keep your case, stylus, and chargers in a safe spot so you don’t lose them. A small tech pouch or desk organizer works well.
If you use an Apple Pencil, stick it on the iPad’s magnetic side. That way, it stays charged and you always know where it is.
Don’t just toss accessories into bags without covers. Cables bend and break if you don’t wrap them neatly.
For mounts, stash them in a drawer or glove box. That way, they’re ready for your car or desk when you need them.
If you use wireless chargers, check that the surface is clean and flat. Dust or debris under the charger can make your iPad heat up or charge slowly.
Follow our guide, How to Fix Floating Keyboard on iPad: Quick & Easy Solutions and solve the problem instantly.
Final Thoughts
Taking off an iPad case doesn’t have to be a struggle. By starting at the corners, working gently around the edges, and avoiding the buttons, you can protect both your iPad and the case itself.
The key is to stay patient and avoid using too much force. Slow and steady wins here. Once you’ve done it once, you’ll see how simple it really is.
And if you’re ready for a fresh look or better protection, why not upgrade? Check out Chesona cases—from sleek flip iPad cases to practical iPad cases with pencil holders and tough heavy-duty iPad cases. Your iPad deserves the best!
Shop our iPad case with pencil holder collection today and keep your Apple Pencil always within reach.
Frequently Asked Questions
How to remove iPad from type case?
Open the case like a book. Gently push the iPad from the back corners—start with one, then the opposite one.
Once two corners are free, the rest of the iPad usually slides out without much fuss.
How do I take back off of my iPad?
The back of the iPad itself doesn’t come off. Apple seals these devices, so you can only remove the case or cover.
If you need to get inside, you’ll need pro repair tools. Probably best to leave that to the experts.
How to take off a hard case?
Hold the iPad firmly and press on the edges of the case near a corner. Pull the corner of the case back just enough to pop the iPad out.
Work around the edges until the device is free. Don’t bend it, just take your time.
How do I remove an Apple case?
Apple cases usually have a snug but flexible design. Start at the top-right corner and gently peel it back.
Push the iPad out by pressing from the back while sliding the case off. It takes a little patience, but it’s not hard once you get the hang of it.
How to remove caps on iPad?
If you mean the small caps on accessories like the Apple Pencil charging end, just pull them straight off with your fingers.
The iPad itself doesn’t have removable caps or covers built in. So, you’re safe there.
How do I take off an iPad case if I've never done it before?
Lay your iPad face up on something soft—maybe a towel or your bed—so you don't scratch it. Pick a corner and gently push the iPad out while pulling the case back a bit.
Go slow. Don't force it. These cases can stretch a little, but they're not indestructible.

