Taking great photos and videos with your iPad is easier when you know how to adjust the right settings.
Whether you are using an iPad, iPad Air, or iPad Pro, learning how to tweak your iPad camera settings can make a huge difference in quality.
Read on to discover all the tips, tricks, and fixes you need to get the most out of your iPad camera.
Why iPad Camera Settings Matter
Your iPad camera is powerful, but many people never explore the settings that can improve results.
By making a few small changes, you can get sharper photos, smoother videos, and better performance in different lighting conditions.
How to Access iPad Camera Settings

Finding iPad camera settings is simple but not always obvious. You can open the Camera app for quick adjustments or go into the iPad’s Settings app to manage deeper options like formats and grid lines.
Quick tip: If your camera settings are disabled, you can enable them in the Settings app under Privacy. This ensures apps have access to the camera when you need it.
Essential iPad Camera Settings You Should Know
Learning the core iPad camera settings helps you capture better photos every time. Here are the most useful ones to start with:
- ✅ Grid lines: Turn these on to help frame your shots and keep horizons straight.
- ✅ HDR (High Dynamic Range): Great for balancing bright skies and dark shadows in the same photo. (Note: HDR is available on most newer iPads, but older models may not support this feature.)
- ✅ Flash controls: Choose auto, on, or off depending on your lighting.
- ✅ Timer: Perfect for selfies or group shots.
- ✅ Photo formats: Decide between HEIF for smaller file sizes or JPEG for compatibility.
- ✅ Exposure: Tap and slide on the screen to make your photos brighter or darker.
- ✅ Burst mode: Hold down the shutter button to capture a series of photos quickly — useful for action shots or moving subjects.
On iPad, you can adjust exposure, focus, and resolution. Advanced settings like ISO, shutter speed, and aperture are automatic, but third-party apps can give you manual control if you want more flexibility.
📌 If you are comparing which iPad model has the best camera features, check out this helpful breakdown of iPad Air vs iPad Pro.
Video Settings on iPad
Your iPad can record high-quality videos, but the right settings make a big difference. You can adjust resolution (720p, 1080p, or 4K) and frame rate (30fps or 60fps) depending on whether you want smoother motion or smaller file sizes.
Note: Most recent iPads support 1080p and 4K video recording, while some older models may only support lower resolutions.
If you enjoy creative clips, try slow-motion or time-lapse modes. For video calls, a lower resolution may be fine, but for recording content, higher settings give you the best look.
Camera Modes on iPad Explained
iPad camera modes are designed for different situations. Switching between them can help you get the right shot without extra effort.
- ✅ Photo: The standard mode for everyday pictures.
- ✅ Video: For recording in different resolutions.
- ✅ Portrait: Available on some iPads for blurred backgrounds. (Note: Portrait mode is supported only on certain iPad models, such as newer iPad Pro devices with a TrueDepth camera.)
- ✅ Panorama: Capture wide landscapes.
- ✅ Slo-Mo: Record dramatic slow-motion clips.
- ✅ Time-Lapse: Create fast-moving videos of long events.
📌 If you are curious about how your iPad compares to older models, browse this iPad Air 2 vs iPad 5th Gen guide.
How to Improve iPad Camera Quality Without Extra Apps

You do not need professional gear to get better results. Simple adjustments can dramatically improve your iPad camera quality.
- ✅ Clean the lens regularly: Avoid blurry spots.
- ✅ Use natural light whenever possible: It gives the best results.
- ✅ Tap to focus and slide to adjust exposure: Control brightness and sharpness.
- ✅ Lock focus and exposure: Keep results consistent in tricky lighting.
- ✅ Hold your iPad steady or use a tripod: Prevents blur.
Note: The rear camera generally offers higher resolution and better quality than the front camera, which is optimized for FaceTime and selfies.
Also, unlike iPhones, most iPads don’t include Night Mode, so low-light photos may appear grainier.
📌 If your iPad is running slow or the camera feels laggy, keeping your software updated helps. Learn how in this step-by-step iPad update guide.
Advanced Tips for Better iPad Photos and Videos
- ✅ Use third-party apps: They allow manual adjustments like ISO, shutter speed, and white balance.
- ✅ Edit in the Photos app: Adjust brightness, contrast, and color to enhance your shots.
- ✅ Try accessories: Tripods, external lenses, or portable lights can improve results.
Common iPad Camera Problems (and Fixes)
- ✅ Blurry or grainy photos: Clean the lens and make sure you have enough light.
- ✅ Camera not focusing: Tap on the subject to reset focus.
- ✅ Settings not working: Try resetting your iPad’s system settings.
- ✅ Defaults needed: Restore default camera settings if adjustments caused issues.
There isn’t a dedicated reset option for only the camera. To restore defaults, go to Settings > General > Transfer or Reset iPad > Reset > Reset All Settings. This resets camera options along with other system preferences.
📌 If you are struggling with other iPad issues beyond the camera, you can browse this guide on common iPad problems.
How to Use the iPad Camera (Beginner’s Quick Guide)
If you are new to iPad photography, start with the basics:
- ✅ Open the Camera app: It’s your main hub for photos and videos.
- ✅ Switch between front and back cameras: Tap the flip icon.
- ✅ Tap the shutter button: Capture photos or videos instantly.
- ✅ Use the camera control button: Switch modes or adjust quick settings.
- ✅ Experiment with modes: Find what works best for your needs.
📌 If your iPad ever freezes or the camera app stops responding, a quick reset can help. Learn more in this iPad hard reset guide.
Conclusion
Mastering iPad camera settings gives you more control and better results, whether you are taking family photos or shooting videos for fun.
With the right adjustments, your iPad can capture sharp, bright, and creative images.
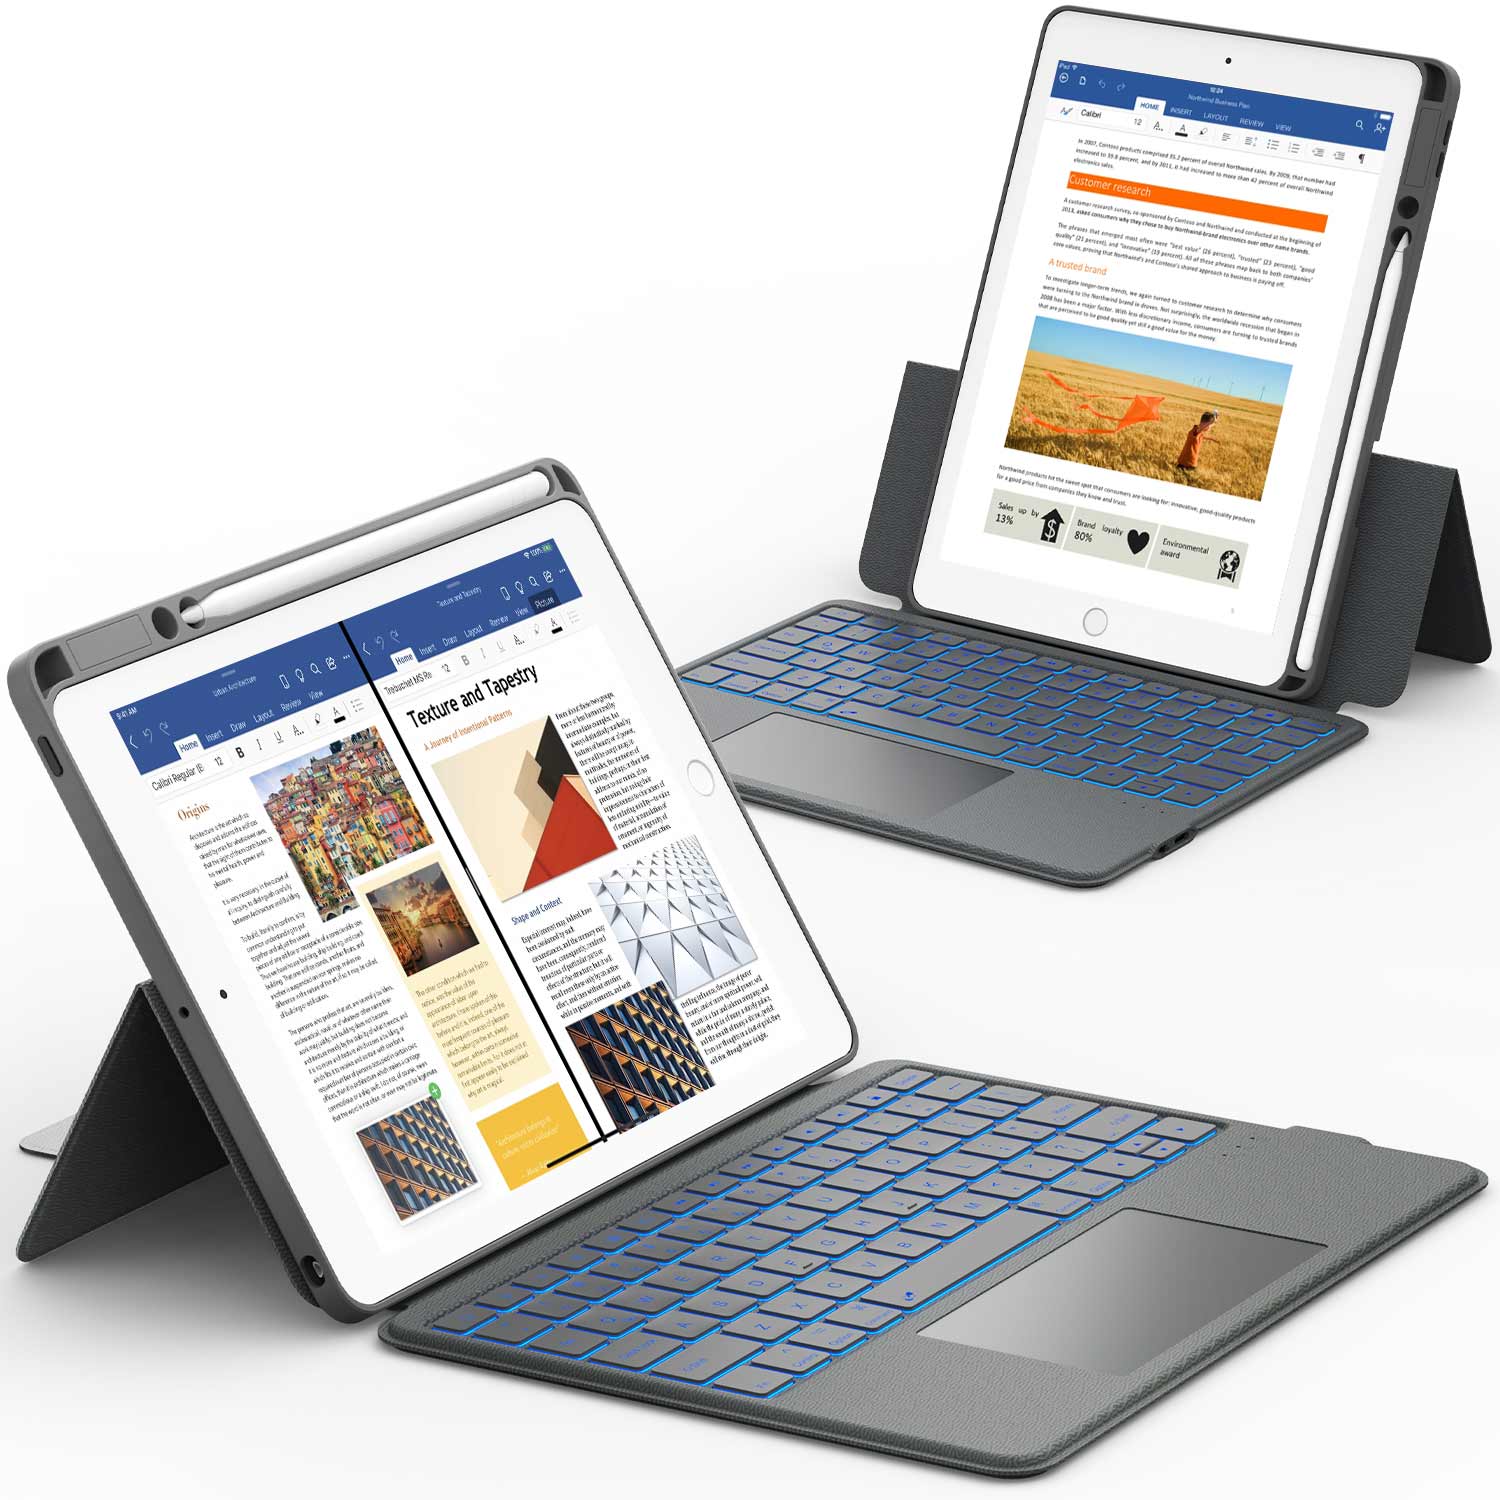
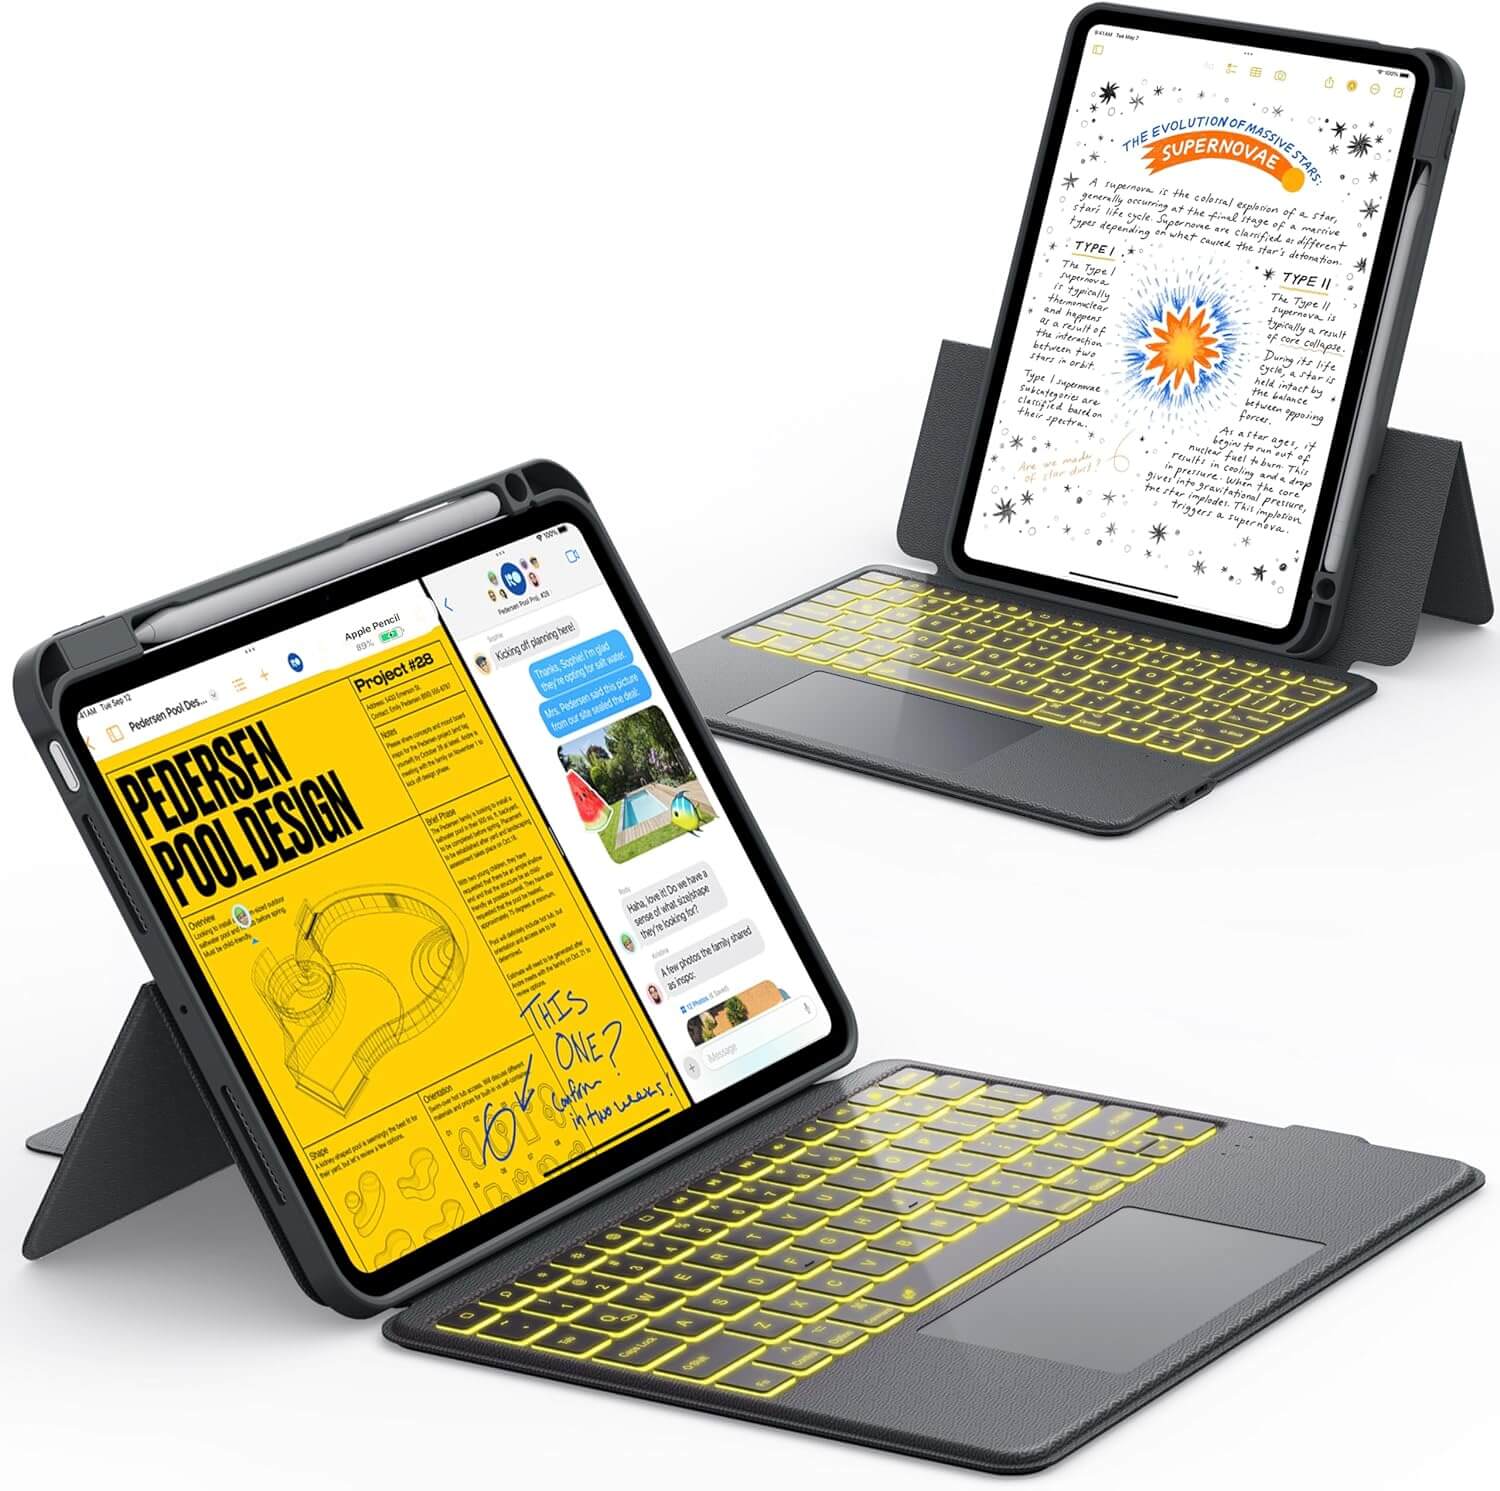
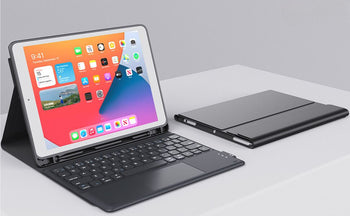
For more iPad guides, troubleshooting tips, and fixes, visit Chesona. And if you want to protect your iPad while taking photos or videos, don’t forget to shop for a quality protective case or a protective case with keyboard and touchpad for any model.
You May Shop These Protective Keyboard Case
Frequently Asked Questions About iPad Camera Settings
How to increase camera quality on an iPad?
You can improve iPad camera quality by using good lighting, cleaning the lens, and adjusting exposure manually. Holding the iPad steady or using a tripod also helps reduce blur. Choosing higher resolution video settings can make your recordings look sharper.
Can you change Camera settings on an iPad?
Yes, you can change many iPad camera settings both in the Camera app and in the main Settings app. Options include grid lines, HDR, formats, and video resolution. These adjustments can improve your photos and videos.
What are the modes on the iPad Camera?
The iPad camera includes modes like Photo, Video, Portrait, Panorama, Slo-Mo, and Time-Lapse. Each mode is designed for different types of shots. Portrait mode is only available on certain iPad models.
How to reset iPad Camera settings?
There isn’t a reset option for the camera alone. To restore defaults, go to Settings > General > Transfer or Reset iPad > Reset > Reset All Settings. This resets camera preferences along with other system settings.
Why is my Camera quality so bad on my iPad?
Poor lighting, dirty lenses, or incorrect settings can cause bad image quality. Make sure your storage is not full, as this can also affect performance. Adjusting exposure and using natural light usually improves results.

