If you're looking to start digital art on your iPad, Procreate is honestly one of the best apps out there. It's built for painting, sketching, and even animation, but it doesn't feel overwhelming.
Open Procreate, make a canvas, pick your brushes and colors, then draw right on the screen with your Apple Pencil or even your finger.
You don't need years of experience to get the hang of Procreate. The layout is simple, so you can find brushes, change layers, or mess with colors pretty quickly.
With just a few steps, you can go from setting up your first canvas to saving and sharing your art.
As you use it more, you'll figure out how to work with layers, try blending modes, and find shortcuts that speed things up. Whether you're sketching, painting details, or just playing around with digital tools, Procreate lets you learn at your own pace.
Getting Started with Procreate on iPad
To start making digital art with Procreate, you need the right iPad, a comfy workspace, and tools that make drawing easier. Paying attention to your hardware and app setup makes everything smoother.
System Requirements and Installation
Procreate only works on iPad, and you need iPadOS 15 or higher for the latest version, Procreate 5. You won't find it on Android or Windows.
Buy it once from the App Store—no subscriptions or hidden costs.
Newer iPads, like the iPad Pro, iPad Air (3rd gen or newer), iPad Mini (5th gen+), and standard iPads from the 7th gen onward, run Procreate really well. Older iPads might lag or support fewer layers.
After you buy it, just download Procreate from the App Store. When you open the app, you'll land in the Gallery, where all your art lives.
Setting Up Your Workspace
When you launch Procreate, the Gallery pops up and shows your projects. Tap the “+” button to start a new canvas.
You can choose from preset sizes or make your own. Small canvases work for stickers, while big ones are better for posters or prints.
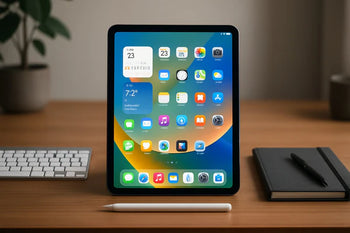
The main workspace has tools along the top and sides. There are brushes, erasers, selection tools, and layer controls.
You can tweak each tool—change the size, opacity, or other settings—until it feels right.
Layers are a big help if you're new. They let you keep your background, line art, and colors separate so it's easier to fix mistakes.
Apple Pencil Compatibility
Procreate works with both touch and Apple Pencil, but the Pencil gives you way more control. You can press harder for thick lines or shade like you would with a real pencil.
The app supports both Apple Pencil generations. The 2nd gen works with iPad Pro and newer Air models, while the 1st gen fits older iPads. Double-check your iPad before buying a Pencil.
In Procreate's Preferences, you can adjust Apple Pencil settings. Change the pressure curve, set up double-tap shortcuts (for 2nd gen), and tweak how brushes react.
Customizing these helps you draw in a way that feels natural.
Procreate is a game‑changer for digital art. By reading our guide Low Power Mode iPad: Save Battery Fast, you’ll make sure your creative sessions last longer.
Exploring the Procreate Interface
Procreate's layout keeps your tools close but out of the way. The interface centers around organizing your art and making the canvas easy to work with.
You can also change settings to fit how you like to work best.
Gallery and Canvas Overview
When you open Procreate, you start in the Gallery—all your projects show up as thumbnails. You can make a new canvas, import files, or organize your art into stacks.
Inside the Canvas, the top toolbar has undo, redo, adjustments, and layer controls. The sidebar on the left lets you change brush size, opacity, and pick colors fast.
The Layers panel is super important for building up your art. You can edit, reorder, or group layers, and play with blend modes and masks.
The Brush Library has tons of drawing tools—pencils, inks, paints, textures. You can even import or make your own brushes.
Navigation and Gestures
Procreate uses touch gestures to speed things up. A two-finger tap undoes, and a three-finger tap redoes your last action.
These shortcuts save you from digging through menus.
Pinch to zoom for detail work, or twist with two fingers to rotate the canvas. Double-tap to snap the canvas back to normal view.
The QuickMenu gives you fast access to tools like the eraser or selection tool. You can set up gesture shortcuts so you don't have to leave the canvas.
Gestures help with layers, too. Pinch two layers together to merge them. Swipe left on a layer to lock, duplicate, or delete it.
Customizing Preferences
You can change Procreate’s interface to match your style. In the Actions menu (the wrench icon), you'll find options to tweak canvas settings, add reference images, or change how the interface works.
Under Prefs, switch between light and dark modes, show or hide the brush cursor, or adjust gesture controls. It's up to you how much feedback you want while drawing.
The Gesture Controls panel lets you assign actions to taps, swipes, or Apple Pencil buttons. For example, double-tap your Pencil to swap between brush and eraser.
You can also control pressure sensitivity and stabilization. These make your strokes smoother or more natural, depending on what you like.
Creating and Managing Canvases
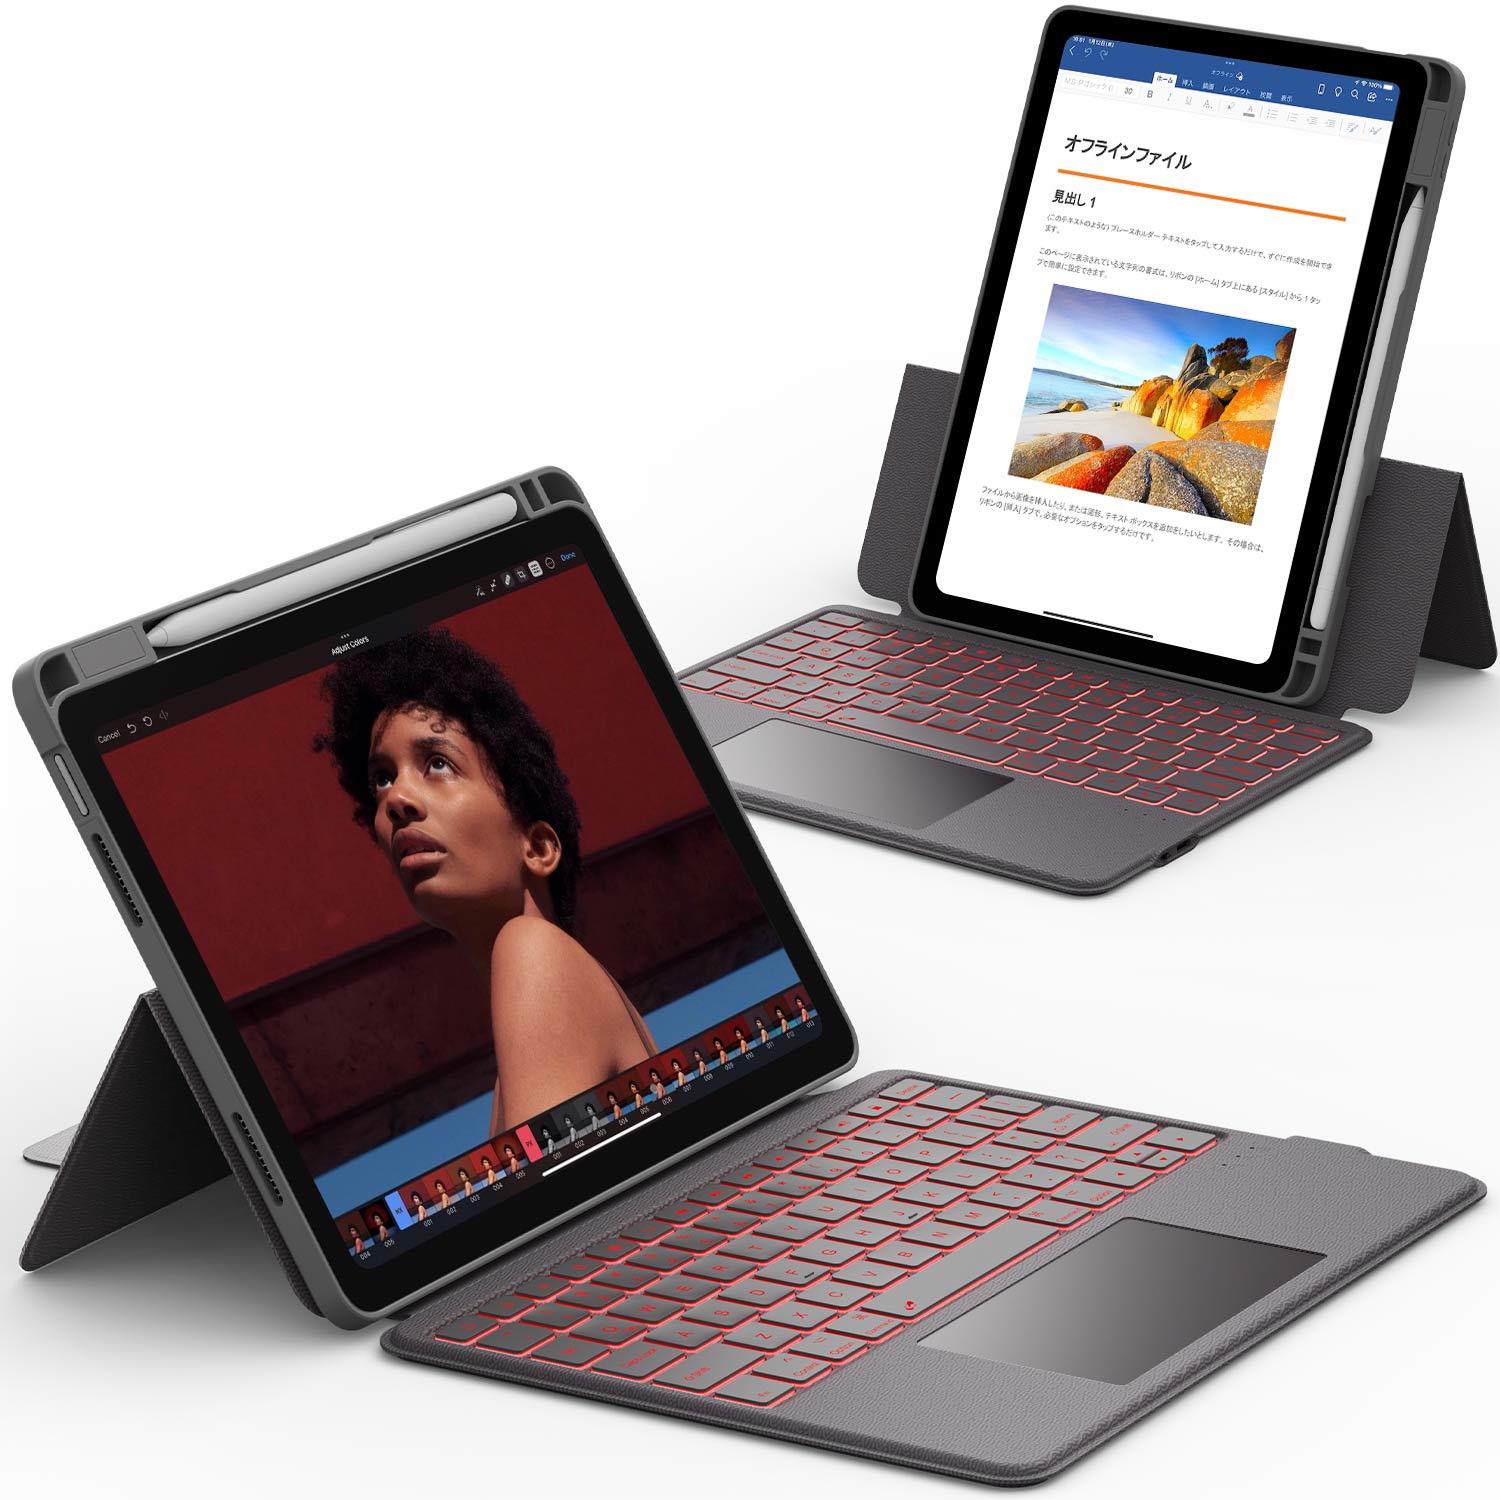
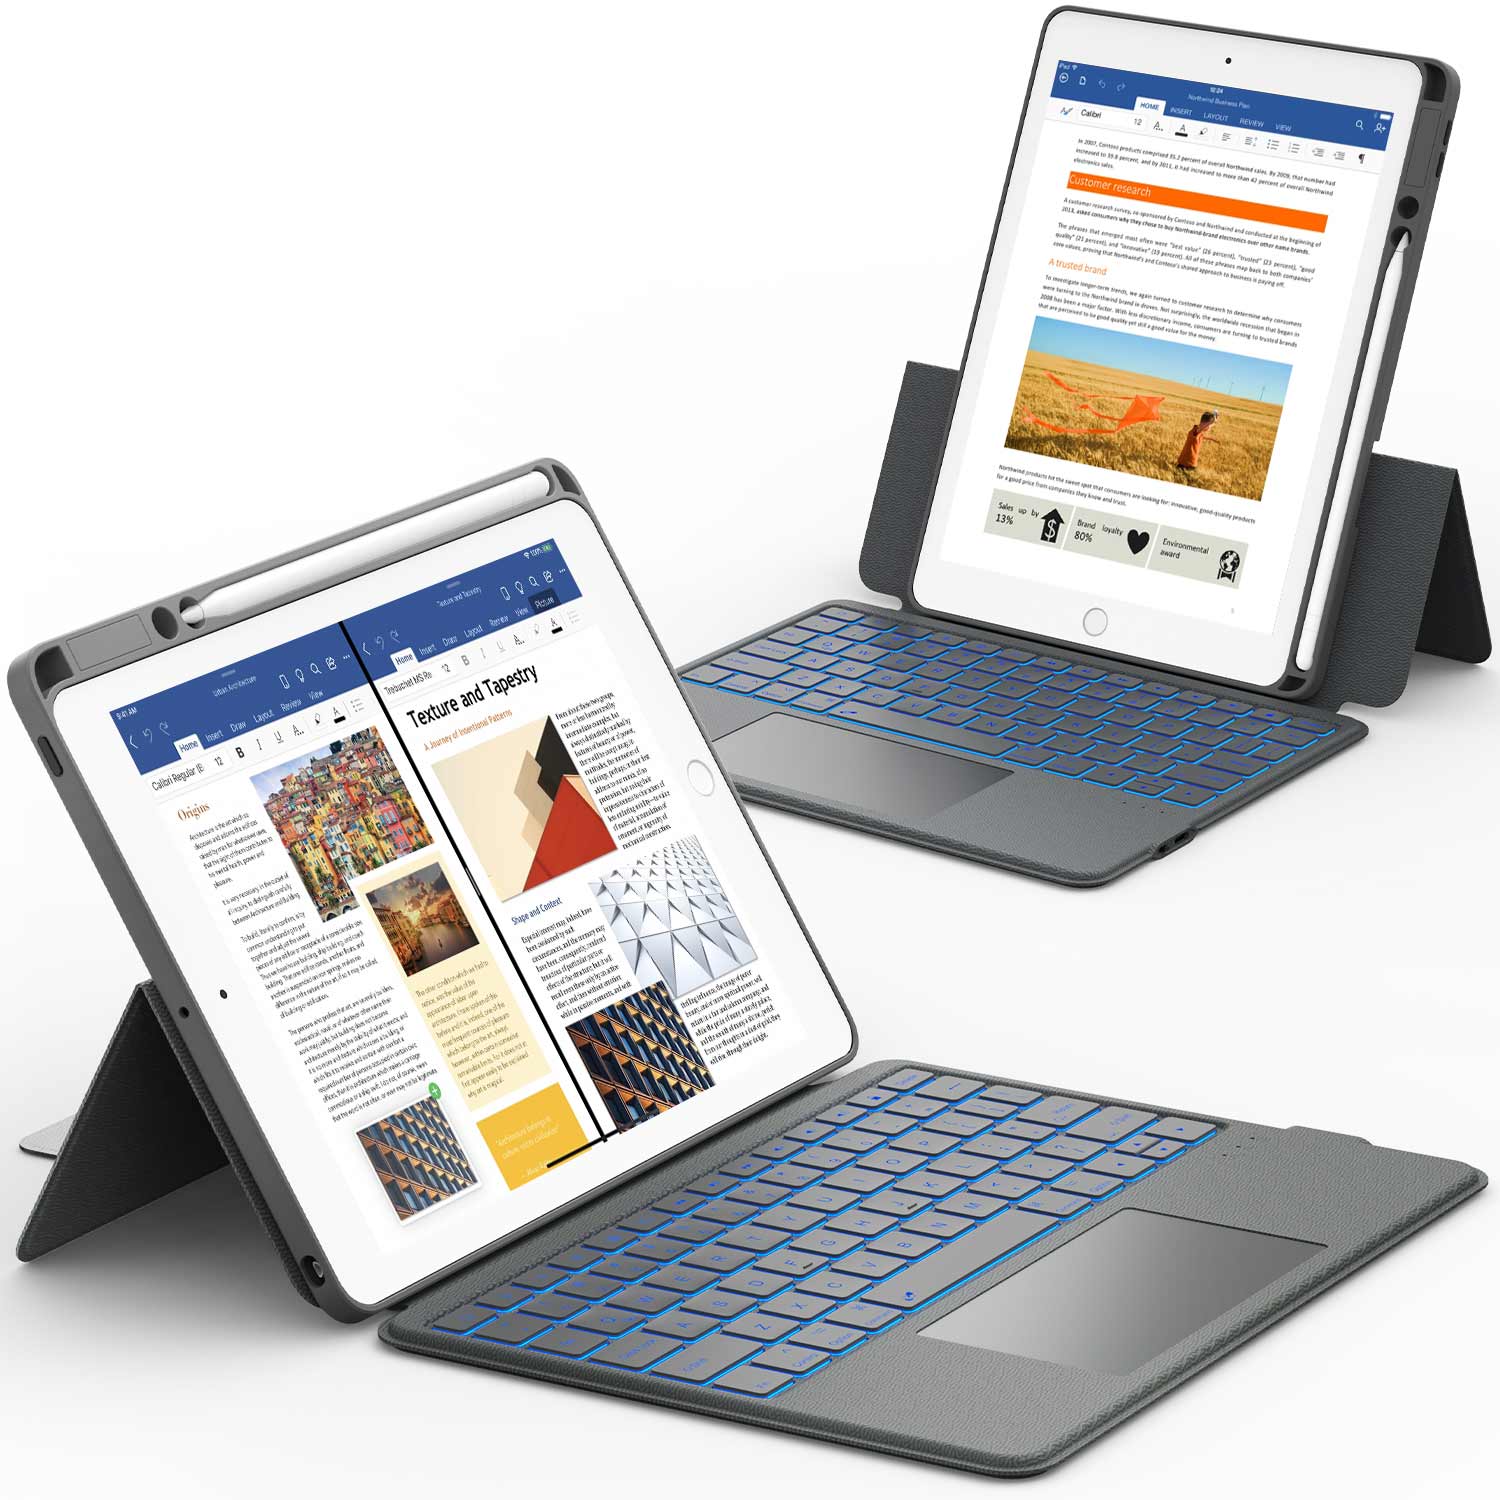
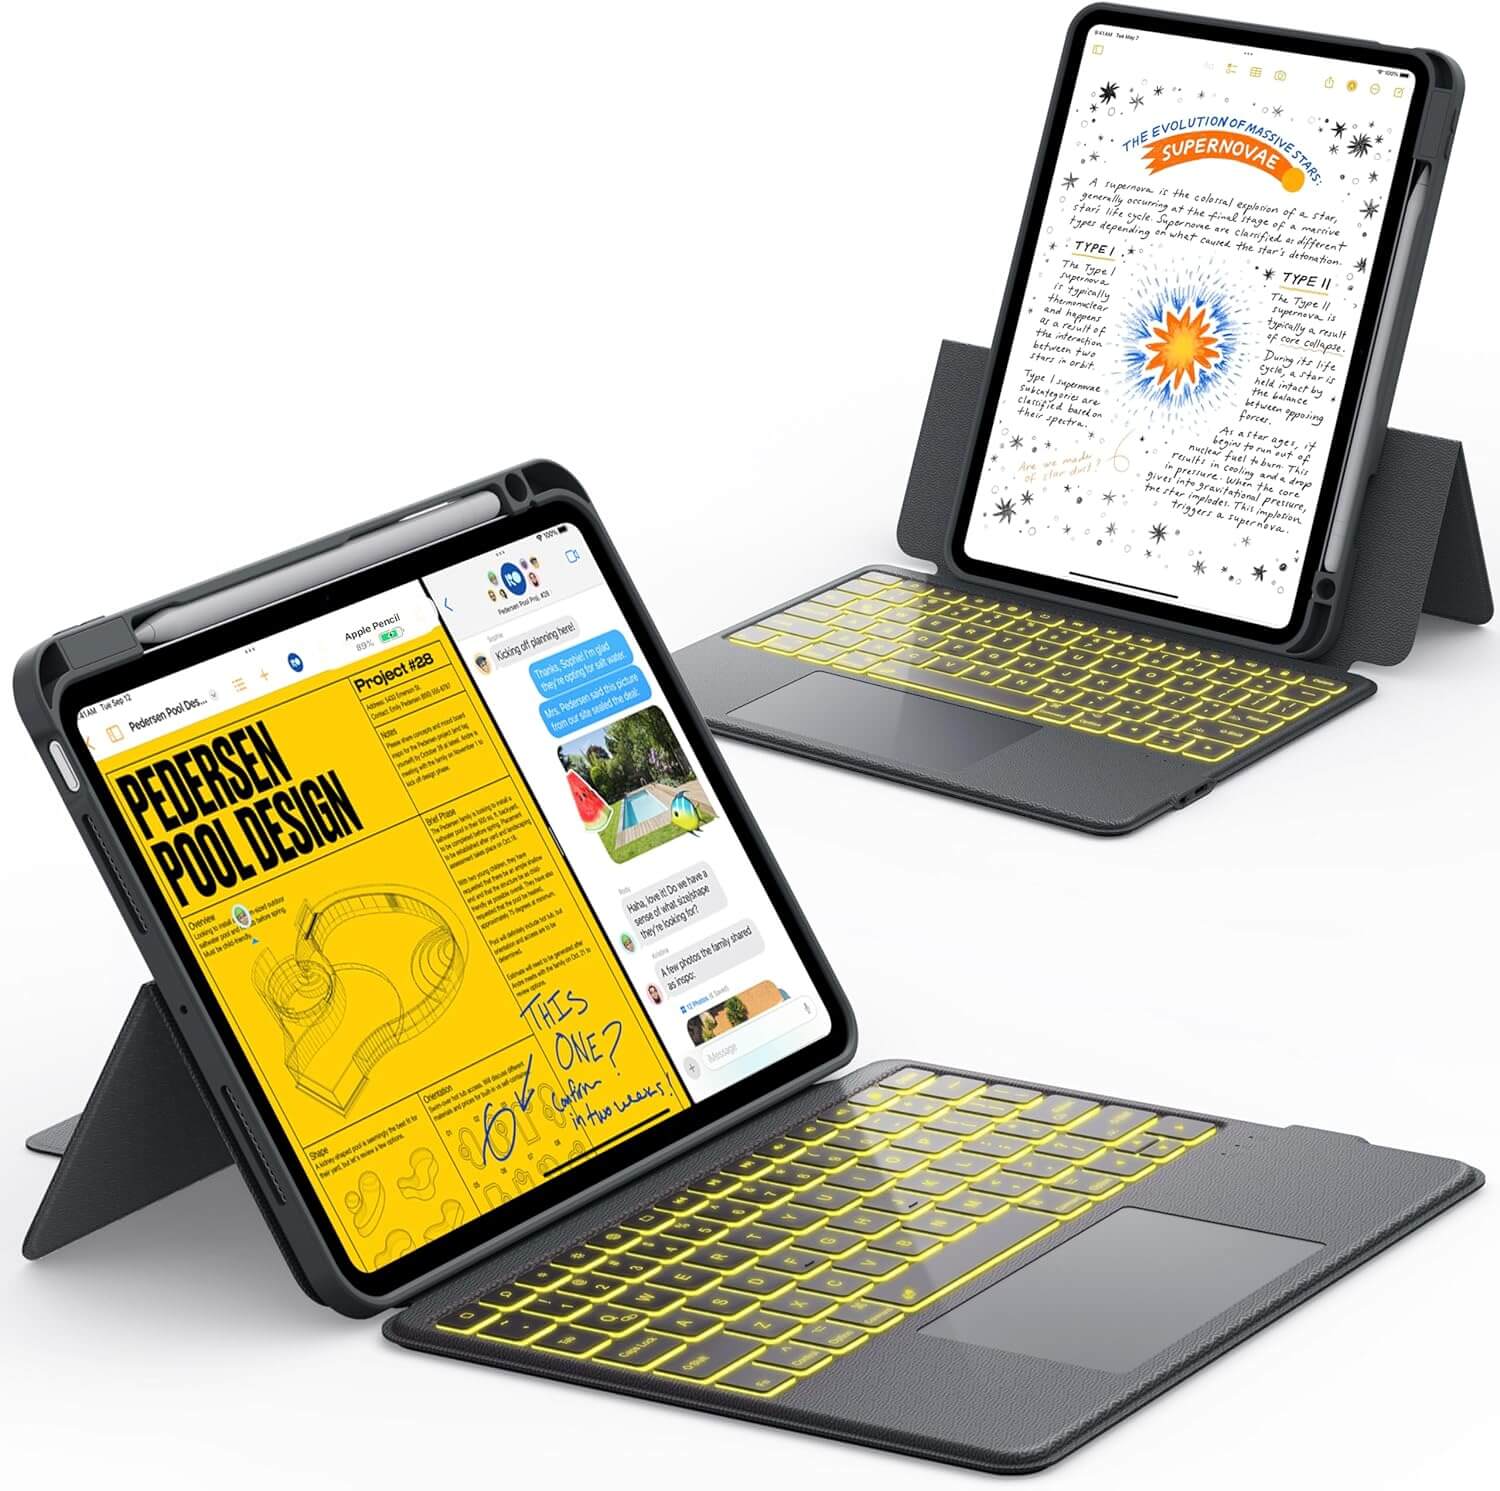
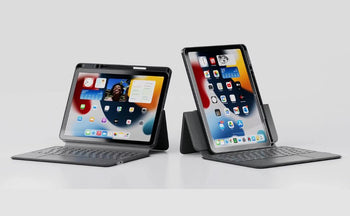
CHESONA Step Series Keyboard Case for iPad Air 11 inch/ Air 5th 4th Gen 10.9 inch
Every piece of art in Procreate starts with a canvas. How you set up your canvas affects your workflow, image quality, and how you use your finished art.
Starting a New Canvas
Tap the “+” icon in the Gallery to make a new canvas. Choose from built-in presets or make a custom one.
Presets like Screen Size match your iPad’s display and are great for quick sketches. There are also print sizes and templates for common projects.
If you want more control, tap New Canvas and set your own width, height, and other properties. This way, your canvas fits your project, whether it's for web, print, or animation.
Choosing Canvas Dimensions and DPI
Canvas size decides how much detail you can add and how big your file gets. Set width and height in pixels, inches, millimeters, or centimeters.
DPI (dots per inch) matters if you plan to print your art.
- 72 DPI is standard for screens.
- 300 DPI is best for printing.
Bigger canvases and higher DPI mean fewer layers in Procreate, since the app manages memory for you. For example, a 6000 x 4000 canvas at 300 DPI might only give you a few layers, but a smaller one at 72 DPI allows more.
Color Profiles and Settings
When you make a custom canvas, you also pick a color profile. Procreate 5 supports RGB and CMYK.
- RGB is for digital art or anything you'll see on a screen.
- CMYK is for print, so your colors look right on paper.
You can set Time-lapse settings to record your drawing process. There are also options for background color and canvas orientation.
Choosing the right settings up front saves you headaches later. If you change color profiles after starting, your colors might shift.
Want to sketch and paint without interruptions? Read our article Can iPads Get Viruses? What You Need to Know to keep your device safe while you create.
Essential Drawing and Painting Tools
Procreate gives you digital painting tools for sketching, coloring, and refining your art. You can swap brushes, colors, and blending options quickly, so your workflow stays smooth.
Using the Brush Tool
The Brush Tool is your main way to draw and paint in Procreate. Pick from hundreds of built-in brushes—pencils, inks, paints, textures. Each one feels a little different, especially with Apple Pencil.
Change brush size and opacity with the sliders on the side. Lower opacity for soft shading, or crank up the size to fill big areas fast.
You can also tweak brushes or make your own. Adjust the shape, grain, or how it reacts to pressure. Save favorites in folders for sketching, inking, or painting—makes life easier.
Color Selection and Palettes
Procreate's color tools give you lots of ways to pick and use colors. Use the color wheel, sliders, or swatches. The eyedropper tool lets you grab colors right from your canvas.
Palettes help you keep your favorite colors together. Build your own for each project or import palettes from somewhere else.
The app has features like Harmony for color suggestions and History to jump back to recent picks. It's handy for experimenting without losing your main color scheme.
Eraser and Smudge Tools
The Eraser Tool works just like a brush, so you can erase with different textures and shapes. This helps you clean up edges or remove details without weird, sharp lines.
The Smudge Tool blends colors and strokes. Pick a soft smudge brush for smooth gradients, or a textured one for more detail.
Using eraser and smudge together lets you fix mistakes and add polish. They're great for shading, blending, and tweaking highlights.
If you’re diving into digital art, you’ll love extra iPad tricks. Check out Mac Snipping Tool: Quick Guide to Screenshots for capturing and sharing your work easily.
Working with Layers and Blending Modes
Layers let you keep parts of your art separate so you can edit without messing up the rest. Blending modes, clipping masks, and alpha lock give you more control over how colors and textures mix. It makes digital painting way more flexible and precise.
Adding and Organizing Layers
In Procreate, each new layer works like a clear sheet stacked above the others. You can draw, paint, or add effects on one layer, and it won’t mess with the layers underneath.
This setup makes it easy to try out ideas or fix mistakes without stress.
To add a layer, just tap the Layers Panel icon (those two overlapping squares). From here, you can make, copy, group, or delete layers.
Grouping layers keeps things organized, especially if your painting has a lot going on.
You can tap a layer’s name to rename it. Using clear names like Background, Shadows, or Line Art helps you remember what’s what.
Want better control? Try putting related layers in folders. For example:
- Linework
- Color Fill
- Shading
- Highlights
This kind of setup keeps your artwork tidy. It also makes changes way faster.
Blending Modes Explained
Blending modes change how a layer mixes with the colors below it. By default, layers use Normal mode, so the top layer stays solid and covers what’s underneath.
If you switch to another mode, you’ll see colors, light, and contrast blend in different ways.
Tap the letter next to a layer (usually N) to open the blending modes. You’ll see options like Multiply, Screen, or Overlay.
Each one makes a different look, and honestly, some are more useful than others.
- Multiply: Makes things darker—great for shadows.
- Screen: Lightens colors, so it’s good for highlights.
- Overlay: Bumps up contrast by mixing light and dark.
- Color: Changes hue and saturation but keeps the brightness from below.
Adjust the Opacity Slider to get more control. Lower opacity softens the effect, while higher opacity makes it pop.
Mess around with these settings to add depth and texture. Sometimes you just have to experiment to find what looks right.
Clipping Masks and Alpha Lock
Clipping masks and alpha lock both keep your painting inside certain areas, but they don’t work the same way.
A clipping mask attaches a layer to the shape of the layer below. Anything you paint will stay inside that base shape, which is awesome for shading or adding patterns.
Alpha lock locks the see-through parts of a single layer. When you turn it on, you can only paint where there are already pixels. This makes it easy to recolor or shade without coloring outside the lines.
Here’s a quick comparison:
|
Tool |
Affects Which Layer? |
Best For |
|
Clipping Mask |
Top layer clipped to base layer |
Adding effects like shadows or highlights |
|
Alpha Lock |
Same layer only |
Recoloring or refining existing artwork |
Cases Designed for Artists and Digital Creators
Procreate turns your iPad into a digital art studio. The right Chesona case can make your creative sessions smoother, more comfortable, and better protected.
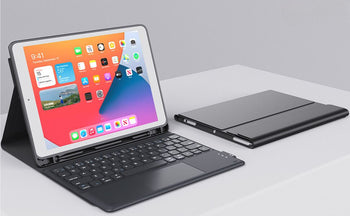
- The iPad Keyboard Case With Touchpad collection is perfect for artists who also multitask.
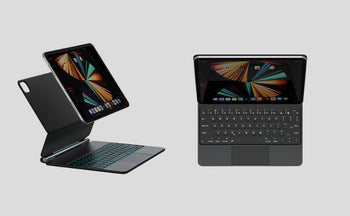
- If you want portability, check out the Magnetic Keyboards for iPad.
- For professionals, the iPad Pro 11 Inch Case With Keyboard collection offers premium functionality.
⭐ Recommended products:
- CHESONA ArmorDock Series Keyboard Case for iPad Pro 12.9" 6/5/4/3th — a premium, sturdy case perfect for long Procreate sessions.
- CHESONA Rugged Series Keyboard Case for iPad 10/11th Gen 10.9'' — durable protection for creators on the go.
Frequently Asked Questions
What are the basic gestures I need to know to navigate Procreate?
Use two fingers to undo and three fingers to redo. Pinch with two fingers to zoom in or out, and twist with two fingers to rotate the canvas.
If you tap with four fingers, you’ll get full-screen mode. Super handy.
How can I set up my canvas for a new project in Procreate?
Tap the + button in the Gallery to start a new canvas. Pick a preset size or set your own dimensions.
Just remember, the biggest canvas size depends on your iPad and how much memory you have left.
What steps should I follow to start drawing with Procreate?
Pick a brush from the Brush Library. Then choose your color from the Color Panel.
Adjust brush size and opacity with the sliders on the side. Start sketching right on the canvas, using your finger or Apple Pencil.
Can you guide me through the layer management process in Procreate?
Open the Layers panel to add, delete, or organize layers. You can rename them, group them, or change their opacity.
Try blending modes if you want layers to blend in new ways. It’s all pretty flexible.
How do I save and export my artwork from Procreate?
Tap the Actions menu (the wrench icon), then hit Share. You can export as JPEG, PNG, PSD, or Procreate file.
Save it to your device, the cloud, or send it out by email or social media—whatever works for you.
What are the best practices for using brushes and creating custom brushes in Procreate?
Try out the built-in brushes first. See which ones feel right for your art style.
Play with brush settings like spacing, opacity, and texture. That gives you more control and can make a big difference.
If you want to make your own brush, open the Brush Studio. Just duplicate a brush you like, then start tweaking the settings until it feels like yours.
