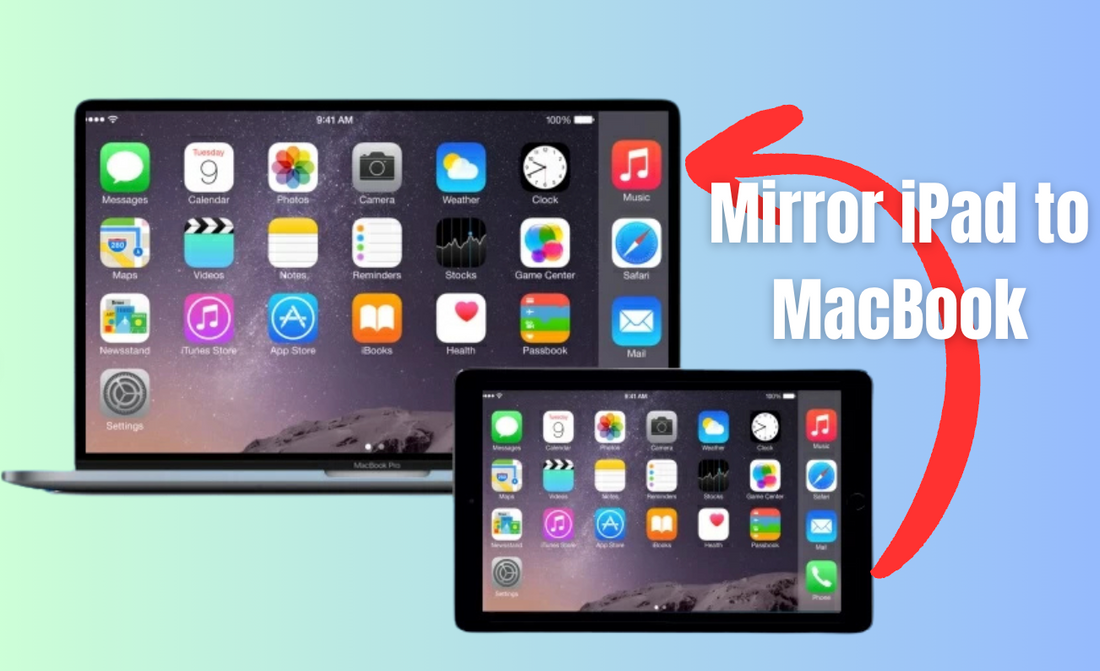
Many people want a simple way to display their iPad screen on a MacBook for work, school, or entertainment purposes.
The easiest way to mirror an iPad to a MacBook is by using AirPlay, QuickTime, or reliable third-party apps. Each option offers different benefits depending on whether someone prefers a wireless or wired setup.
Screen mirroring enables you to present slides, stream videos, or use your iPad as a second display.
Apple’s tools, such as AirPlay and QuickTime, offer built-in solutions, while third-party apps provide additional flexibility.
This guide explains how each method works, what setup is needed, and how to solve common issues so anyone can mirror an iPad to a MacBook with confidence.
Quick Insights 💡:
- AirPlay (Wireless): Fast and built-in for modern Apple devices
- QuickTime (Wired): Stable with USB connection, perfect for recording
- Third-Party Apps: Extra features for older macOS versions or advanced control
Also Read: 5 Pro Methods to Connect iPad & iPad Pro to External Monitors
Understanding iPad to MacBook Screen Mirroring
Screen mirroring lets people display the content of an iPad on a MacBook screen. This setup can make work, study, or entertainment easier by combining the portability of the iPad with the larger display and multitasking features of the MacBook.
What Is Screen Mirroring?
Screen mirroring is a feature that copies the display of one device onto another. In this case, the iPad screen appears on a MacBook. It shows exactly what is on the iPad, including apps, videos, and presentations.
Apple devices support this through built-in features like AirPlay and Sidecar. AirPlay mirrors the iPad screen wirelessly, while Sidecar can extend or mirror the display when connecting an iPad to a MacBook.
Unlike file sharing, screen mirroring does not transfer data. It only streams the visual output in real time. This makes it useful for tasks that require live interaction, such as drawing or presenting.
The process is usually simple. Users can select the MacBook from the Screen Mirroring menu on the iPad, and the two devices connect automatically if they share the same Apple ID or Wi-Fi network.
Benefits of Mirroring iPad to MacBook
Mirroring an iPad to a MacBook provides several practical benefits. It combines the touch interface of the iPad with the larger screen and keyboard of the MacBook.
Key benefits include:
- Larger display for easier viewing of photos, videos, or documents
- Better multitasking when using MacBook apps alongside the mirrored iPad screen
- Convenient presentations without needing extra cables or projectors
- Creative workflows where artists can draw on the iPad and see results on the MacBook instantly
This setup can also reduce eye strain by avoiding long sessions on a smaller iPad screen. Teachers, students, and professionals often find it helpful for collaboration.
Common Use Cases
People use screen mirroring to transfer an iPad to a Mac in many situations.
- A teacher may mirror an iPad onto a MacBook to prepare a lesson or display content on a larger screen.
- Students can use it to review notes while typing assignments on the MacBook.
- Artists and designers often mirror their iPad to MacBook to take advantage of Apple Pencil support. They can sketch on the iPad while using the MacBook for editing and file management.
Screen mirroring also helps with entertainment. Users can play videos or games from an iPad on a MacBook screen for a larger and more comfortable view.
Developers may rely on this feature to test apps, since it allows them to view and control iPad software directly from the MacBook.
This makes development and troubleshooting faster and more efficient.
Also Read: How to Connect External Display to iPad: A Simple Guide
Method 1 – Mirror iPad to MacBook with AirPlay (Wireless)

AirPlay enables an iPad to wirelessly share its screen with a MacBook. This works best when both devices meet the software requirements and connect to the same Wi-Fi network. The process is quick, and users can start screen mirroring in just a few taps.
Requirements
To use AirPlay for screen mirroring, the MacBook must run macOS Monterey or later.
The AirPlay Receiver feature must be enabled in System Settings. Without this, the MacBook cannot accept the mirrored screen.
Both the iPad and MacBook must also connect to the same Wi-Fi network. If they are on different networks, the devices will not be able to detect each other.
A recent iPad model with iPadOS 15 or newer works best. Older devices may not support smooth mirroring.
For stable performance, the Wi-Fi connection should be strong and consistent, as weak connections can cause lag or disconnections.
In short, the setup needs:
- MacBook with macOS Monterey or newer
- AirPlay Receiver turned on
- iPad with iPadOS 15 or newer
- Both devices are on the same Wi-Fi
Steps
- On the iPad, swipe down from the top-right corner to open Control Center.
- Tap Screen Mirroring.
- A list of available devices will appear. Select the MacBook.
- If asked, enter the AirPlay passcode shown on the MacBook screen.
- The iPad screen should now display on the MacBook.
Once connected, the MacBook shows a live view of the iPad. This can be used for presentations, watching videos, or sharing apps. To stop mirroring, open Control Center again and tap Stop Mirroring.
The process is simple and does not require cables or third-party apps. Users only need to confirm that both devices are updated and on the same Wi-Fi before starting.
Pros & Cons
Pros:
- ✅ Wireless setup, no cables needed
- ✅ Easy to start and stop with Control Center
- ✅ Works with built-in Apple features, no extra apps
Cons:
- ❌ Needs a strong Wi-Fi connection for smooth playback
- ❌ Can lag or freeze during heavy tasks like gaming
- ❌ Only works on newer MacBooks and iPads with updated software
This method is best for everyday use like streaming, light work, or showing content quickly. For tasks that demand high speed or no lag, a wired connection may be more reliable.
Also Read:
Method 2 – Mirror iPad to MacBook with QuickTime (Wired)
This method uses a physical connection between the iPad and MacBook to create a stable and reliable mirroring setup.
QuickTime Player serves as the tool that displays the iPad screen directly on the MacBook, eliminating the need for extra downloads.
Requirements
To use this method, the user needs a USB-C or Lightning cable that matches the iPad model.
Newer iPads often use USB-C, while older ones still rely on Lightning. An adapter may be required if the MacBook has only USB-C ports.
The MacBook must have QuickTime Player, which comes pre-installed with macOS. No additional software download is needed, which makes setup faster.
Both devices should be charged or connected to power because screen mirroring and recording can drain the battery.
A stable cable connection is crucial, as poor-quality cables can cause interruptions or prevent the iPad from being recognized.
Steps
- Connect the iPad to the MacBook with the correct cable.
- Open QuickTime Player on the MacBook.
- From the top menu, choose File > New Movie Recording.
- Next to the red record button, click the small arrow.
- Under Camera, select the iPad from the list of available devices.
The iPad screen will now appear in a QuickTime window on the MacBook. The user can simply view the screen or press record to capture video and audio. This works well for tutorials, app demos, or saving gameplay footage.
Pros & Cons
Pros
- ✅ Very stable connection with no Wi-Fi required
- ✅ Works with QuickTime Player already on the MacBook
- ✅ Allows optional screen recording with audio
- ✅ Simple to set up with only a cable and QuickTime
Cons
- ❌ Requires a physical cable, limiting movement
- ❌ An adapter may be needed for certain MacBook ports
- ❌ No wireless flexibility compared to AirPlay
This method is best for users who value reliability and need the option to record the iPad screen directly on the MacBook.
Also Read: Can the iPad Pro Replace Your Laptop? Find Out Now
Method 3 – Mirror iPad to MacBook with Third-Party Apps
Third-party apps can give more control and features than Apple’s built-in options. They often support wireless connections, extra tools, and compatibility with different platforms.
Popular Screen Mirroring Apps
- Reflector is a simple tool that lets users wirelessly mirror an iPad to a MacBook. It works over Wi-Fi and displays the iPad screen in real time without needing cables.
- ApowerMirror is useful for those who want cross-platform support. It works with iOS, Android, Windows, and macOS, making it flexible for people who switch between devices.
- AnyMirror adds more than just mirroring. It includes screen recording, screenshots, and even audio sharing. This makes it useful for presentations, tutorials, or saving content directly from the iPad.
Other apps, such as Duet Display, also exist, but they often focus on turning the iPad into a second display rather than mirroring.
Choosing the right app depends on whether the user values wireless use, extra features, or cross-platform compatibility.
Steps (General)
- Download and install the chosen screen mirroring app on both the iPad and the MacBook.
- Connect devices either through Wi-Fi or a USB cable. A wired connection usually gives smoother performance.
- Open the app on the MacBook first, then launch it on the iPad.
- Select the iPad from the list of available devices inside the MacBook app.
- Start mirroring and adjust settings if needed, such as screen size, orientation, or quality.
Most apps follow this same process, although the layout may vary depending on the software.
A stable Wi-Fi connection or a reliable USB cable is crucial for reducing lag and dropped connections.
Pros & Cons
Pros
- ✅ Wireless mirroring without cables
- ✅ Extra tools like screen recording, screenshots, and annotations
- ✅ Cross-platform support for Windows, Android, and iOS
- ✅ Flexible settings for display quality and orientation
Cons
- ❌ Many apps require a one-time purchase or subscription
- ❌ Performance depends on Wi-Fi strength when using wireless mode
- ❌ Some apps add a small delay, which may affect gaming or fast actions
These trade-offs matter most for those who need smooth performance or advanced features. For basic use, even free or trial versions can work well.
Also Read: iPad with Keyboard vs MacBook: Which Should You Buy?
Troubleshooting: Fix Common Mirroring Problems
Most issues arise from network settings, software updates, or audio and video compatibility issues. A few quick checks often solve the problem without needing advanced steps.
Solving "No Device Found" and Connection Errors
When an iPad does not appear on a MacBook, the first step is to check the network. Both devices must use the same Wi-Fi connection.
Restarting Wi-Fi and Bluetooth on each device can refresh the link and often fixes the error.
Apple ID mismatches are another common cause. Both the iPad and MacBook should be signed into the same Apple ID account. If they are not, the devices will not recognize each other for mirroring.
Outdated software can also block the connection. Updating iPadOS and macOS to the latest versions ensures compatibility. Users should also restart both devices after updating.
A quick checklist can help:
- Confirm both devices are on the same Wi-Fi network
- Turn Wi-Fi and Bluetooth off, then back on
- Log in with the same Apple ID on both devices
- Install the latest system updates
Fixing Lag, Stutter, and Audio Issues
Lag or stuttering typically indicates network strain. Moving closer to the Wi-Fi router or disconnecting other devices can improve performance.
If the user relies on Sidecar, connecting the iPad with a USB cable provides the most stable and smooth experience.
Audio problems often come from incorrect output settings. After starting screen mirroring, the MacBook may send sound to the iPad or another device.
Clicking the volume icon on the Mac and selecting MacBook Speakers ensures audio plays from the laptop.
To reduce lag and fix sound issues, users should:
- Use a wired USB connection for Sidecar when possible
- Limit other devices on the same Wi-Fi network
- Adjust audio output in the Mac menu bar to the correct device
Conclusion
Now you know 3 ways to mirror iPad to MacBook in 2025: AirPlay for quick wireless setups, QuickTime for stable wired mirroring, and third-party apps for advanced features. Whether for presentations, work, or fun, there’s a method to fit your needs.
Key Takeaways:
- AirPlay = easiest wireless option
- QuickTime = reliable for recording and low-lag use
- Third-party apps = best for flexibility and added features
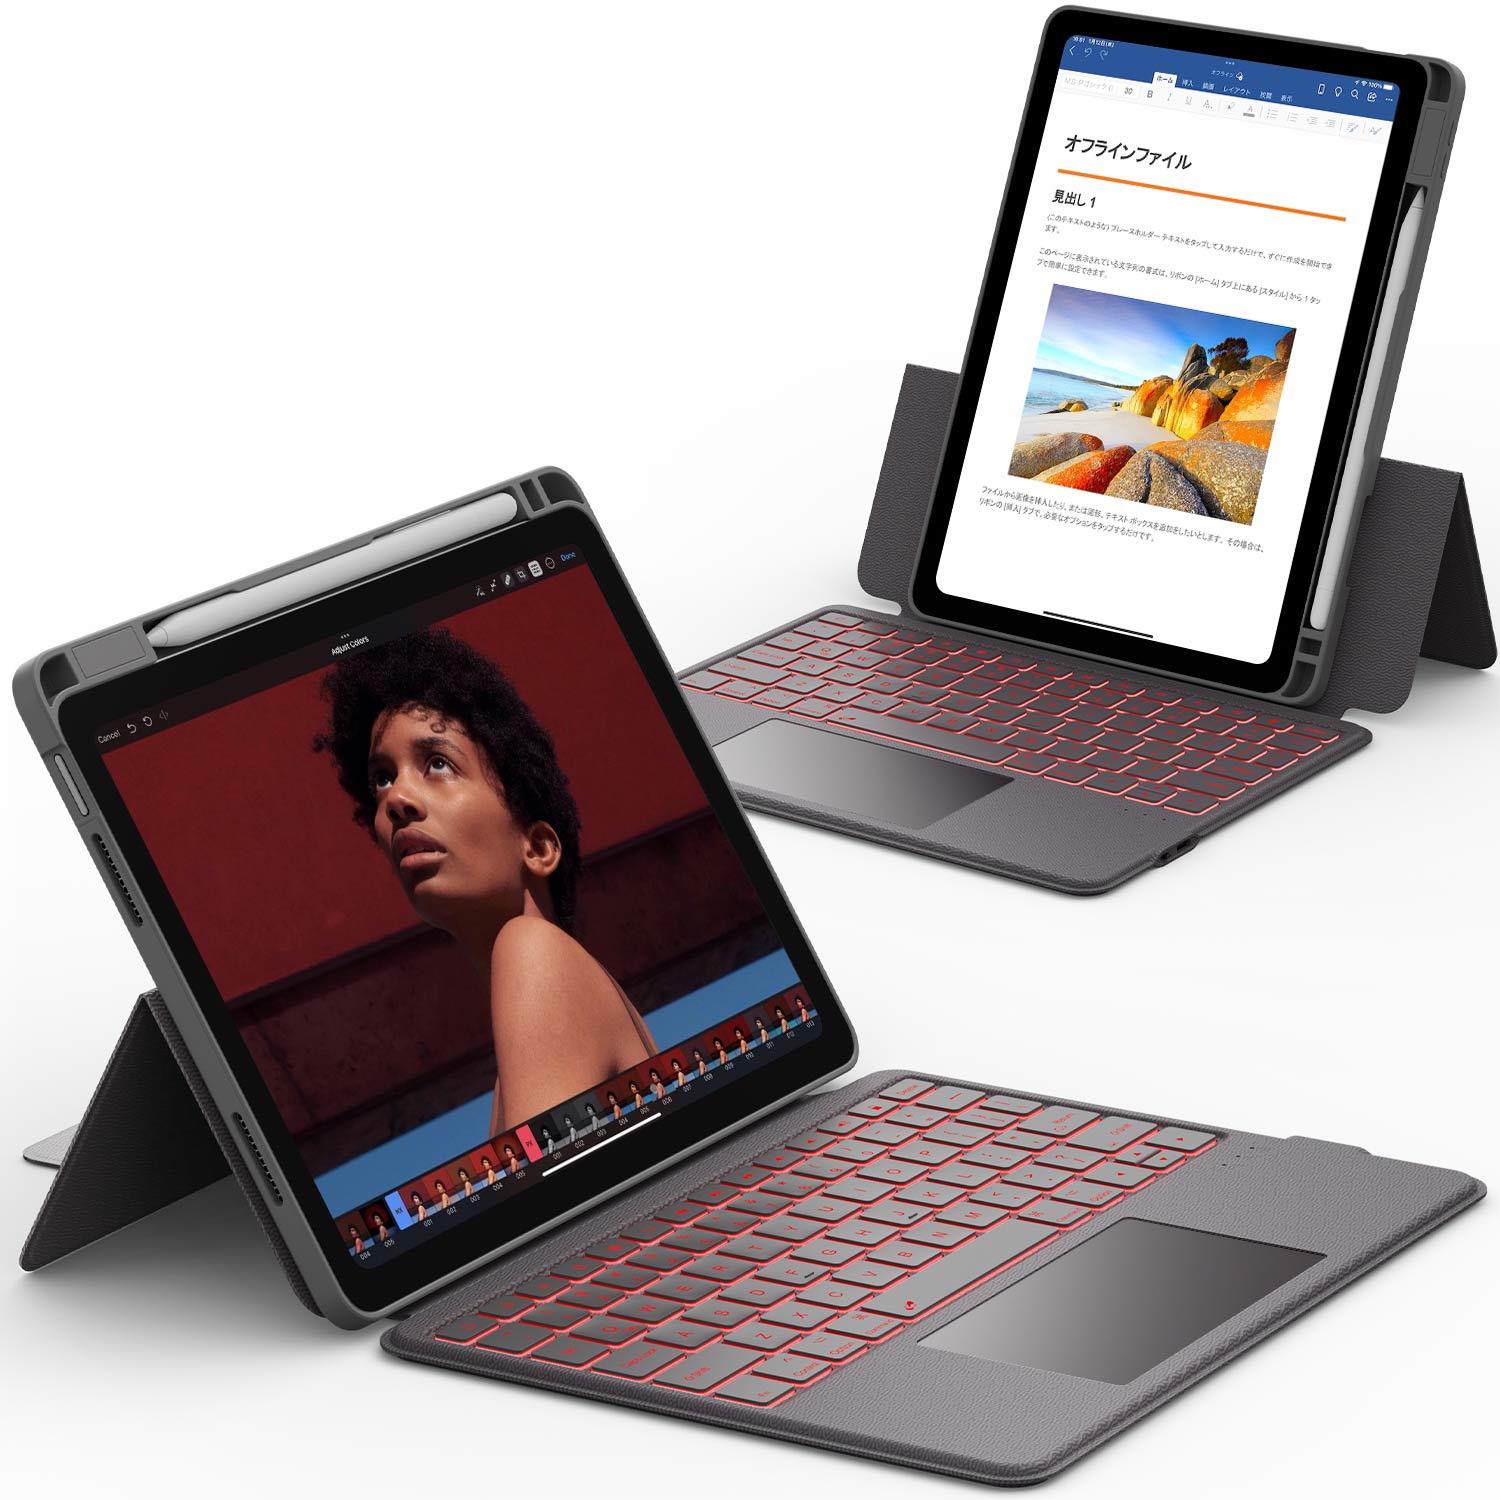
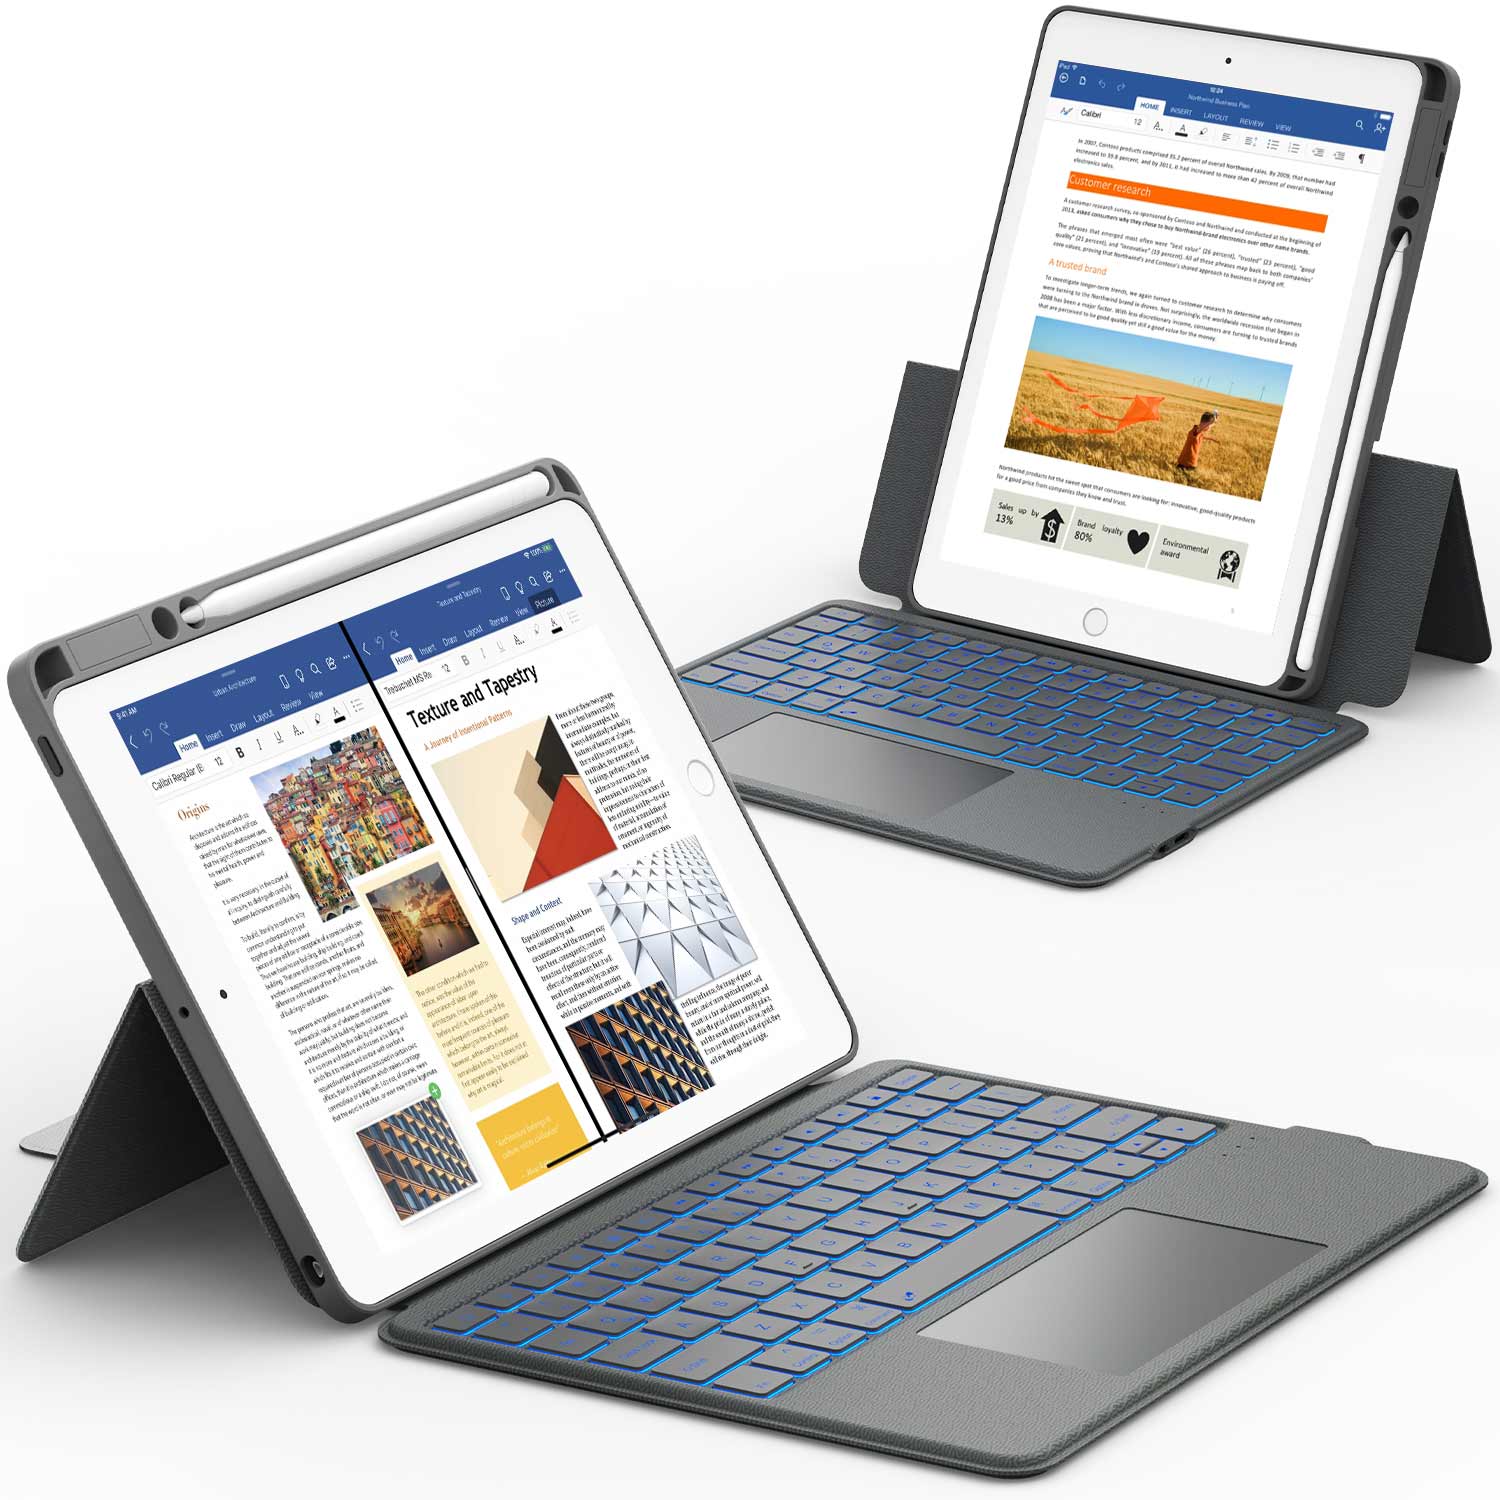
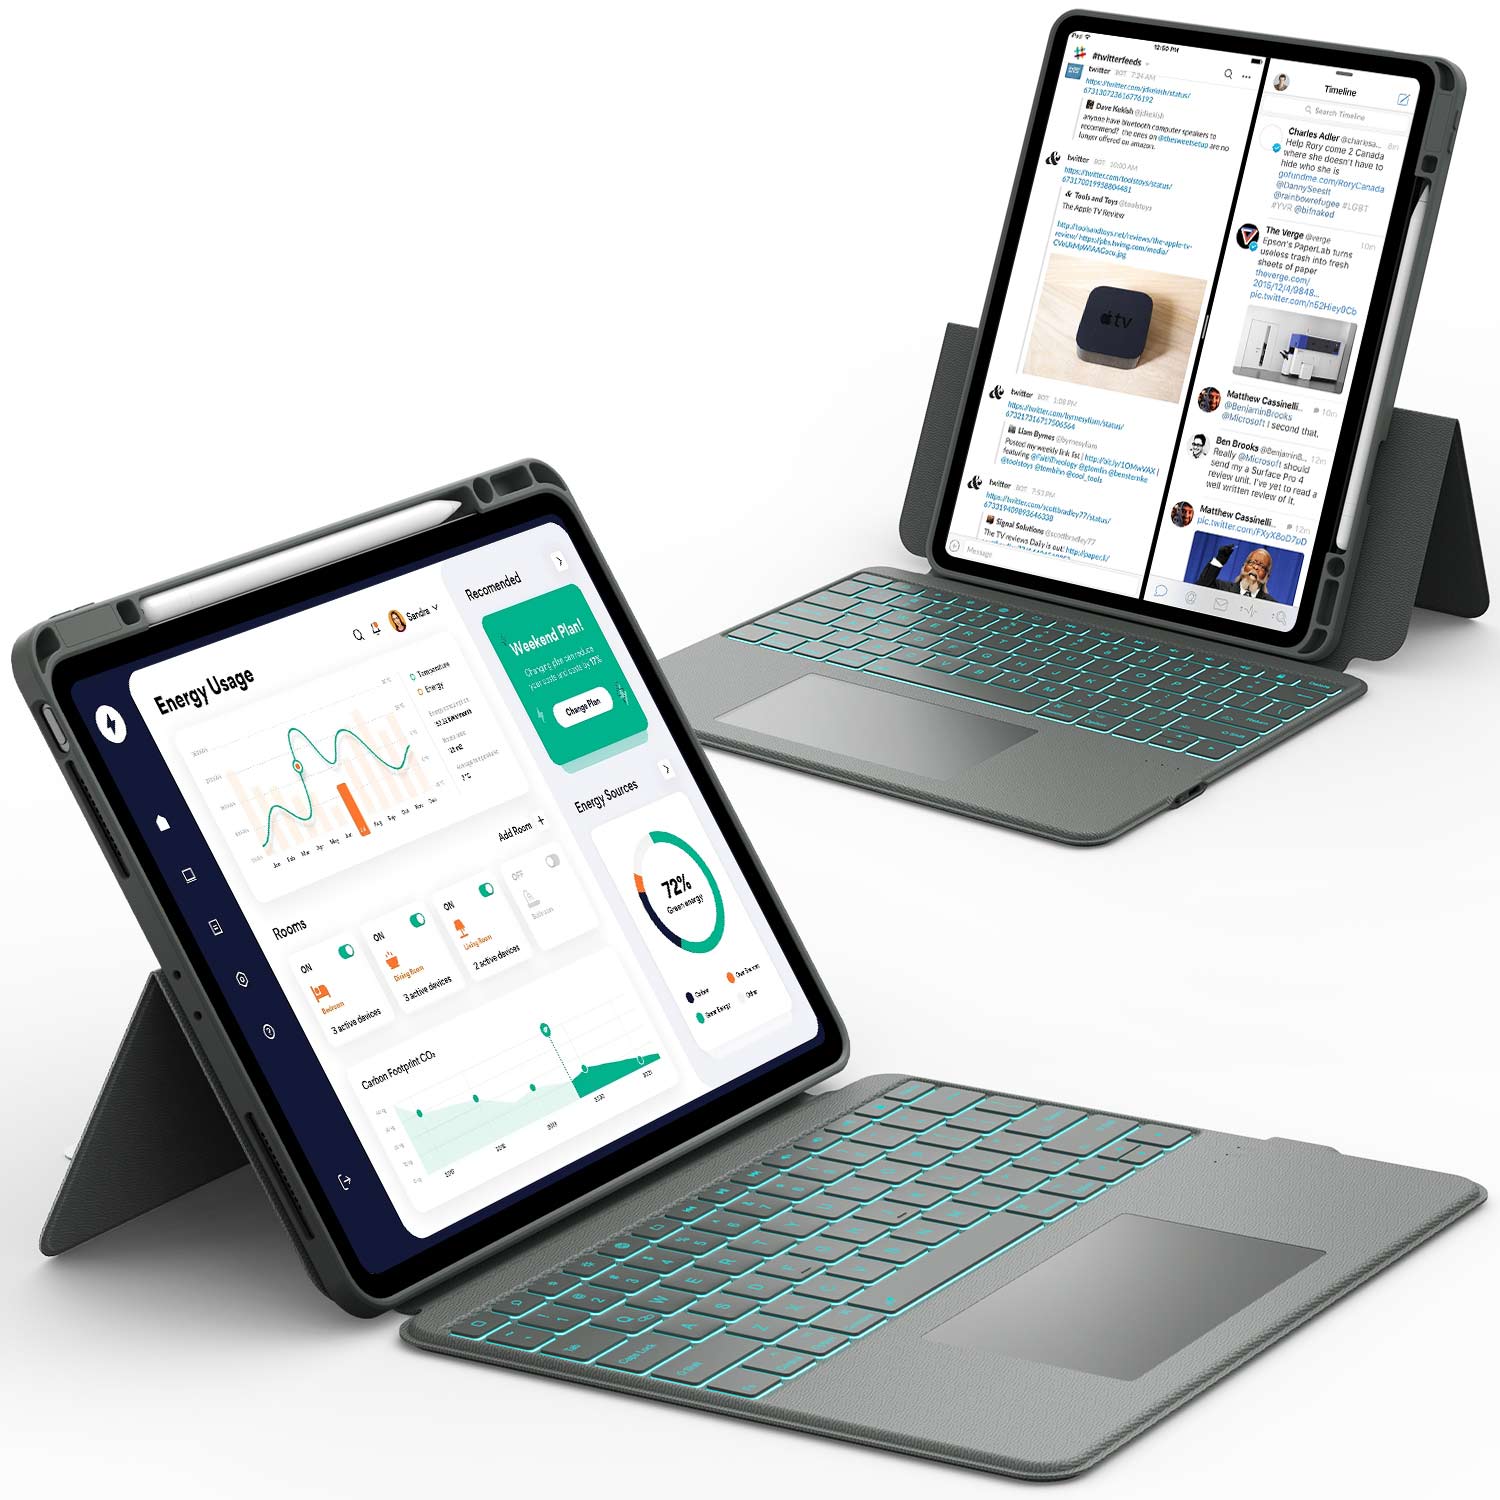
👉 Protect and upgrade your iPad with Chesona’s premium accessories:
FAQs About How to Mirror iPad to MacBook
Users often face issues with compatibility, connection methods, and performance when mirroring an iPad to a MacBook. The following details explain common problems, setup steps, and practical tips for different situations.
Why can't I screen mirror my iPad to my Macbook?
This usually happens when the MacBook is running an older version of macOS that does not support AirPlay or Sidecar. Both devices must use the same Apple ID and be on the same Wi-Fi network. Outdated software or disabled AirPlay settings can also block the connection.
How do I connect my iPad to my Mac as a monitor?
Apple’s Sidecar feature enables an iPad to function as a secondary display. On the Mac, users can select the iPad from the AirPlay or Display menu in the menu bar. Once connected, the iPad can extend the desktop or mirror the Mac’s screen.
Why can't I connect my iPad to my MacBook?
A failed connection often comes from mismatched Apple IDs, disabled Bluetooth or Wi-Fi, or outdated software. Both devices need to meet the system requirements for Sidecar or AirPlay. If problems continue, restarting both devices often helps.
Can I mirror an iPad to a MacBook without Wi-Fi?
Yes, it is possible with a USB cable. When connected with a cable, Sidecar can work without a wireless network. Some third-party apps also support wired mirroring when Wi-Fi is unavailable.
Does mirroring drain my iPad battery?
Yes, screen mirroring uses more power than normal use. The iPad works harder to process and transmit the display, which increases battery drain. Keeping the iPad plugged in during long sessions is recommended.
Which method is best for teachers and presenters?
Sidecar is often the best choice for teachers and presenters because it is built into macOS and iPadOS. It provides stable performance, supports Apple Pencil, and allows both mirroring and extended display. For wireless freedom, AirPlay is also a reliable option.
