Guided Access on iPad is a built‑in feature that helps you stay focused by locking the device into a single app. It’s perfect for limiting distractions, whether you’re studying, working, teaching, or letting a child use your iPad.
With Guided Access, you can control which features are available, set time limits, and prevent accidental taps or swipes. It’s especially useful for parents, teachers, and professionals who want more control over how the iPad is used.
This guide explains what Guided Access is, how to set it up, and the best ways to use it every day.
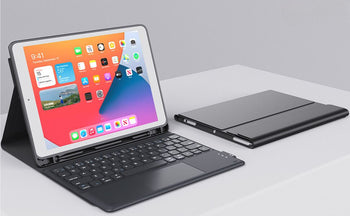
Make learning and focus sessions more comfortable with a built‑in stand. Explore our flip iPad cases for hands‑free use during Guided Access.
What Is Guided Access on iPad?

Guided Access is an accessibility feature in iOS and iPadOS. It locks your iPad to one app and lets you restrict certain functions.
You can turn off hardware buttons, limit touch input, or set a timer for use. It’s a way to keep the device focused and interaction simple.
A Tool to Stay Focused on One App
When you enable Guided Access, your iPad sticks to the app you select. You can stop the device from switching apps or returning to the Home screen.
Want to block the volume buttons, prevent screen rotation, or disable certain parts of the screen? That’s all possible here. It’s a straightforward way to cut down on distractions.
Guided Access lives inside the Accessibility settings. You can secure it with a passcode, Touch ID, or Face ID, so only you can end a session.
Who Should Use Guided Access
If you want to control how an iPad gets used, this is for you. Parents often use it to keep kids inside an educational app, while teachers rely on it to help students stay focused during lessons or tests.
It’s also helpful for anyone with attention difficulties. Someone who tends to get sidetracked can benefit from being limited to one activity at a time.
For those with motor challenges, Guided Access can remove unnecessary controls and simplify navigation. It’s a way to make the iPad more accessible and less overwhelming.
Everyday Scenarios Where It Helps
Guided Access comes up in a lot of daily situations. Parents might let their kids watch a video without worrying about them tapping into other apps.
In classrooms, it keeps the iPad locked on a learning tool during study time. Businesses sometimes use it to turn iPads into kiosks, making sure customers only see what they’re meant to.
If you want to manage screen time, you can set a timer that automatically ends the session. The iPad locks itself when the time’s up, which is handy if you’re not watching over someone’s shoulder.
Want reliable protection with a touch of style while making Guided Access even more practical? Discover our leather iPad cases designed for durability and a premium feel.
How to Enable and Set Up Guided Access
You can lock your iPad to a single app and control which features are available. This is useful for limiting distractions or managing how long someone uses your device.
Turn On Guided Access in Settings
Start by opening the Settings app. Go to Accessibility and scroll down to Guided Access. Tap to turn it on.
Next, head to Passcode Settings and set a Guided Access Passcode. You can also enable Face ID or Touch ID for quicker exits.
The passcode keeps others from leaving the app. Pick something memorable for you, but not easy for others to guess.
Once it’s set up, Guided Access becomes part of your Accessibility Shortcut. You can activate it by pressing the Home button or Side button three times, depending on your iPad model.
Start a Guided Access Session
To begin, open the app you want to lock in place. Triple-click the Home button (older iPads) or Top/Side button (newer models) to activate Guided Access.
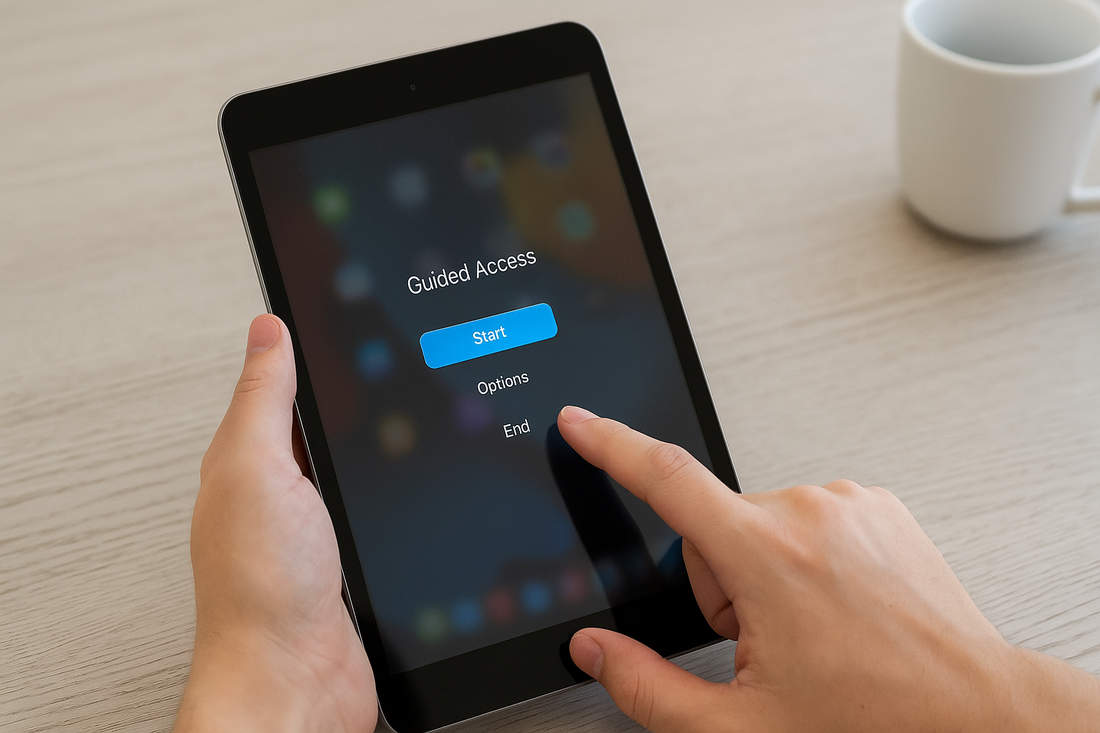
A setup screen appears before the session starts. You can disable touch input on certain parts of the screen by circling them—useful for blocking ads or settings inside the app.
Tap Start to lock the iPad into that app. The device won’t switch to another app, and you can restrict hardware buttons as needed.
If you’ve enabled Siri, you can also say “Turn on Guided Access” after opening the app. It’s a quick alternative to pressing buttons.
Customize Options Like Time Limits and Passcode
During a session, triple-click the button again and enter your Guided Access passcode to open Options. Here, you can turn features on or off as needed.
You might want to disable the Sleep/Wake button, Volume buttons, or block all touch input. Turning off Motion stops the screen from rotating. This lets you fine-tune how the iPad works during a session.
Setting a Time Limit is also possible. When the timer ends, the iPad locks until you re-enter your passcode or use Face ID/Touch ID.
These options give you flexibility. You can allow only what’s necessary for the app and block the rest, making Guided Access practical for kids, classrooms, or focused work sessions.
How to Use Guided Access Effectively

Knowing how to exit Guided Access quickly, fix common problems, and adjust it for different needs makes it even more useful. These steps help you keep control and minimize distractions or accidental actions.
Ending or Exiting Guided Access Mode
To end Guided Access, triple-click the Home button (older iPads) or Top/Side button (newer models). Enter your passcode to exit, or use Face ID/Touch ID if you’ve set that up.
If you forget your passcode, you’ll need to restart the device or use your Apple ID recovery options. This keeps others from bypassing Guided Access.
You can also set a time limit at the start. When the timer runs out, the iPad locks itself and requires your passcode or biometric login to continue.
Troubleshooting Common Issues
If Guided Access doesn’t respond, check if the triple-click shortcut is enabled in Settings > Accessibility > Guided Access. Make sure the shortcut is active under Accessibility Shortcut.
If the screen freezes, press both the Top/Side button and Volume button together until the device restarts. That usually solves temporary glitches.
Still stuck after entering your passcode? Make sure your iPad runs the latest iOS version. If problems continue, try resetting all settings—your data stays safe, but preferences go back to default.
Tips for Parents, Teachers, and Professionals
Guided Access helps keep students or children focused on one app, like a reading tool or educational game. Disabling the Home button, volume controls, and touch areas prevents distractions or accidental exits.
For parents, combining Guided Access with Screen Time restrictions offers even more control. Screen Time sets daily app limits, while Guided Access locks the iPad into a single app during use.
Professionals can use it during presentations or as a kiosk tool, ensuring users stay in the intended app. The passcode keeps the device secure in shared environments.
Prefer a slim, lightweight option that’s easy to carry anywhere? Check out our thin iPad cases for sleek protection without the bulk.
Conclusion: Guided Access on iPad
Guided Access on iPad is a simple but powerful tool for staying focused and in control. Whether you’re helping kids learn, managing classroom devices, or just avoiding distractions, it keeps your iPad locked to one app.
With a quick setup, you can limit features, set time controls, and make the iPad safer and easier to use. It’s a feature worth trying for parents, teachers, and professionals alike.
For more tips on personalizing your device, check out our guide on how to rename iPad.
Frequently Asked Questions
Managing Guided Access on your iPad involves starting a session, locking the screen for children, exiting the mode, and using it on devices without a Home button. The same steps work on iPhone, with some button differences.
How do I use Guided Access on iPad?
Go to Settings > Accessibility > Guided Access and turn it on. Set a passcode or enable Face ID/Touch ID. Open an app, triple‑click the Home or Side button, then tap Start.
How to lock iPad screen for kids?
Use Guided Access to keep the iPad in one app so kids can’t switch. You can disable screen touches, buttons, or motion. Time limits help control usage, too.
How do I get my iPad out of Guided Access mode?
Triple‑click the Home or Side button. Enter your passcode to exit. With Face ID or Touch ID, double‑click the Side button instead.
How to activate Guided Access on iPad with no Home button?
On iPads without a Home button, use the Side button. After enabling Guided Access, triple‑click the Side button to start. Triple‑click again and enter your passcode or use Face ID to exit.
