So, you want to get into digital art, and your iPad is just sitting there, waiting to be used as a canvas. Good idea! Drawing on an iPad can be really fun and lets you try out tons of different art styles without buying a bunch of supplies. This guide will walk you through everything you need to know, from picking the right tools to sharing your finished art. We'll cover all the basics so you can start to Master iPad Drawing: A Step-by-Step Tutorial for Newbies.
Key Takeaways
- Picking the best iPad and settings is a good first step for drawing.
- Finding the right drawing app, whether free or paid, makes a big difference.
- Learning how to use your Apple Pencil well helps a lot with drawing.
- Start with simple shapes and lines to build your drawing skills.
- There are ways to make your drawing process smoother, like using accessories and sharing your art online.
Choosing Your Digital Canvas

Understanding iPad Models for Drawing
So, you want to draw on an iPad? Great choice! But first, let's talk iPads. Not all iPads are created equal when it comes to art. The iPad Pro is generally considered the top dog, with its powerful processor and ProMotion display (that 120Hz refresh rate is a game-changer for smooth lines). But don't count out the iPad Air! It's a solid mid-range option that packs a punch without the Pro price tag. And even the standard iPad can work, especially if you're just starting out. Think about screen size too – a bigger screen is nice, but also less portable.
Essential Features for Artists
Okay, so what makes an iPad good for drawing? The display is super important. You want good color accuracy (look for wide color gamut support) so your digital art looks true to life. Low latency with the Apple Pencil is also key – that's the delay between when you draw and when the line appears on the screen. The lower the latency, the more natural it feels. And of course, Apple Pencil support is a must!
Here's a quick rundown:
- Display Quality: Color accuracy and brightness.
- Apple Pencil Compatibility: 1st or 2nd generation.
- Processor Power: For handling complex artwork without lag.
- Storage: You'll need space for apps and artwork.
Don't forget to consider the storage space! Digital art files can get big, especially if you're working with lots of layers. You don't want to run out of space mid-masterpiece.
Optimizing Your iPad Settings
Alright, you've got your iPad. Now, let's tweak those settings! First, make sure your iPad is updated to the latest version of iPadOS. Apple often releases updates that improve performance and fix bugs. Next, customize your Apple Pencil settings. You can adjust the pressure sensitivity to match your drawing style. Also, turn off any unnecessary background apps to free up processing power. And finally, consider getting a matte screen protector – it can give your screen a more paper-like feel, which many artists prefer.
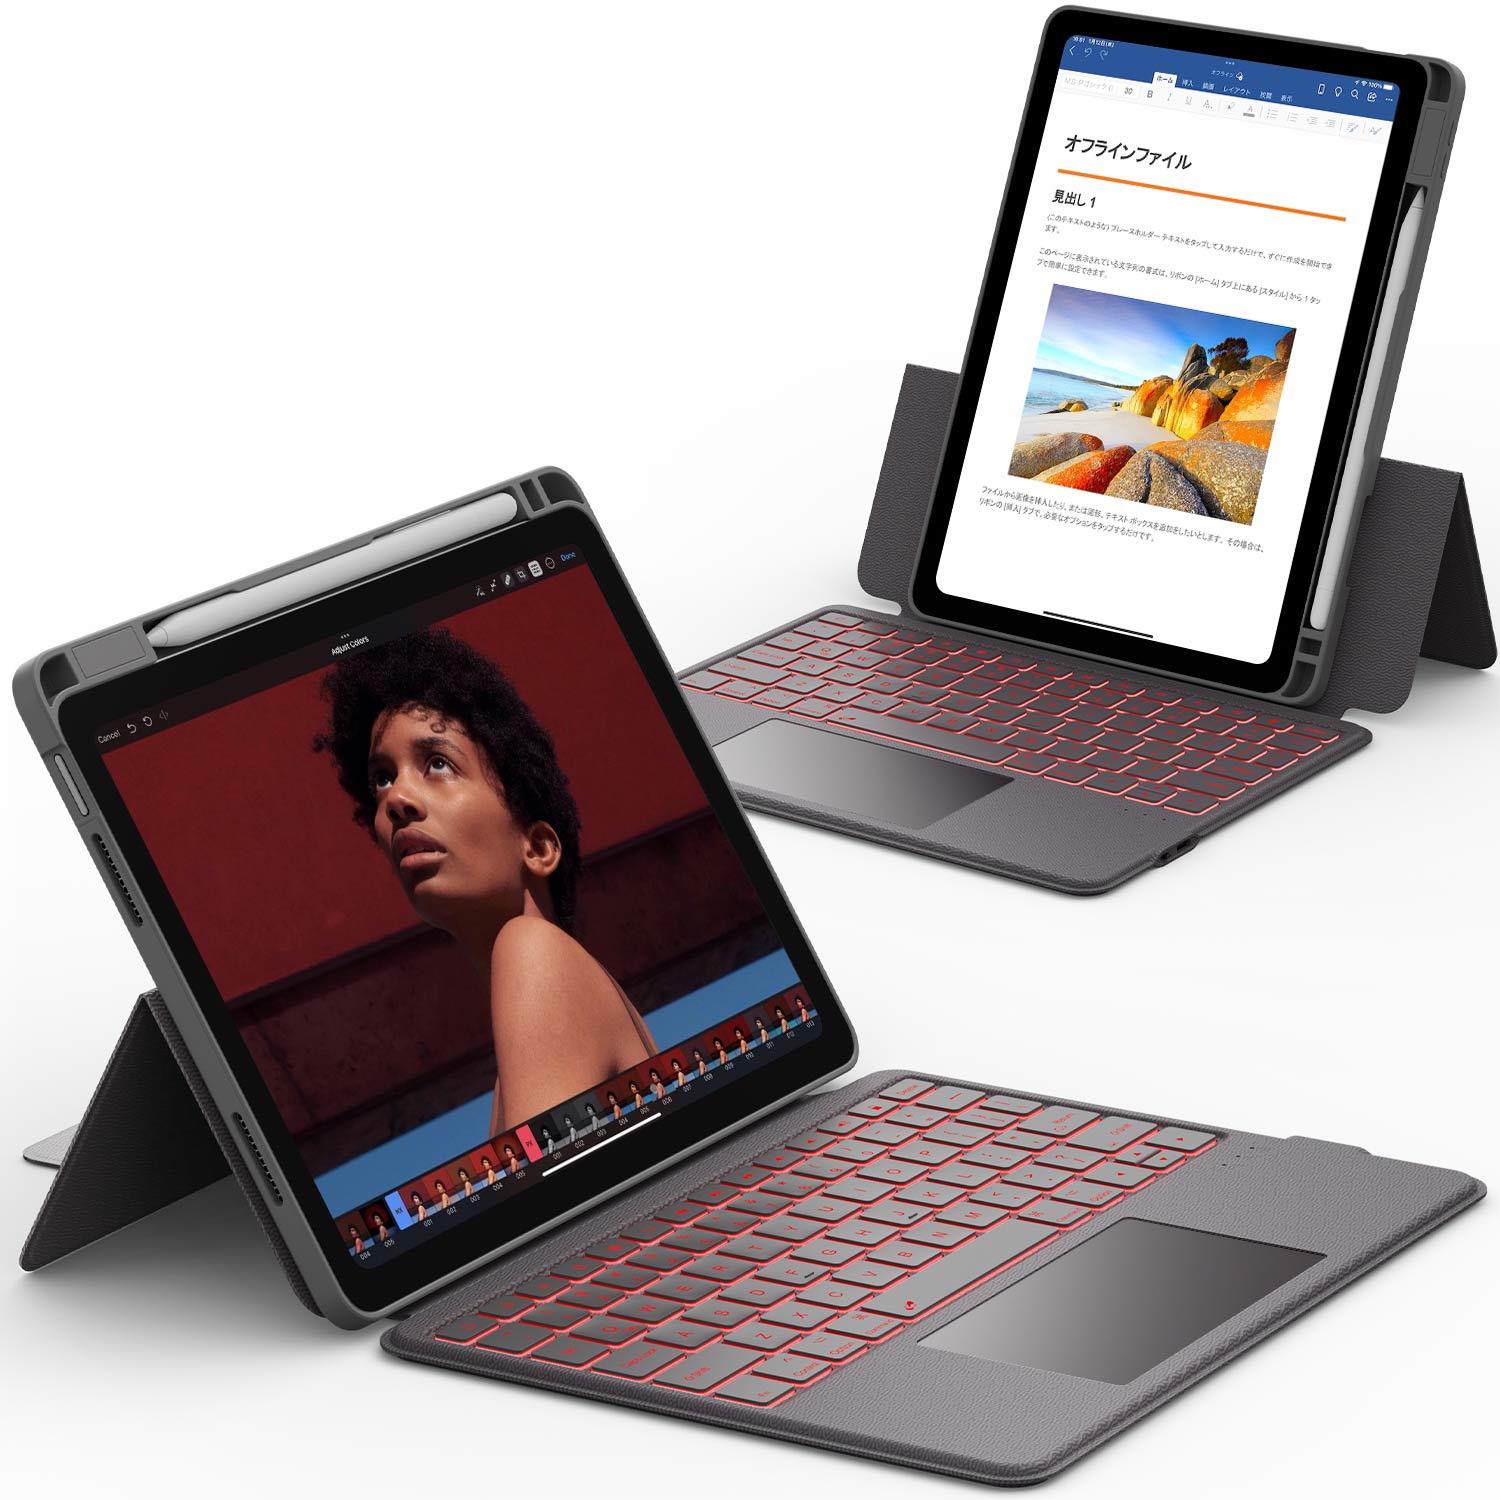
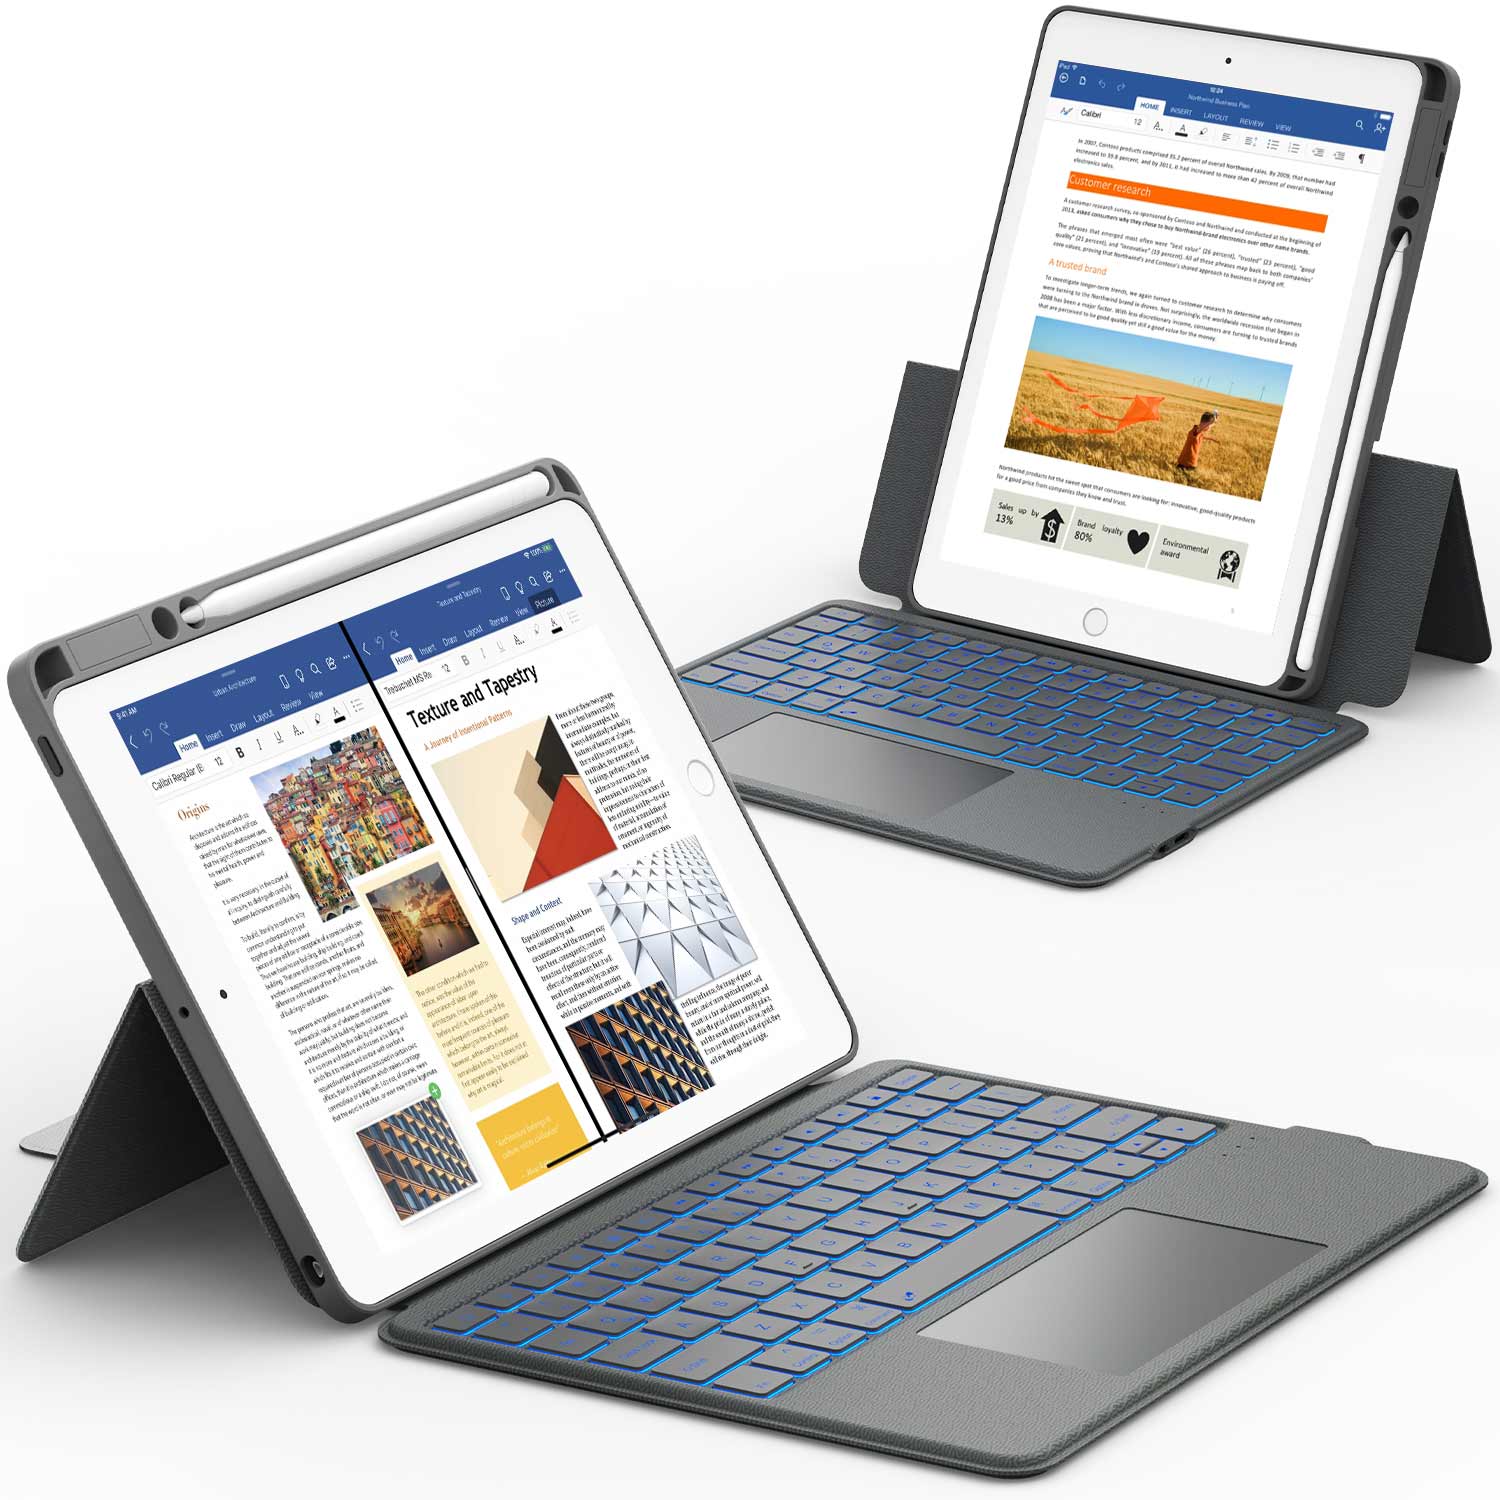
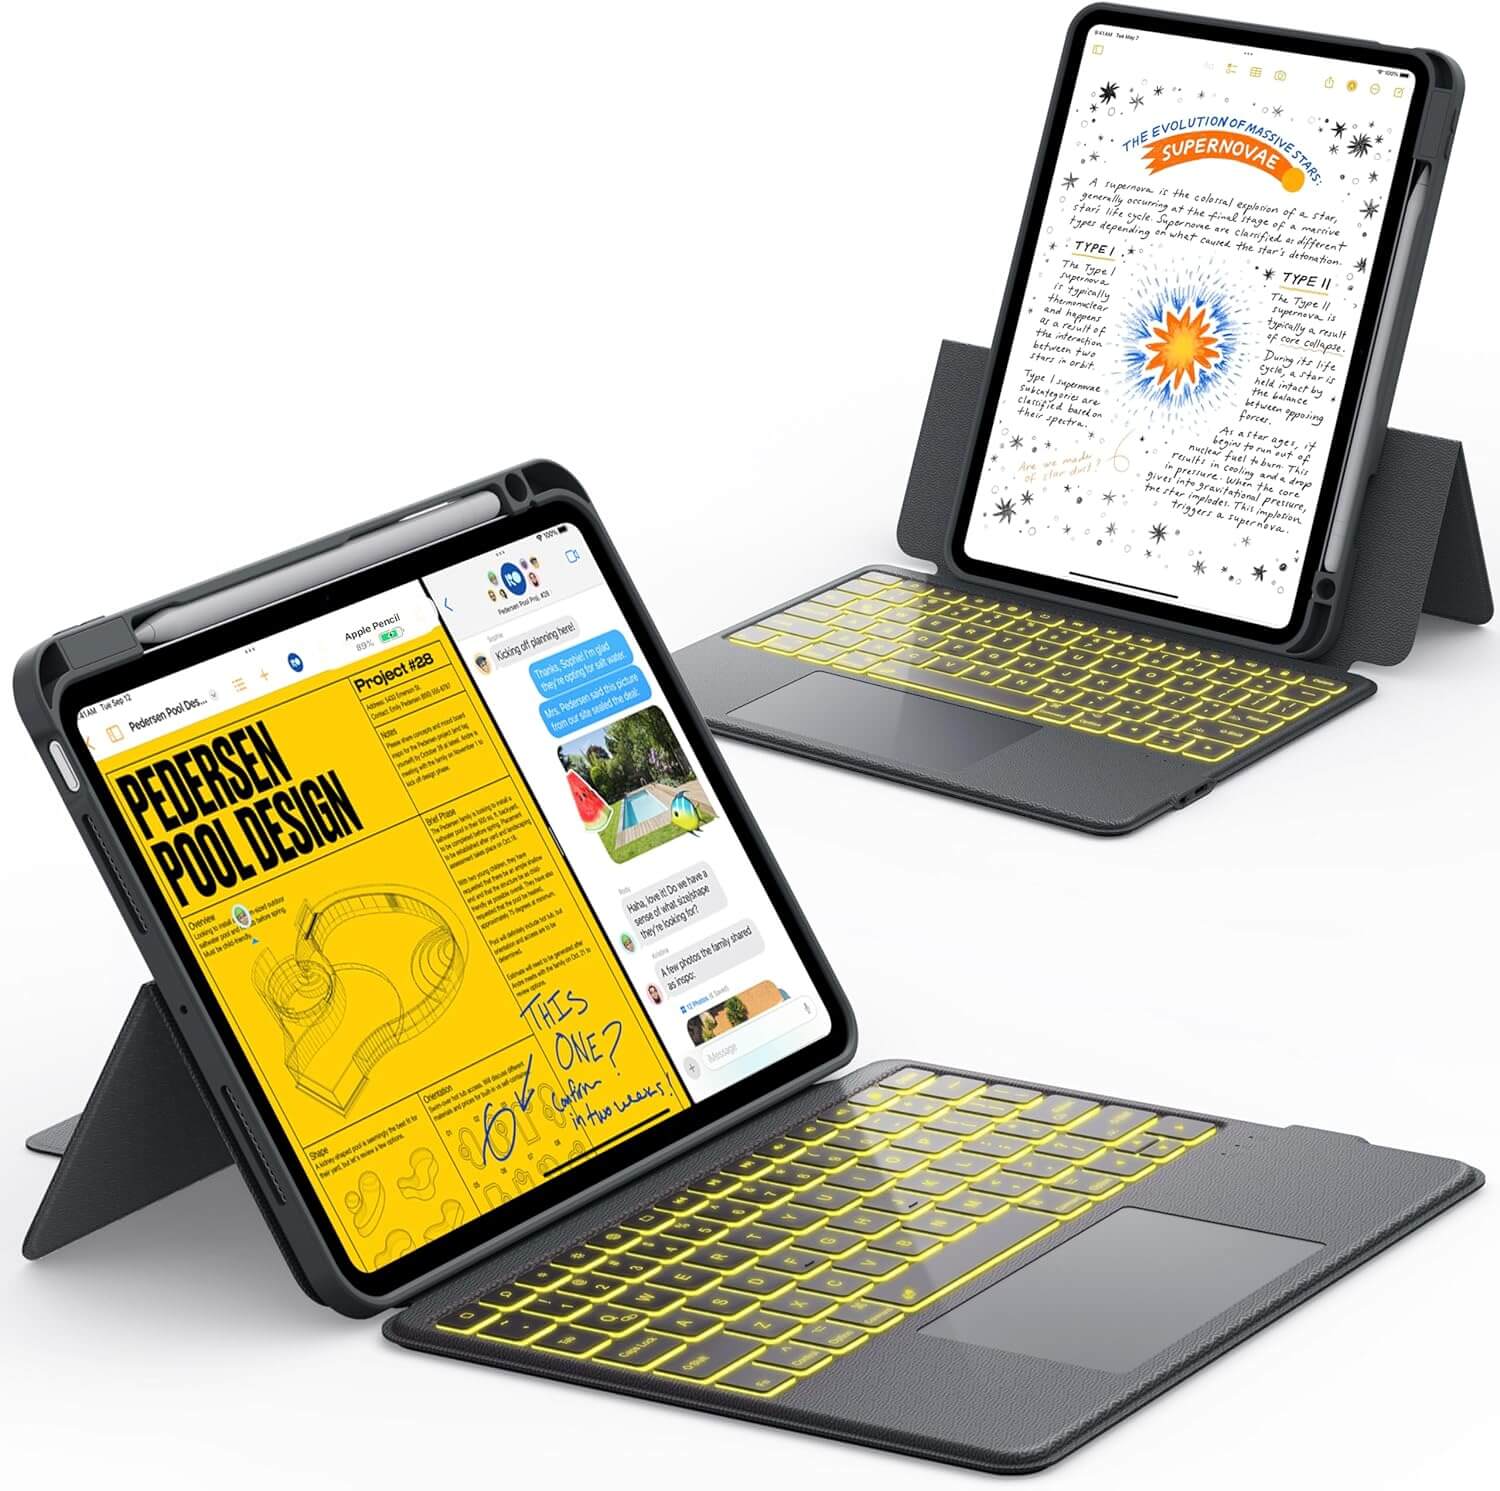
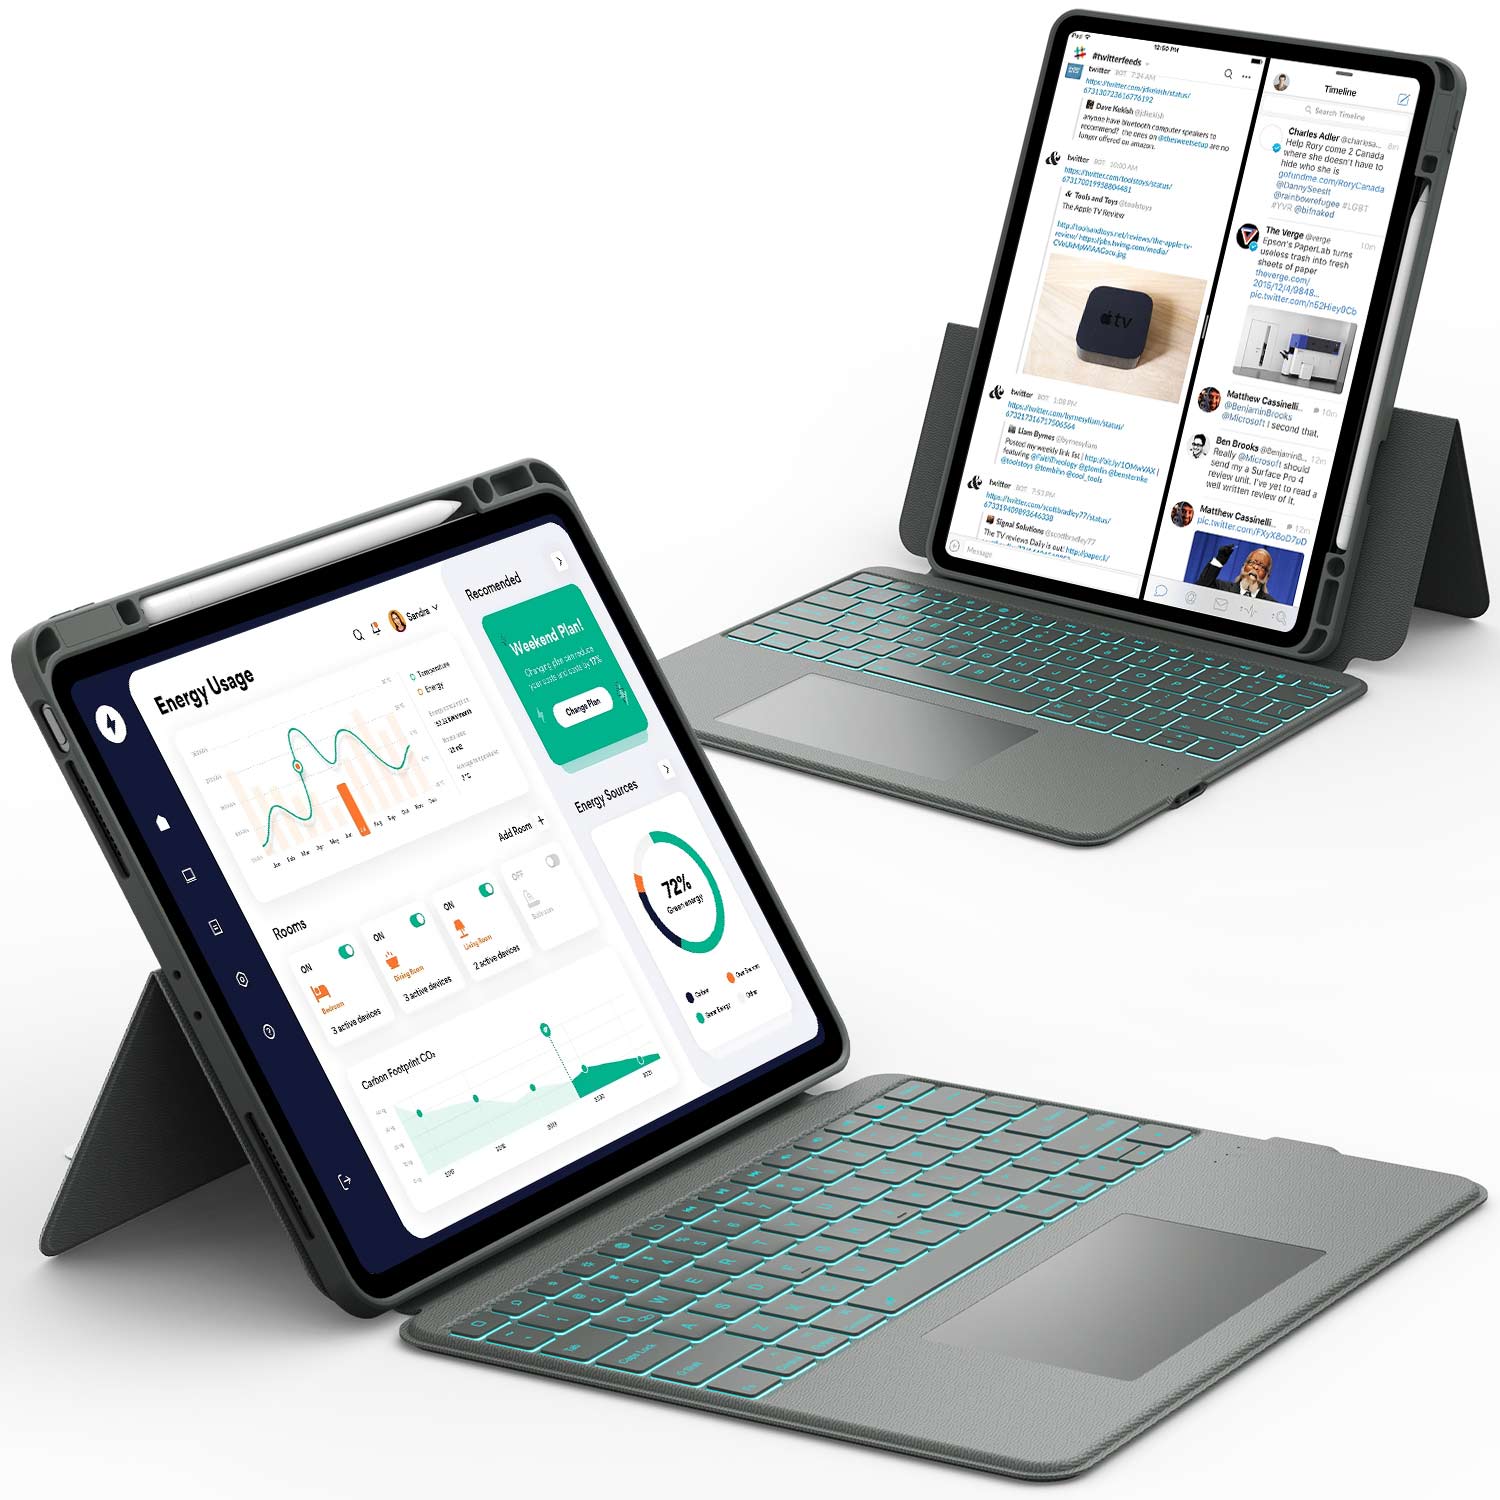
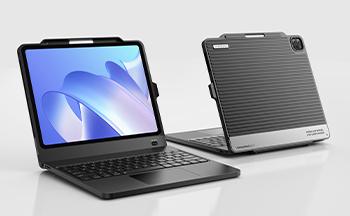
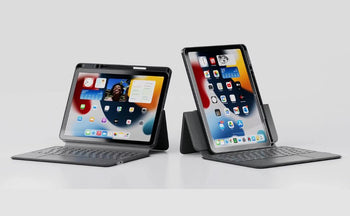
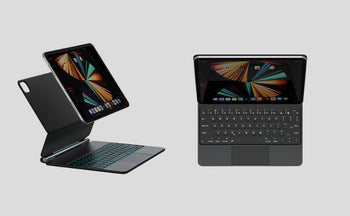
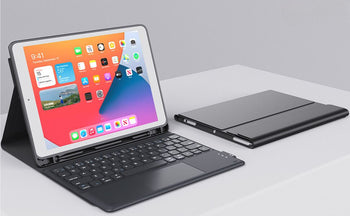
Got your iPad settings dialed in? Now, level up with the Chesona Keyboard Case! It protects your iPad and adds a comfy keyboard for typing notes or sketching ideas. Affordable and stylish, it’s perfect for artists on the go.
Selecting the Right Drawing Application

Choosing the right drawing application for your iPad can feel overwhelming, but it's a critical step in your digital art journey. There are tons of options out there, each with its own strengths and weaknesses. Let's break down some key considerations to help you find the perfect fit.
Exploring Top-Rated Paid Apps
When it comes to paid apps, you often get what you pay for. These apps typically offer a more robust set of features, advanced tools, and a smoother overall experience. Here are a couple of popular choices:
- Procreate: Widely regarded as an industry standard, Procreate boasts a massive library of brushes, a powerful layering system, and intuitive controls. It's a great choice for both beginners and professionals.
- Adobe Fresco: If you're already familiar with Adobe's ecosystem, Fresco is a natural fit. It excels at realistic painting simulations, thanks to its live brushes that mimic the behavior of real-world media. The premium version unlocks over 1,000 brushes.
- Affinity Designer: A vector-based alternative, Affinity Designer is perfect for creating scalable artwork, logos, and illustrations. It offers a comprehensive suite of tools for precise design work.
Discovering Free Drawing Software
Don't want to spend any money? No problem! There are plenty of excellent free drawing apps available. While they might not have all the bells and whistles of their paid counterparts, they can still be surprisingly capable.
- Autodesk SketchBook: This app is known for its clean interface and a wide selection of brushes. The free version offers a solid set of features for sketching and drawing.
- MediBang Paint: Popular among comic and manga artists, MediBang Paint is packed with features, including pre-made backgrounds, fonts, and comic panel tools. It's also available on multiple platforms, allowing you to work on your art anywhere.
- Linea Sketch: If you prefer a minimalist approach, Linea Sketch is worth checking out. It offers a clean workspace and simple tools, making it ideal for quick sketches and idea generation.
Key Features to Look For in an App
When evaluating drawing apps, keep these features in mind:
- Brush Selection and Customization: A wide variety of brushes is essential for creating different textures and effects. The ability to customize brush settings (size, opacity, flow, etc.) gives you even more control.
- Layer Support: Layers are crucial for complex artwork. They allow you to work on different elements independently and make non-destructive edits.
- Color Management: Look for apps that offer robust color palettes, color pickers, and the ability to create custom color schemes.
- Export Options: Make sure the app supports exporting your artwork in various formats (JPEG, PNG, PSD, etc.) so you can easily share it or use it in other applications.
- User Interface: A clean and intuitive interface can make a big difference in your workflow. Choose an app that feels comfortable and easy to navigate.
Ultimately, the best drawing app for you will depend on your individual needs and preferences. Experiment with different options and see what works best for your style and workflow. Don't be afraid to try out free trials or free versions before committing to a paid app.
Choosing the perfect drawing app is key, but don’t stop there! The Chesona Keyboard Case turns your iPad into a productivity powerhouse, ideal for jotting down art tips or managing your projects.
Mastering the Apple Pencil

The Apple Pencil is a game-changer for digital artists on the iPad. It's not just a stylus; it's a precision tool that opens up a world of creative possibilities. Getting the most out of it, though, takes some practice and understanding. It's like any new tool – you need to learn its nuances to really make it sing. Let's explore how to master this essential piece of kit.
Understanding Pencil Pressure and Tilt
One of the coolest things about the Apple Pencil is its sensitivity to pressure and tilt. This allows you to create a wide range of effects, from thin, delicate lines to bold, expressive strokes. The harder you press, the thicker the line. Tilt the pencil, and you can achieve shading effects, mimicking the way you'd use a traditional pencil on paper. Experiment with different pressures and angles to see what you can achieve. It's all about finding that sweet spot that works for your style. It will take time to get the hang of it. Practice is vital to determine how much pressure you need to apply, which angle works, and how to hold it. Consider using drawing lessons to improve your skills.
Customizing Pencil Settings
Did you know you can tweak the Apple Pencil settings to better suit your needs? Head over to your iPad's settings, find the Apple Pencil section, and you'll find options to adjust pressure sensitivity and double-tap actions. For example, you can set the double-tap to switch between the current tool and the eraser, or to show the color palette. Customizing these settings can significantly speed up your workflow and make the drawing experience more intuitive. It's worth spending some time here to find what works best for you.
Essential Gestures and Shortcuts
Beyond pressure and tilt, the Apple Pencil supports various gestures that can streamline your drawing process. Here are a few to get you started:
- Double-Tap: As mentioned above, customize this to quickly switch between tools.
- Holding the Pencil at an Angle: Use this for shading, just like with a regular pencil.
- Using Your Finger: Some apps allow you to use your finger for specific actions, like smudging or blending.
Mastering these gestures can make your workflow much more efficient. It's all about finding the right combination of techniques that work for you. Don't be afraid to experiment and find your own style.
Here's a simple table to illustrate the pressure sensitivity:
| Pressure Level | Line Thickness | Effect |
|---|---|---|
| Light | Thin | Delicate, subtle |
| Medium | Medium | Standard line |
| Heavy | Thick | Bold, expressive |
It's a new tool, so it will take time to get the hang of it.
Building Foundational Drawing Skills
Alright, so you've got your iPad, your Pencil, and a drawing app. Now what? It's time to actually learn how to draw! Don't worry, we're not expecting masterpieces right away. It's all about building a solid base. Think of it like learning to play an instrument – you gotta start with the basics before you can shred.
Starting with Basic Shapes and Forms
Everything you see, no matter how complex, can be broken down into basic shapes. Seriously! Circles, squares, triangles, cylinders, cubes, spheres – these are your building blocks. Start by practicing drawing these shapes over and over. Try to make them consistent and clean. Then, start combining them to create simple objects. A snowman? Two circles. A house? A square and a triangle. It sounds simple, but it's essential.
Practicing Line Work and Shading
Line work is all about control. Can you draw a straight line? A curved line? A line that gets thicker or thinner? Practice different types of lines. Try filling a page with parallel lines, then another with cross-hatching. Shading is what gives your drawings depth and dimension. Start with simple gradients, then move on to more complex shading techniques like hatching, cross-hatching, and stippling. Experiment with different levels of pressure on your Apple Pencil to achieve different effects.
Understanding Color Theory and Palettes
Color can be intimidating, but it doesn't have to be. Start with the basics: primary colors (red, yellow, blue), secondary colors (green, orange, purple), and tertiary colors (mixing primary and secondary). Learn about color harmonies – complementary, analogous, triadic. Experiment with different color palettes. A limited palette can actually be a great way to learn and create a cohesive look. Don't be afraid to play around and see what works for you.
Remember, practice makes progress. Don't get discouraged if your drawings don't look perfect right away. The more you practice, the better you'll get. Focus on the fundamentals, and the rest will follow. And most importantly, have fun!
Exploring Advanced Techniques
Alright, so you've got the basics down. Now it's time to really push your iPad drawing skills. This is where things get interesting, and you can start developing your own unique style. Don't be afraid to experiment and try new things – that's how you'll discover what works best for you.
Working with Layers and Blending Modes
Layers are absolutely essential for complex digital art. Think of them as transparent sheets of paper stacked on top of each other. You can draw on each layer independently, which means you can make changes without affecting other parts of your artwork. Blending modes change how layers interact with each other, creating cool effects like shadows, highlights, and color variations. It's like having a digital darkroom at your fingertips. Understanding layer functionality is key to non-destructive editing and complex compositions.
Here's a simple breakdown of why layers are so useful:
- Organization: Keep different elements of your drawing separate.
- Flexibility: Easily edit or remove parts without affecting others.
- Experimentation: Try out different ideas without committing to permanent changes.
Creating Custom Brushes and Textures
Want to make your art truly unique? Then you need to dive into creating your own brushes. Most drawing apps let you adjust settings like shape, texture, and pressure sensitivity. You can even import custom textures to create brushes that mimic real-world materials like charcoal or watercolor. Experimenting with brush settings can lead to some really cool and unexpected results.
Adding Animation to Your Artwork
Take your art to the next level by adding animation. Many iPad drawing apps have built-in animation tools that let you create short loops or full-fledged animations. It might seem intimidating at first, but start with simple animations like blinking eyes or flowing hair. Once you get the hang of it, you can move on to more complex scenes. It's a fun way to bring your drawings to life.
Animation doesn't have to be complicated. Start with simple movements and gradually increase the complexity as you become more comfortable. There are tons of tutorials online to help you get started. Don't be afraid to experiment and have fun with it!
Enhancing Your Workflow with Accessories
Alright, so you're getting serious about iPad drawing. That's awesome! But let's be real, the iPad itself is just the beginning. To really unlock your potential and make the whole process smoother, you're gonna want to think about accessories. They can make a huge difference in comfort, efficiency, and even the quality of your artwork. I've seen people struggle with the basics, and a simple accessory upgrade made a world of difference.
Protective Cases and Stands
First up: protection. I cannot stress this enough. iPads are expensive, and dropping one is a nightmare. A good case is a must. But beyond just protection, think about functionality. Cases with built-in stands are game-changers. They let you prop up your iPad at the perfect angle for drawing, which is way better than hunching over a flat surface. Plus, some cases even have a spot to hold your Apple Pencil, so you don't lose it (we've all been there).
Here's a quick rundown of what to look for:
- Durability: Make sure it can handle a few bumps and scrapes.
- Angle adjustability: Can you get it at the right angle for drawing?
- Pencil storage: A dedicated slot or loop is super handy.
Love the idea of a protective case? Try the Chesona Keyboard Case for your iPad! It combines sturdy protection with a built-in keyboard, perfect for typing art notes or propping up your device while you draw. Discover this versatile accessory at Chesona’s website!
Screen Protectors for a Paper-Like Feel
Okay, this one is a bit more personal preference, but hear me out. Drawing on glass can feel…slippery. It lacks the tactile feedback of paper, which can make it harder to control your lines. That's where paper-like screen protectors come in. They add a bit of texture to the screen, giving you that familiar feeling of drawing on paper. It can really improve your precision and make the whole experience more enjoyable. I know some artists who swear by them.
I used to hate drawing on my iPad because it felt so unnatural. Then I tried a paper-like screen protector, and it was a total game-changer. Suddenly, I had more control over my lines, and it just felt…right. It's a small thing, but it made a huge difference in my workflow.
Portable Power Solutions
This might seem obvious, but don't forget about power! Drawing can drain your battery pretty quickly, especially if you're using a lot of processing power. A portable power bank is a lifesaver, especially if you like to draw on the go. There's nothing worse than being in the middle of a masterpiece and having your iPad die.
Consider these factors when choosing a power bank:
- Capacity: How many times can it charge your iPad?
- Size and weight: Is it easy to carry around?
- Charging speed: How quickly can it charge your iPad?
Sharing Your Digital Creations

So, you've poured hours into your digital masterpiece on the iPad. Now what? It's time to show it off to the world! Don't let your art just sit on your device. Let's talk about how to get it out there.
Exporting Your Artwork in Various Formats
First things first: exporting. You need to get your artwork into a format that others can actually view. Most apps let you export as JPEGs, PNGs, TIFFs, and sometimes even PSDs (Photoshop files). JPEGs are great for general sharing because they keep the file size down, but they do lose some quality. PNGs are better if you need transparency or want to avoid compression artifacts. TIFFs are usually for print, as they retain the most detail. Experiment to see what works best for you. I usually stick with PNGs for online stuff.
Showcasing Your Art on Social Media
Okay, you've got your file. Now, where to post it? Social media is your friend. Instagram is a no-brainer for visual art. Make sure you use relevant hashtags like #ipadart, #procreate, or whatever app you used. Don't forget to tag the app developers too; they might feature your work! Twitter is good for quick shares and engaging with other artists. Facebook can work, but it's often less focused on visual content. And don't underestimate platforms like Behance or ArtStation, which are specifically for showcasing creative work. I've found that consistent posting, even if it's just a little bit each week, helps build an audience.
Building an Online Portfolio
Social media is great, but it's not a portfolio. You need a dedicated space to show off your best work. A simple website is perfect. Services like Squarespace or Wix make it easy to create a portfolio without needing to code. You can also use platforms like Behance or ArtStation as your portfolio, but having your own website gives you more control. Make sure your portfolio is easy to navigate and showcases your best pieces. Include a short bio and contact information. I spent a weekend setting up mine, and it's been a game-changer. It's also a good idea to include a link to drawing tutorials you followed to create your art.
Remember, sharing your art is about more than just showing off. It's about connecting with other artists, getting feedback, and maybe even selling your work. Don't be afraid to put yourself out there!
Conclusion
So, there you have it! Drawing on your iPad is a fun way to get creative. It doesn't matter if you're just doodling or trying to make something really cool. The iPad, especially with the Apple Pencil, gives you tons of tools to play with. Just start drawing, see what happens, and don't worry too much about making it perfect. You might just find a new hobby you love.
Frequently Asked Questions
Which iPad is best for drawing?
The newest iPad models, like the iPad Pro or iPad Air, are generally best for drawing because they have powerful chips and great screens. These features make your drawing experience smooth and enjoyable.
Do I really need an Apple Pencil to draw on an iPad?
The Apple Pencil is super important for drawing on an iPad. It lets you draw with different pressures and angles, just like a real pencil. This makes your digital art look more natural and detailed.
What's a good drawing app for someone just starting out?
Many apps are great for beginners. Procreate (paid) is very popular and powerful, but there are also free options like Paper by WeTransfer or Autodesk Sketchbook. Try a few to see which one feels right for you.
Can I share my drawings easily from my iPad?
Yes, you can! Many drawing apps let you export your artwork in different formats like JPEG, PNG, or even PSD (for Photoshop). This means you can share your art online or keep working on it on a computer.
How can I make drawing on my iPad feel more like drawing on paper?
To make your iPad drawing feel more like drawing on paper, you can get a special screen protector that has a matte, slightly rough texture. This gives you more grip and a better feel when using the Apple Pencil.
Is digital drawing on an iPad a good way to learn how to draw?
Absolutely! Digital drawing is a fantastic way to learn. You can easily undo mistakes, experiment with colors and brushes without wasting supplies, and find lots of online tutorials to guide you. It's a very forgiving way to start your artistic journey.
