If you're into video editing and thinking about upgrading your gear, you might want to consider the M-Series chips from Apple. These chips really change the game with their powerful performance and efficiency. Whether you're working on a short film or a YouTube video, understanding how to maximize video editing with M-Series chips can make a big difference in your workflow and final output. This guide will walk you through the key features of these chips and how to get the most out of them for your editing tasks.
Key Takeaways
- M-Series chips have different core configurations that enhance performance for video editing tasks.
- Utilizing GPU acceleration can significantly speed up rendering and exporting processes.
- Choosing the right M-Series model is essential; M4 Max offers superior performance over M4 Pro for heavy editing.
- Investing in sufficient RAM and external SSDs can improve your editing efficiency and storage capabilities.
- Software optimizations in Final Cut Pro and DaVinci Resolve can leverage the M-Series chips for better performance.
Understanding M-Series Chip Architecture
Let's talk about what makes the M-series chips so special for video editing. It's not just about raw speed; it's about how Apple designed these chips from the ground up to handle demanding tasks like video processing. The architecture is a big deal, and understanding it can help you make better choices about which Mac to buy and how to optimize your workflow.
Core Configuration Benefits
The M-series chips use a combination of performance and efficiency cores. The performance cores handle the heavy lifting, like rendering and exporting, while the efficiency cores take care of background tasks, saving power and keeping things running smoothly. It's a pretty smart setup. The Apple M4 chip has four performance cores and up to six efficiency cores. These cores are more efficient and are used for background tasks that don’t require much processing power. For video editors, the more performance and GPU cores, the better. It's all about balancing power and battery life, especially on MacBooks.
GPU Performance Insights
The GPU is crucial for video editing, especially when using effects, color grading, and motion graphics. The M-series chips have integrated GPUs that are way more powerful than the ones in older Macs. This means faster rendering, smoother playback, and the ability to work with higher-resolution footage without lag. The M3 Ultra Mac Studio boasts impressive specifications, including a 32-core CPU, 80-core GPU, and 32-core Neural Engine. It comes standard with 96GB of unified memory, making it an ideal choice for video editors seeking high performance and efficiency.
Dedicated Media Encoders
One of the biggest advantages of M-series chips for video editors is the dedicated media encoders. These encoders are hardware specifically designed to accelerate video encoding and decoding, which is a huge time-saver when exporting your final file. The M4 Pro has 1 x Video decode/encode engine and 1 x ProRes encode/decode engine, while the M4 Max has double the video encode and ProRes encode/decode engine. This means faster exports and smoother playback of various video formats. It really does make a difference.
Think of it like this: without dedicated media encoders, your computer has to use its CPU or GPU to handle encoding and decoding, which can slow things down. With dedicated encoders, the process is offloaded to specialized hardware, freeing up the CPU and GPU for other tasks.
Optimizing Video Editing Workflows
Leveraging GPU Acceleration
Video editing is heavily reliant on graphics processing, and the M-series chips are designed to handle this workload efficiently. Make sure your video editing software is configured to utilize the GPU for tasks like rendering, effects processing, and color correction. This can significantly reduce processing times and improve overall performance. For example, in Final Cut Pro, check the playback settings to ensure background rendering is enabled. This allows the software to process footage in the background while you continue editing, minimizing interruptions. Also, consider using optimized media or proxies for editing high-resolution footage, which can further reduce the load on the GPU. The M4 chip is designed for enhanced machine learning capabilities and optimized performance in applications, making it particularly effective for tasks like video editing and gaming.
Utilizing Background Tasks
One of the best ways to keep your editing workflow smooth is to take advantage of background processing. Instead of waiting for tasks to complete, queue them up and let your M-series Mac handle them while you work on other aspects of your project. Here's a few ideas:
- Rendering: Set up renders to run in the background, especially for complex sequences or effects-heavy shots.
- Exporting: Start your exports before you take a break or at the end of the day. The M-series chips are pretty efficient, so you can often continue working while an export is running, but it's best to let it do its thing uninterrupted.
- Media Management: Use background tasks to transcode footage, create proxies, or organize your media library. This keeps your main editing timeline clean and responsive.
By offloading these tasks, you free up processing power for real-time editing and playback, resulting in a more fluid and responsive experience. This is especially useful when working with large projects or demanding codecs.
Streamlining Export Processes
Exporting can be a major bottleneck in any video editing workflow. Optimizing your export settings can save you a ton of time. Here are some tips:
- Choose the right codec: H.264 is a widely compatible codec, but ProRes offers better quality and is ideal for archival or further editing. AV1 decode is also an option.
- Adjust bitrate: Lowering the bitrate will reduce file size but can also impact quality. Experiment to find the sweet spot for your needs.
- Hardware acceleration: Make sure your software is using the M-series chip's dedicated media encoders for faster exports. The M3 Ultra has 4 video decode/encode engines, while the M3 Pro has 2. So if you see export times of 10 minutes on a Pro they should be 5 minutes on a Max and 2.5 minutes on an Ultra, as the media encoders are doing a lot of the heavy lifting.
- Export in chunks: For very long projects, consider exporting in smaller segments and then combining them. This can help prevent crashes and make it easier to troubleshoot any issues.
Choosing the Right M-Series Model
Choosing the right M-series chip for video editing can feel like a big decision. There are a few things to consider, and it really depends on your specific needs and budget. Let's break down some of the key models and what they offer.
Comparing M4 Pro and M4 Max
The M4 Pro and M4 Max chips are both excellent choices, but they cater to different levels of demand. The M4 Pro is a solid option for intermediate video editing tasks, while the M4 Max is designed for heavy workloads. The M4 Max has more performance and GPU cores, which translates to faster rendering and smoother playback of complex projects.
Here's a quick comparison:
- M4 Pro: Up to 14-core CPU (10 performance cores, 4 efficiency cores), up to 20 GPU cores, 1 video encode/decode engine.
- M4 Max: Up to 16-core CPU (12 performance cores, 4 efficiency cores), up to 40 GPU cores, double the video encode/decode engines compared to the Pro.
- For video editors, more performance and GPU cores are generally better.
Evaluating M3 Ultra Performance
The M3 Ultra is a powerhouse, but it's worth considering how it stacks up against the M4 Max, especially since the M4 chips are newer. Some early tests suggest that the M3 Ultra performs similarly to the M4 Max. If you can find an M3 Ultra at a significant discount, it might be a great value. However, the M3 Ultra Mac Studio offers advantages like more RAM, more ports, and more video encoders compared to an M4 Max MacBook Pro. If you need a desktop setup and those features are important, the M3 Ultra is a strong contender. YouTube videos highlight the Mini M4 Pro as exceptional, with comparisons to the Studio model to illustrate their differences.
Cost vs. Performance Considerations
Ultimately, the best M-series model for you depends on your budget and the types of projects you work on. If you're doing basic editing, the M4 Pro might be sufficient. For more demanding tasks, the M4 Max is a worthwhile investment. The M3 Ultra offers a compelling alternative if you need a desktop workstation with extra features. Don't overspend on SSD upgrades from Apple; consider external SSD solutions instead. Also, remember that the 16-inch MacBook Pro is crucial for maximizing the M4 Max chip’s performance potential. Here are some things to consider:
- What's your budget?
- What kind of video editing do you do (4K, 8K, complex effects)?
- Do you need a portable laptop or a desktop workstation?
Choosing the right M-series model is a balancing act. Consider your current needs, future projects, and budget to make the best decision for your video editing workflow. Don't be afraid to research and compare different models to find the perfect fit.
Maximizing RAM and Storage Options
Recommended RAM Configurations
When it comes to video editing, RAM is your friend. Seriously. The more you have, the smoother your editing experience will be, especially with demanding software like Final Cut Pro or DaVinci Resolve. For M-series chips, you've got some good options, but it's worth thinking about your workflow. If you're mainly working with 1080p footage, 16GB might cut it, but for 4K or higher, you'll want to aim higher. I'd suggest 32GB as a solid starting point for most serious video editors, and if you're doing heavy compositing or motion graphics, consider 64GB or even more. Remember, you can't upgrade RAM later, so it's better to overestimate than underestimate. For iPads, RAM is crucial for video editing.
- 16GB: Suitable for light editing and 1080p projects.
- 32GB: A good balance for 4K editing and moderate multitasking.
- 64GB+: Ideal for complex projects, 8K footage, and heavy effects work.
It's better to have more RAM than you think you need. Video editing software tends to eat up memory, and having extra headroom will prevent slowdowns and crashes. Plus, future software updates might require even more RAM, so you'll be future-proofing your setup.
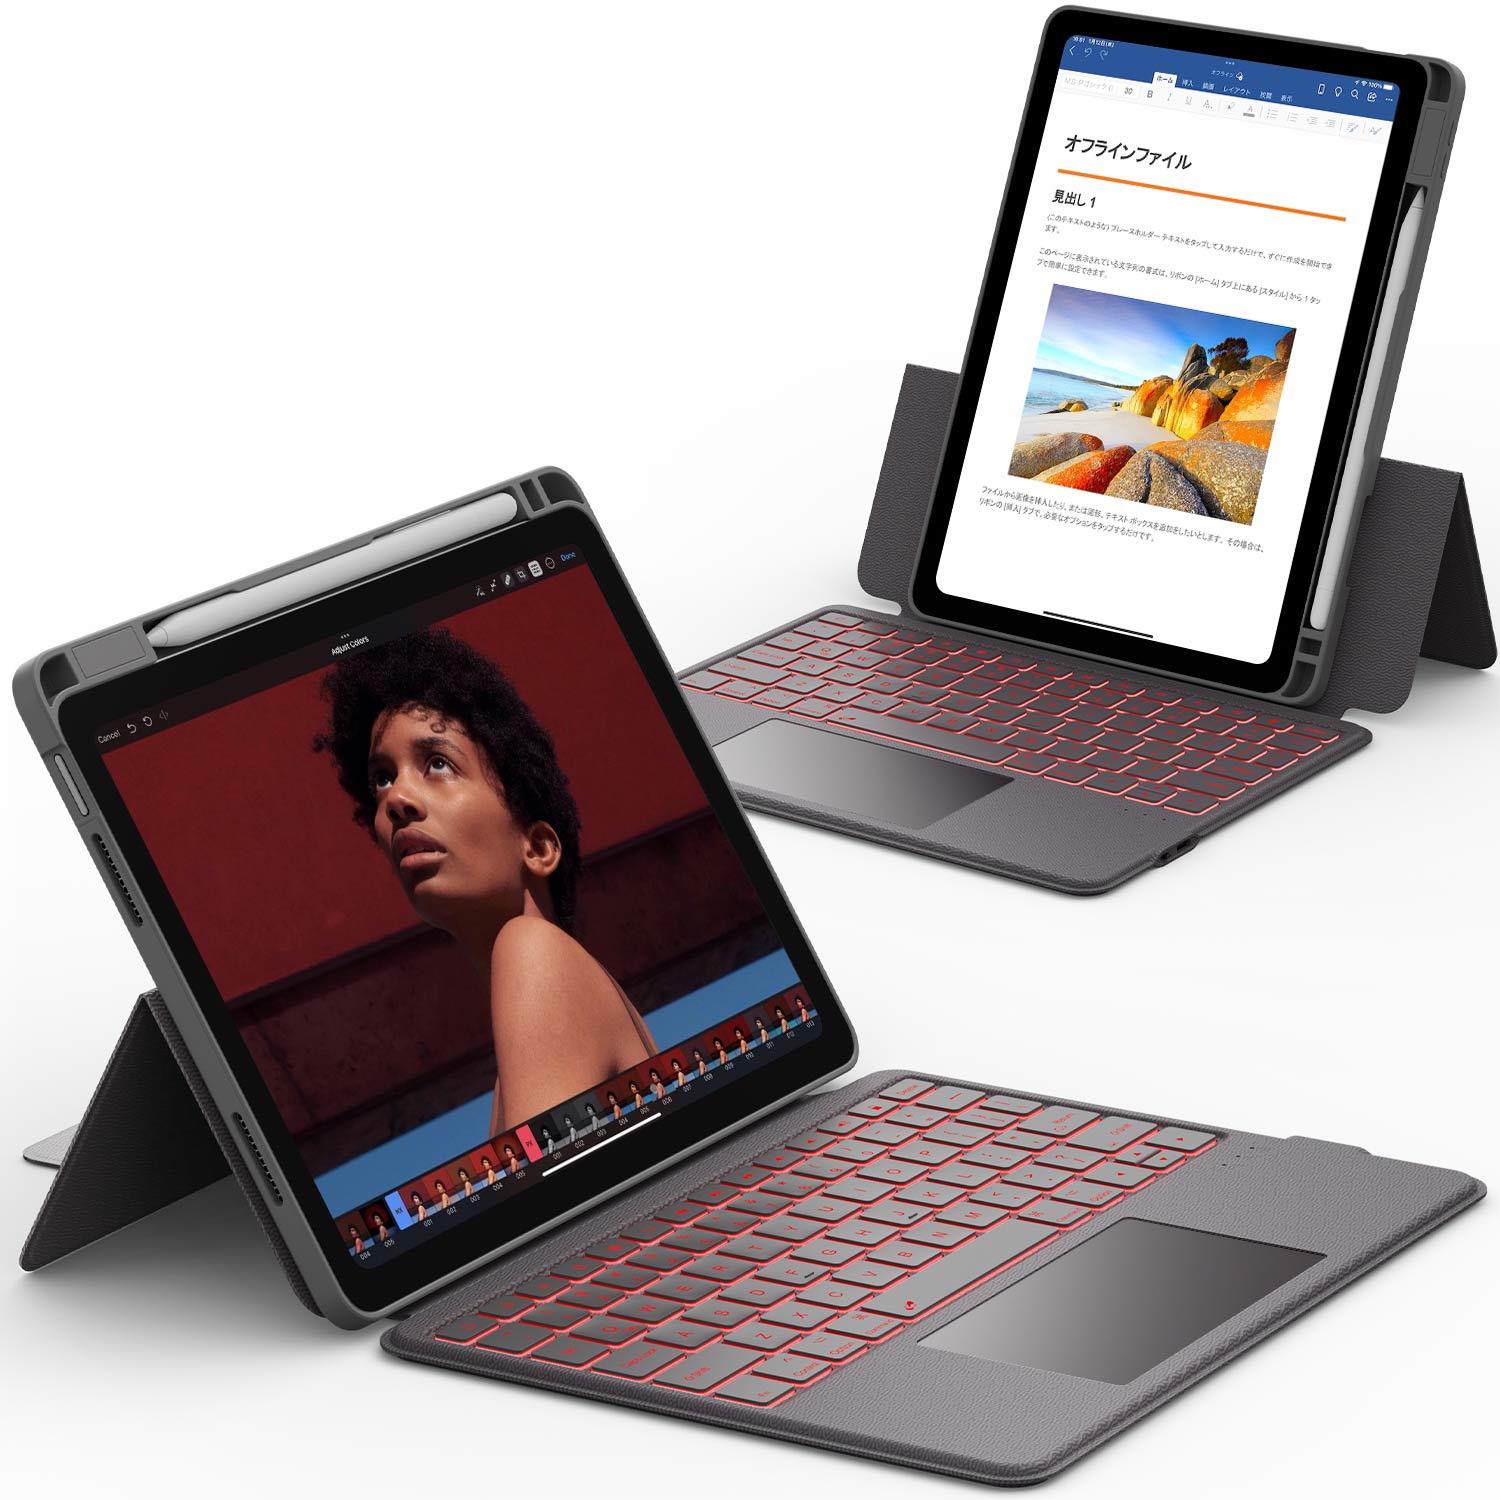
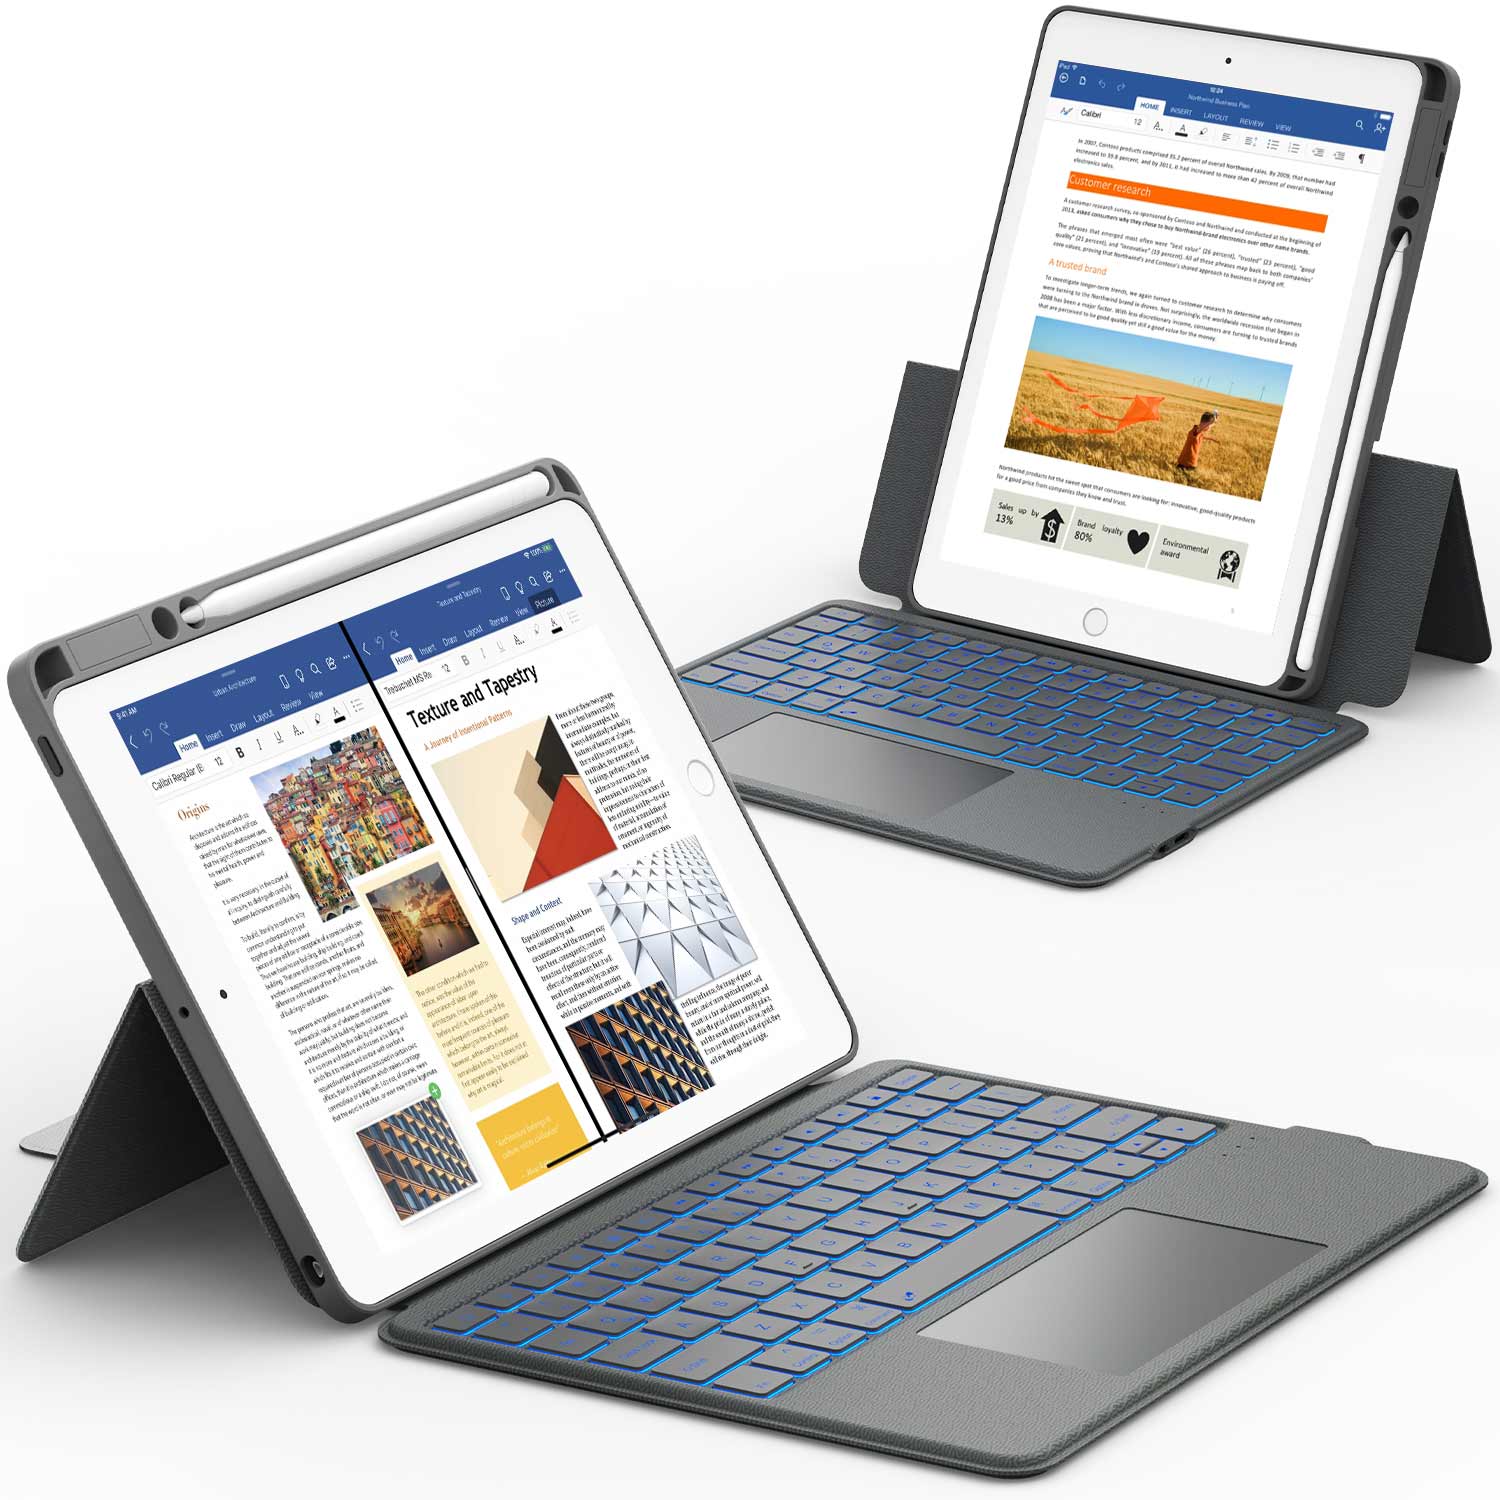
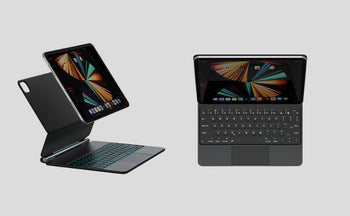
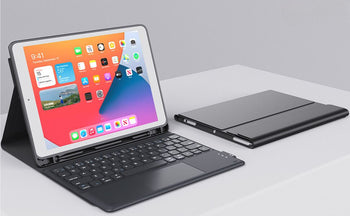
If you're looking for a device with larger storage capacity, you might want to consider this keyboard that supports external storage. It not only offers an excellent typing experience but also allows you to expand your data storage needs through external storage options, solving the problem of limited storage space. Whether for work, entertainment, or professional use, this keyboard can meet your diverse needs while maintaining smooth and efficient operation.
External SSD Solutions
Internal storage on Macs can be expensive, so external SSDs are a great way to expand your storage without breaking the bank. Look for SSDs with Thunderbolt 3 or 4 for the fastest transfer speeds. This is especially important when working with large video files. You don't want to be waiting forever for footage to load. I've had good luck with Samsung T7 and SanDisk Extreme Pro drives, but there are plenty of other good options out there. Just make sure they're fast enough to handle your video editing needs. Consider these points when choosing an external SSD:
- Speed: Aim for read/write speeds of at least 1000MB/s.
- Capacity: Choose a size that fits your project needs, but don't be afraid to go big.
- Connectivity: Thunderbolt 3/4 offers the best performance.
Balancing Cost and Performance
Finding the right balance between cost and performance is key. You don't want to overspend on features you don't need, but you also don't want to skimp on components that will impact your editing experience. Here's a table to help you weigh your options:
| Component | Recommendation the content for the h2
Utilizing Software for Enhanced Performance
Final Cut Pro Optimization
Okay, so you've got your shiny new M-series Mac, and you're ready to edit. But is Final Cut Pro really running as fast as it could? Probably not, unless you tweak a few things. First, make sure you're on the latest version. Seriously, Apple is constantly pushing out updates that improve performance, especially for their own silicon. Keeping your software up-to-date is the easiest way to see gains.
Next, dive into the preferences. Background rendering can be a lifesaver, but it can also hog resources if you're working on a complex project. Experiment with turning it off or limiting its scope. Also, check your playback settings. If you're working with 4K or 8K footage, you might want to reduce the playback quality to improve responsiveness. It won't affect your final export, but it'll make editing a lot smoother.
Finally, think about your library structure. Are you using optimized media or proxy media? Proxy media is your friend when dealing with heavy codecs. It's a lower-resolution version of your footage that's much easier to edit with. Final Cut Pro makes it pretty easy to generate proxies, so there's really no excuse not to use them.
DaVinci Resolve Settings
DaVinci Resolve is a beast, but it can be tamed with the right settings. One of the biggest things to look at is your GPU configuration. Make sure Resolve is actually using your M-series chip's GPU. You can check this in the project settings under "Memory and GPU." If it's not selected, enable it. It makes a huge difference.
Another thing to consider is your timeline resolution. Are you editing in 4K just because you can? If your final output is 1080p, there's no need to edit in 4K. Reducing your timeline resolution can significantly improve performance, especially when working with effects and color grading.
Cache files are also important. Resolve creates cache files to speed up playback, but these files can take up a lot of space. Make sure you have enough free space on your SSD, and consider clearing your cache regularly to prevent performance issues. Also, experiment with different render codecs. Some codecs are more demanding than others. If you're having trouble with playback, try switching to a less demanding codec like ProRes.
Topaz Video AI Integration
Topaz Video AI is amazing for upscaling and enhancing video, but it can also be incredibly resource-intensive. If you're using Topaz Video AI with your M-series Mac, there are a few things you can do to optimize performance. First, make sure you're using the latest version of Topaz Video AI. The developers are constantly improving the software and adding support for new hardware.
Next, experiment with different processing settings. The default settings are often a good starting point, but you may be able to improve performance by tweaking them. For example, you can reduce the number of passes or use a lower-quality model. It really depends on the specific footage you're working with.
Also, consider processing your footage in batches. Topaz Video AI can be very slow, so it's often more efficient to process multiple clips at once rather than processing them one at a time. Finally, make sure you have enough RAM. Topaz Video AI can use a lot of memory, especially when upscaling high-resolution footage. If you're running out of RAM, you may experience performance issues or even crashes.
It's worth noting that third-party "cleaner" apps and optimizers can sometimes do more harm than good. MacOS is pretty good at managing its own resources, and these apps can often interfere with the operating system's built-in optimizations. Unless you really know what you're doing, it's best to avoid them.
M4 Mac Mini vs M4 MacBook Pro

Performance Comparisons
Okay, so you're trying to decide between the M4 Mac Mini and the M4 MacBook Pro for video editing. Let's break down the performance differences. The M4 Pro Mac Mini offers a pretty smooth experience, but when it comes to exporting those big video files, it might lag a bit behind the M4 Max MacBook Pro. The M4 Pro chip is impressive, even beating the M2 Ultra in some CPU tasks. However, the GPU isn't as powerful as the M4 Max, which is important for rendering and effects.
If you're a video creator, sticking with the M4 Max is a good idea. Paying extra for the M3 Ultra might not be worth it this time around, as you'll see similar performance in those Creative Suite applications.
- The M4 Max MacBook Pro is about 43% faster than the M4 Max MacBook Pro in Adobe Premiere Pro.
- The M4 Max MacBook Pro is about 40 seconds faster than the M4 Max MacBook Pro in DaVinci Resolve 4K H.264 export.
- The M4 Max MacBook Pro offers a compelling combination of performance, portability, and battery life.
Port Availability
When it comes to ports, both machines have their strengths. The Mac Mini gives you a good selection, including Thunderbolt ports, HDMI, and USB-A. The MacBook Pro, of course, has the advantage of being portable, but you might need to think about dongles if you're connecting a lot of external devices. The M4 Pro Mac Mini has three Thunderbolt 5 ports, an HDMI port, two USB-C ports, and a headphone jack. The 14" MacBook Pro has three Thunderbolt 4 ports, an HDMI port, an SDXC card slot, a headphone jack, and a MagSafe 3 port.
“For a clutter-free portable setup, an iPad keyboard case with built-in ports (like USB-C or HDMI) can eliminate the need for dongles, letting you connect external SSDs or monitors directly while keeping your workspace streamlined. Perfect for editors who value both mobility and efficiency.”
Best Use Cases for Each Model
So, which one should you get? It really depends on your workflow and budget. If you're mostly working in a studio and need raw power, the Mac Mini is a solid choice. But if you need to edit on the go, or want the convenience of an all-in-one package, the MacBook Pro is the way to go. Consider investing in a fast external SSD for storing large video files and backups. Portability is a big factor here. If you need to move around, the MacBook Pro is the clear winner. If you're staying put, the Mac Mini offers more bang for your buck. For professional video editors who require a balance of CPU and GPU performance with ample RAM, the M4 Max MacBook Pro in the 16-inch size offers the best value.
Here's a quick comparison:
Feature
M4 Mac Mini
M4 MacBook Pro
| Portability | Not portable | Portable |
| Price | Generally more affordable | Generally more expensive |
| Display | Requires external display | Built-in Liquid Retina XDR display |
| Use Case | Studio-based editing, raw power | On-the-go editing, all-in-one solution |
Future-Proofing Your Video Editing Setup

Anticipating Software Updates
Software is always changing, and video editing software is no exception. New features, codec support, and performance improvements are constantly being rolled out. Staying on top of these updates is key to keeping your system running smoothly and taking advantage of the latest advancements. Consider subscribing to newsletters or following the developers on social media to stay informed. It's also a good idea to check compatibility with your hardware before updating to avoid any unexpected issues. For example, if you're using Final Cut Pro optimization, make sure the latest version is fully supported by your M-series chip.
Investing in Expandable Storage
Video files are big, and they only seem to be getting bigger. 4K is now standard, and 8K is on the horizon. Having enough storage is crucial for any video editor. While internal storage is fast, it's often limited and expensive to upgrade. Investing in expandable storage solutions, like external SSDs, is a smart way to future-proof your setup.
Here's a quick look at storage options:
- External SSDs: Fast and reliable, perfect for active projects.
- NAS (Network Attached Storage): Great for archiving and collaboration.
- Cloud Storage: Convenient for backups and sharing, but dependent on internet speed.
Planning for Hardware Upgrades
While M-series chips are powerful, technology marches on. Eventually, you'll need to upgrade your hardware to keep up with the demands of new software and formats.
My purchasing philosophy is simple: Buy the best I can and keep it for as long as I can. I will pay more now for better future proofing later.
Consider these points when planning for hardware upgrades:
- Assess your needs: What are your current bottlenecks? What are your future project requirements?
- Set a budget: How much can you realistically afford to spend?
- Research new technologies: What new chips, GPUs, and storage solutions are on the horizon?
Wrapping It Up
In the end, if you're serious about video editing, the M-Series chips can really change the game for you. The M4 Max, with its extra cores and faster encoders, is a solid choice for anyone looking to speed up their workflow. Sure, the M3 is still good, but if you want to save time on exports and rendering, the upgrade might be worth it. Just remember, it’s not just about the specs; how you use your machine matters too. So, take a good look at what you need, and pick the right setup for your editing style. Happy editing!
Frequently Asked Questions
What is the M-Series chip architecture?
The M-Series chips are designed by Apple and feature a mix of powerful and efficient cores. This helps improve performance while saving energy.
How does GPU acceleration help with video editing?
GPU acceleration speeds up tasks like rendering and effects, making video editing faster and smoother.
What are the differences between the M4 Pro and M4 Max?
The M4 Max has more performance cores and GPU cores than the M4 Pro, making it better for heavy video editing tasks.
Is it worth getting more RAM for video editing?
Yes, more RAM can help with handling larger video files and running multiple applications at once.
What external storage options do you recommend?
Using a fast external SSD is a good idea for storing large video files and backups without spending too much.
How do I choose between the M4 Mac Mini and M4 MacBook Pro?
It depends on your needs. The MacBook Pro is more portable and powerful, while the Mac Mini is a good option for a stationary setup.


