Ever wondered how to multitask on iPad without losing time flipping between apps? With a few gestures and the right tools, you can keep two apps open side by side, slide one over, or even watch a video while working
To multitask on an iPad, you can use Split View (two apps side by side) or Slide Over (a floating app window layered on top). Activate these modes by tapping the three-dot multitasking icon at the top of an app, then choosing your layout.
You can also drag an app from the Dock or App Library to the edge of the screen to snap it into place. The multitasking menu gives you even more control, letting you switch between setups quickly. With just a few gestures, your iPad becomes a true multitasking machine.
Once you get the hang of multitasking on iPad, you can do more without feeling stuck on one screen.
Key Takeaways
- Learn the basics of multitasking and how to open more than one app
- Use built-in tools like Split View, Slide Over, and Picture in Picture
- Try advanced options like Stage Manager for better control
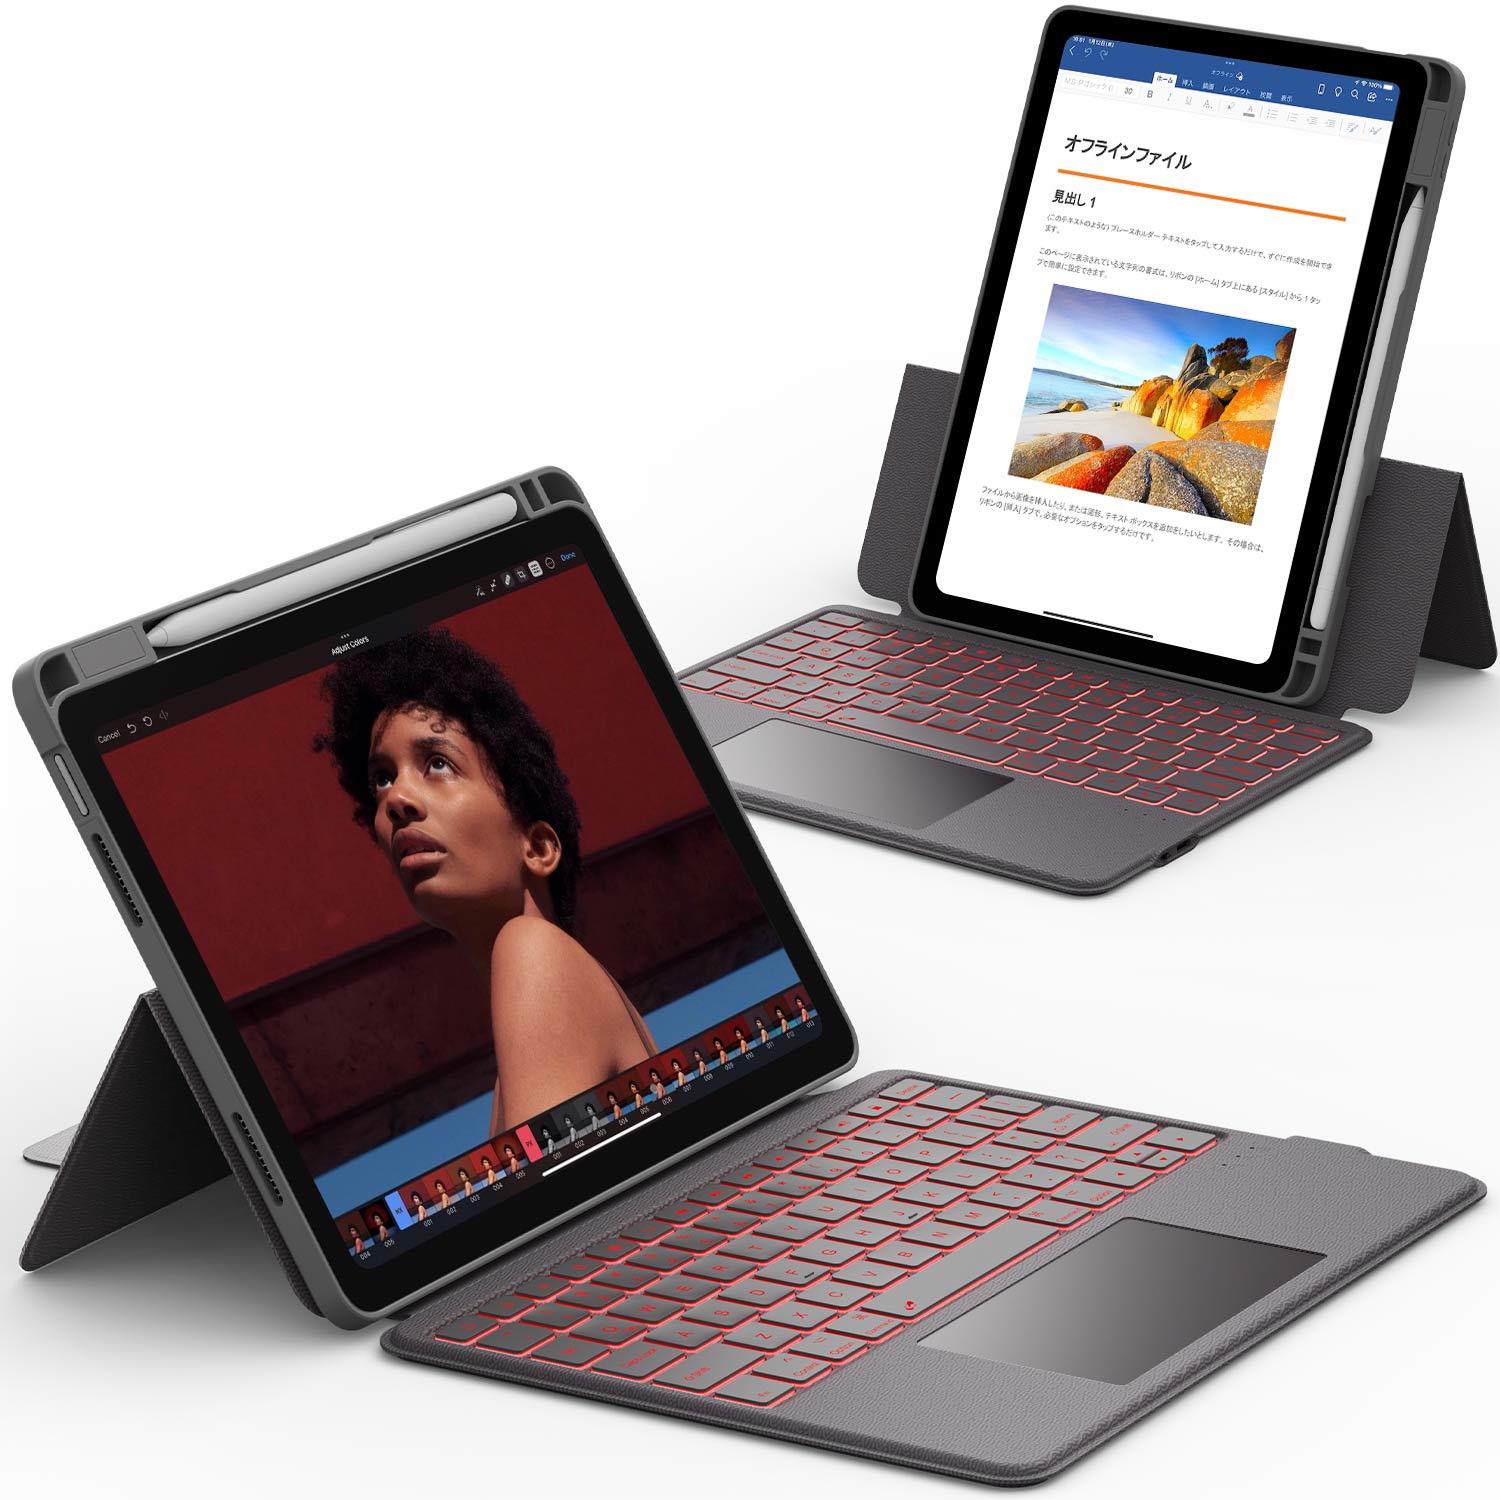
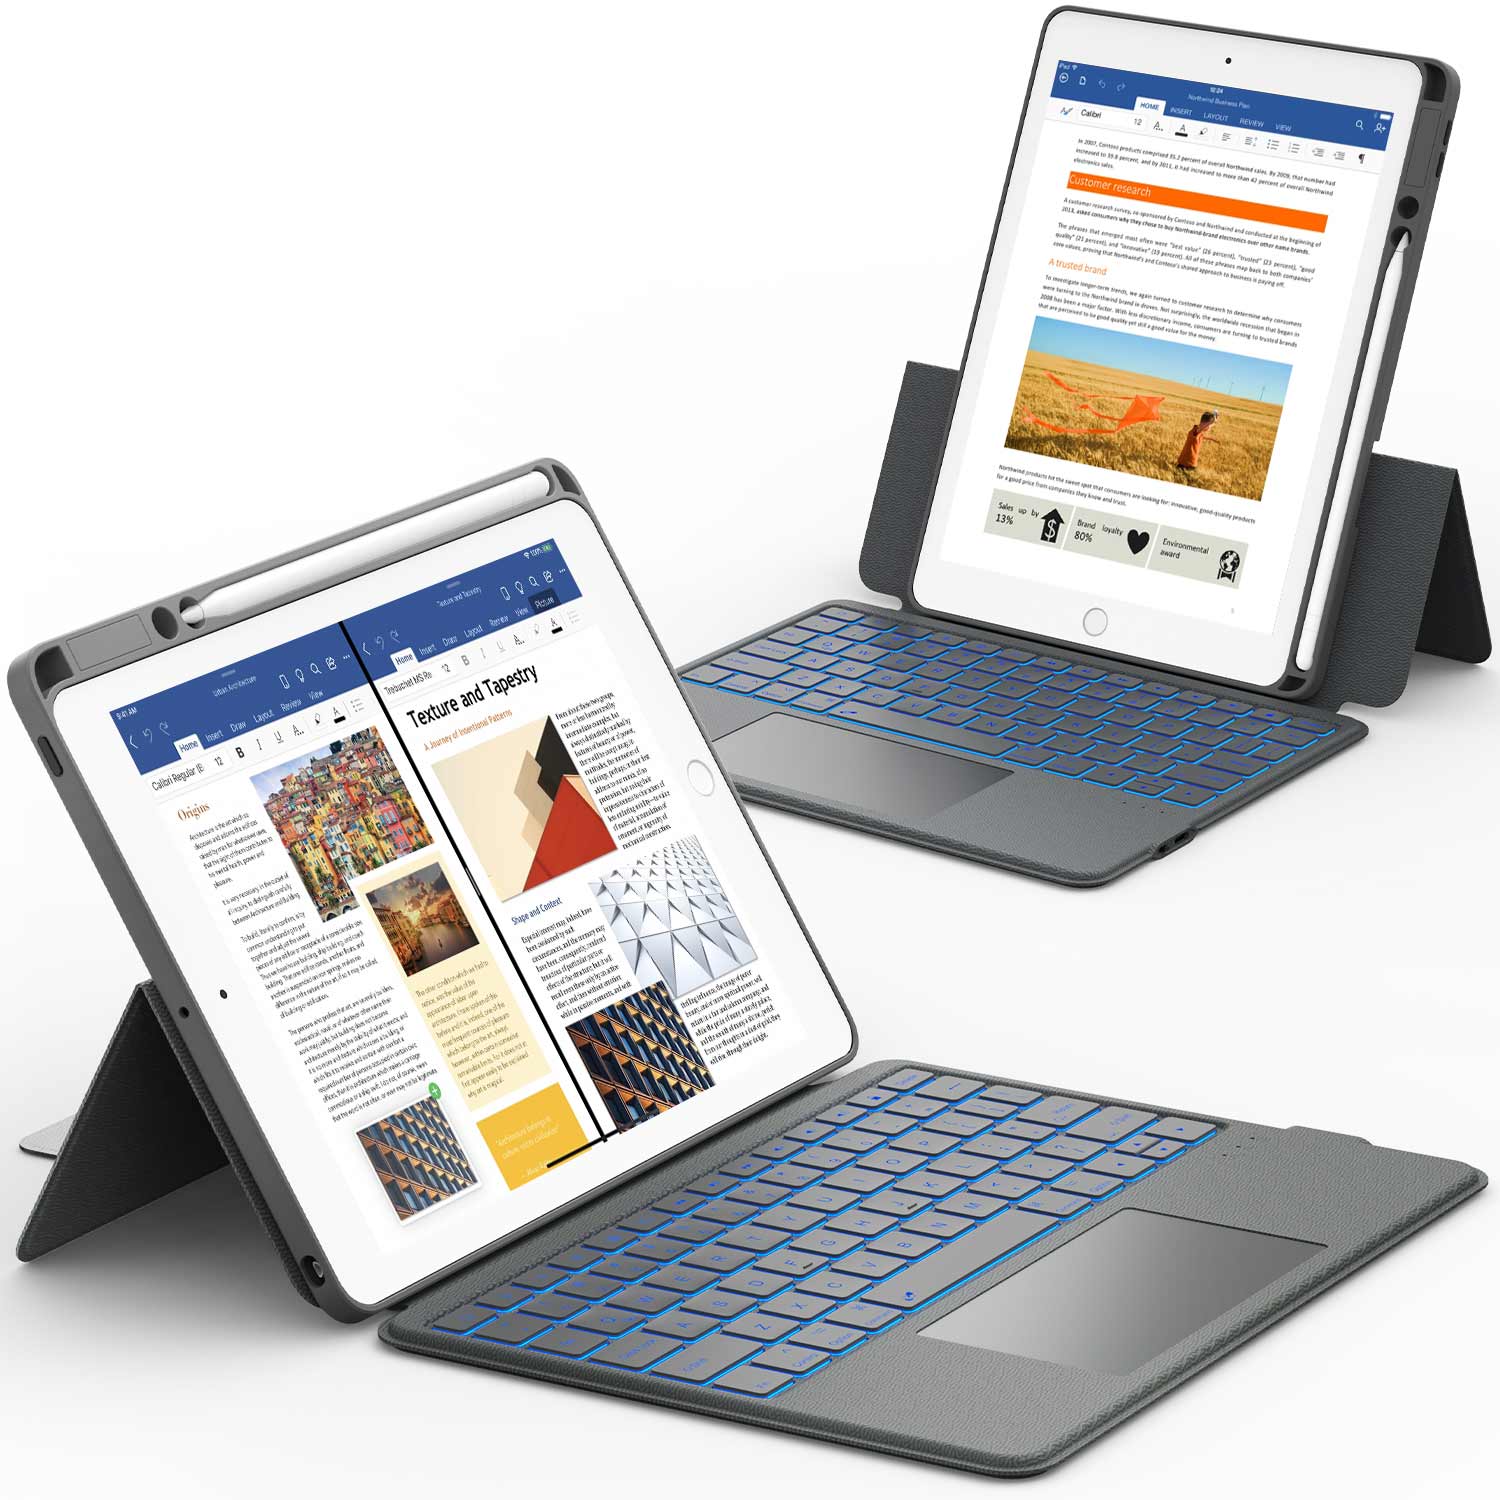
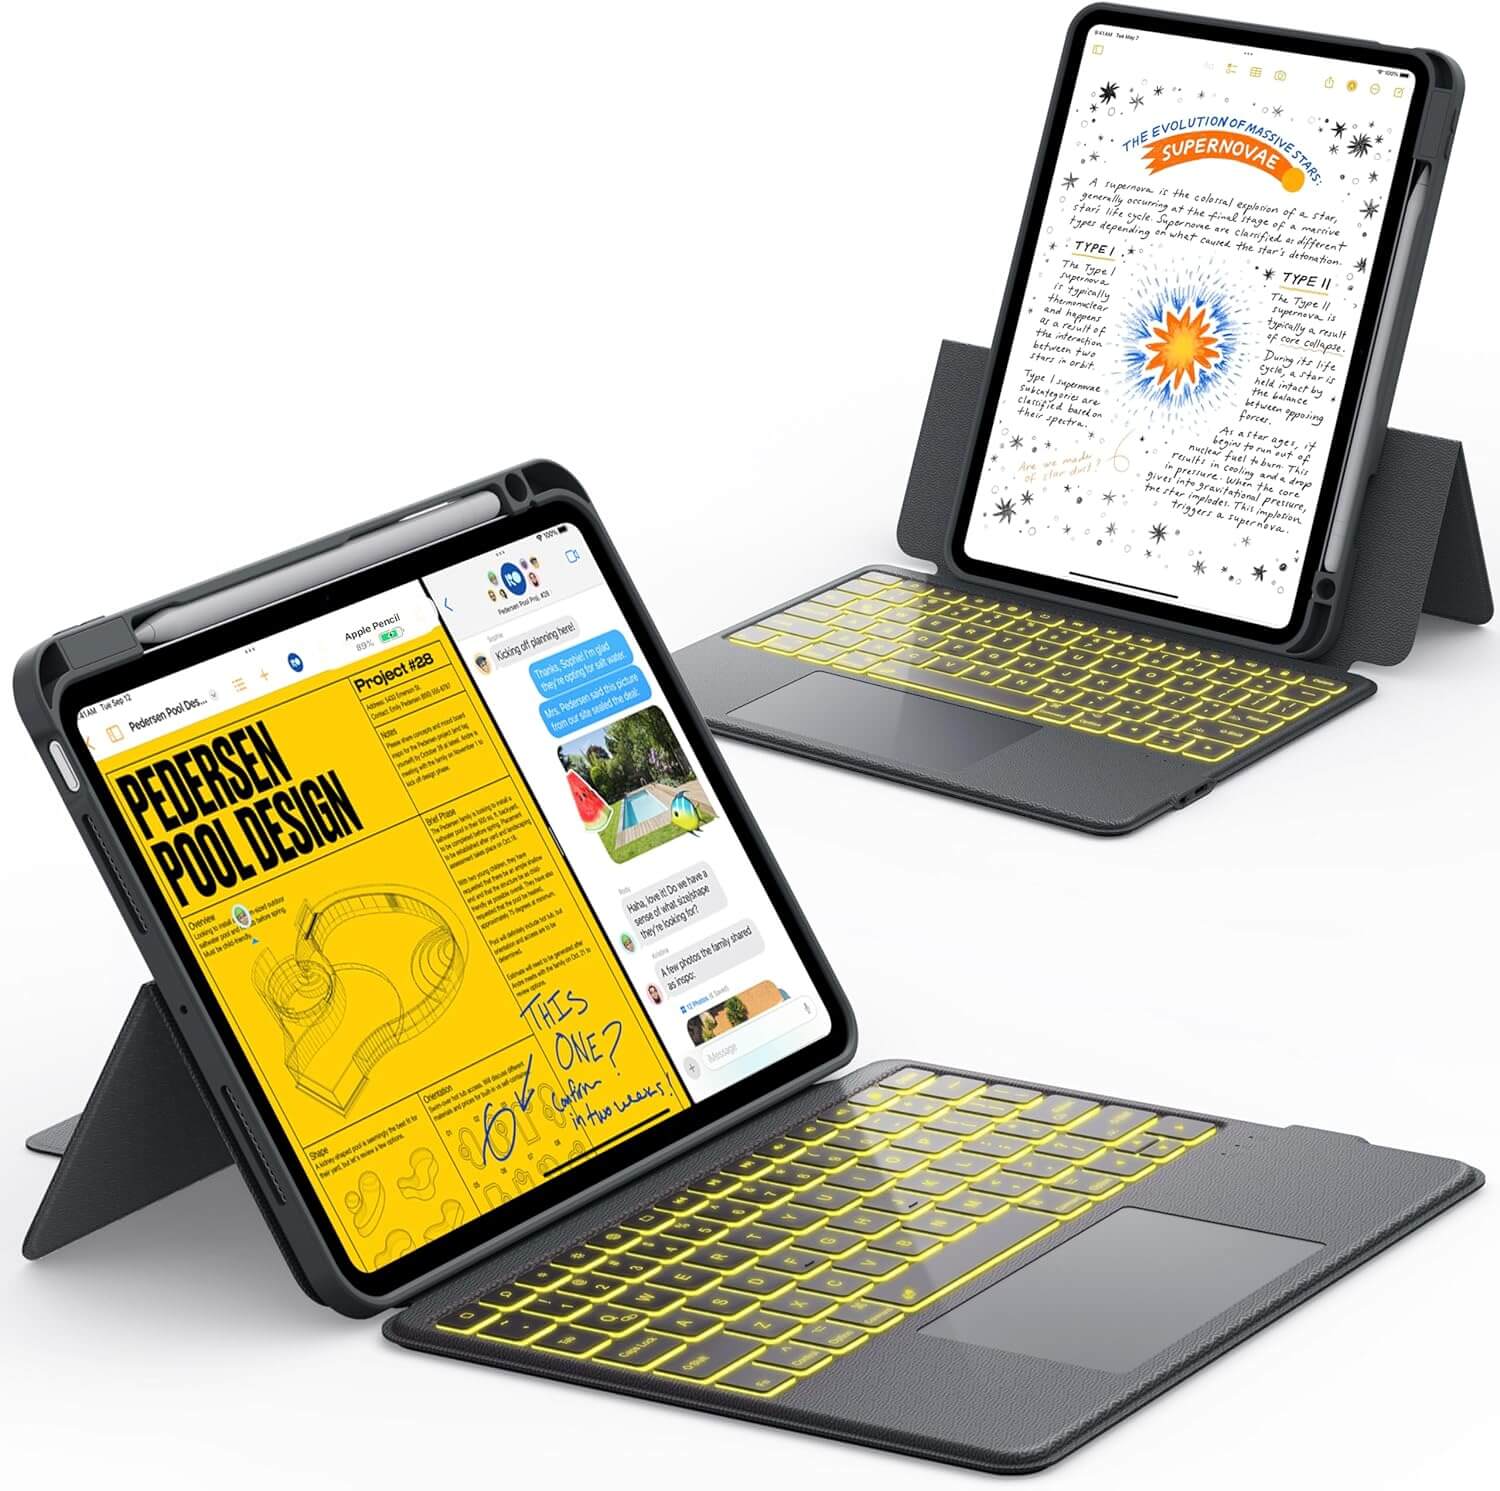
Boost your efficiency with the right setup. Discover our collection: iPad case with keyboard.
Getting Started With Multitasking on iPad

You can run two apps side by side, switch between them quickly, or use one app in a floating window. To do this, make sure you have the right iPad model, the right iPadOS version, and multitasking settings turned on.
Check Your iPad Model and iPadOS Version
Not every iPad supports multitasking. Split View and Slide Over work on iPad Pro, iPad Air 2 or later, iPad mini 4 or later, and the 5th‑generation iPad or newer.
To check your model, open Settings > General > About. Look for “Model Name.”
If your iPad is older, you might only get basic app switching instead of the fancy multitasking stuff.
You also need the right iPadOS version. Features like the new multitasking menu landed in iPadOS 15. Check your version in Settings > General > Software Update.
If there’s an update, install it to unlock the latest multitasking tools.
Enabling Multitasking Features
Multitasking is usually turned on by default, but it’s worth checking. Head to Settings > Home Screen & Multitasking > Multitasking.
Here’s what you’ll find:
- Allow Multiple Apps – use Split View and Slide Over.
- Picture in Picture – watch videos in a small window while using another app.
- Gestures – use swipes to switch between apps.
Turn on the features you want. For example, enabling Allow Multiple Apps lets you drag one app from the Dock and place it next to another.
If you like a cleaner screen, you can turn these off. But honestly, most people keep them on for more flexibility.
Using the App Switcher
The App Switcher helps you jump between open apps fast. Open it by swiping up from the bottom and pausing in the middle, or double‑press the Home button if your iPad has one.
You’ll see all your recently used apps in a grid. Swipe left or right to find what you need, then tap to open.
Want to close an app? Swipe up on its window in the App Switcher. This can help if something’s frozen or lagging.
On iPads with iPadOS 15 or newer, the App Switcher even shows Split View groups, so you can jump right back into a multitasking setup.
Stay focused and get more done. Read our guide: 6 Strategies to Enhance Student Productivity.
How To Use Split View and Slide Over

Multitask on your iPad by putting two apps side by side, or by pulling one into a floating window. These tools help you work faster and keep important apps visible without leaving your main task.
Opening Two Apps Side by Side With Split View
Split View lets you run two apps at once on the same screen. Start by opening one app, then swipe up from the bottom edge to bring up the Dock.
Drag the second app’s icon from the Dock to the left or right edge. The screen splits, and both apps show up side by side. You can use Safari while checking Mail, or Notes while reading a PDF. Handy, right?
Not every app supports Split View. If you try to drag an app and it just opens full screen, that app isn’t compatible. With iPadOS 16 and up, you’ll see a multitasking menu at the top for Split View, Slide Over, and full screen.
Adjusting and Swapping Apps in Split View
Resize the windows by dragging the divider bar in the middle. Move it left or right to give one app more space.
If you want to swap apps, swipe down from the top of one window. The app shrinks, and you can pick a new one from the Home Screen or Dock to replace it.
To go back to a single app, drag the divider all the way to one side. The other app closes, and you’re back to full screen.
Using Slide Over for Quick Tasks
Slide Over is a floating window that sits on top of your main app. To open it, drag an app from the Dock to the middle of the screen instead of the edge.
The app pops up in a smaller panel you can move to either side. Slide Over is perfect for quick things like replying to a message, checking your calendar, or jotting down a note.
You can swipe the Slide Over window off the screen to hide it, then swipe in from the edge to bring it back. Unlike Split View, your main app stays full size.
Switching Between Slide Over Apps
You can keep more than one app in Slide Over mode. When you do, swipe along the bottom of the Slide Over window to switch, similar to the Home bar on iPhones.
To see all Slide Over apps, swipe up from the bottom of the Slide Over window and hold. A carousel view pops up, showing each app. Tap the one you want.
If you want to close an app, swipe it up and off the screen. This keeps things tidy while you multitask.
The right apps can transform your workflow. Explore our article: Top 10 iPad Apps to Enhance Your Productivity.
Advanced Multitasking: Stage Manager and Picture in Picture

Ready to take multitasking even further? Stage Manager gives you a desktop-like setup with resizable windows, and Picture in Picture lets you keep videos running in a floating window while you do other stuff.
Setting Up Stage Manager
Stage Manager works on newer iPads with iPadOS 16 or later, like iPad Pro models and the latest iPad Air. To turn it on, open Control Center and tap the Stage Manager button.
Your main app sits in the center, with other apps arranged on the side. You can also tweak settings in Settings > Home Screen & Multitasking > Stage Manager to show the dock and recent apps.
Stage Manager feels best with a keyboard and trackpad, but touch works too. Switch apps by tapping their thumbnails on the left, or drag new apps into the workspace.
Managing Multiple Windows With Stage Manager
With Stage Manager, you can keep up to four apps open at once on the screen. Resize windows by dragging the corners, giving more space to the app you need most.
Add an app by dragging it from the dock or App Library into the active window space. You can group apps together, like Safari and Notes side by side for research and writing.
To remove an app, swipe it off the screen or tap its thumbnail and pick another. If you connect an external display, Stage Manager expands your workspace, letting you run up to eight apps across both screens.
Watching Videos With Picture in Picture
Picture in Picture (PiP) keeps a video playing in a small floating window while you use other apps. Start a video in a supported app like Safari or Apple TV, then tap the PiP icon or use the Home gesture. The video shrinks into a corner.
Move the PiP window anywhere by dragging it, or resize it with a pinch. If it’s in the way, swipe it to the edge where it hides but keeps the audio going.
This works great for watching a tutorial while taking notes, following a live stream while checking email, or keeping a FaceTime call open while browsing. Most built-in and many third-party video apps support it.
Choosing the right device makes all the difference. Read our article, Best Tablet for Work 2025: A Complete Buying Guide to find the perfect fit.
Final Thoughts
Now you know how to multitask on iPad using Split View, Slide Over, and the multitasking menu. These tools make it easy to boost productivity, whether you’re studying, working, or just juggling a few apps at once.
The best part? It only takes a couple of taps or drags to set up, and you can switch between layouts in seconds. No more constant app switching—just smooth multitasking that keeps everything right where you need it.
With a little practice, you’ll unlock the full power of iPadOS and use your iPad like never before. Try it out today!
Take customization to the next level. Check out our article: iPad Widgets Explained: Add, Stack, Organize.
Frequently Asked Questions
What's the trick to splitting my iPad screen while using Safari?
Open Safari, then swipe up from the bottom to bring up the Dock. Drag another app, like Notes, to the left or right edge until it snaps into place. Now you’ve got Split View with Safari on one side and the second app on the other.
Where do I find the multitasking button on my iPad?
Look at the top of your app window. You’ll see three small dots in the middle of the screen bar. Tap them to open the multitasking menu and choose Split View, Slide Over, or fullscreen.
How to enable multi touch on iPad?
Multi-touch comes built into every iPad. You don’t need to turn it on. Just use gestures like pinch to zoom, swipe with four fingers to switch apps, or use five fingers to go home.
How do I turn on multitasking?
Head over to Settings > Home Screen & Multitasking > Multitasking. Make sure you’ve switched on “Allow Multiple Apps.”
If gestures aren’t on yet, you can enable them here too. Honestly, it’s pretty quick once you know where to look.
How to have two apps showing on iPad?
Split View lets you keep two apps open right next to each other. Start by opening the first app you want.
Then, grab another app from the Dock and drag it to one side of your screen. You can move the divider bar to decide how much space each app gets, which is honestly pretty handy if you like multitasking.
